
Raspberry Lemonade Cheesecake
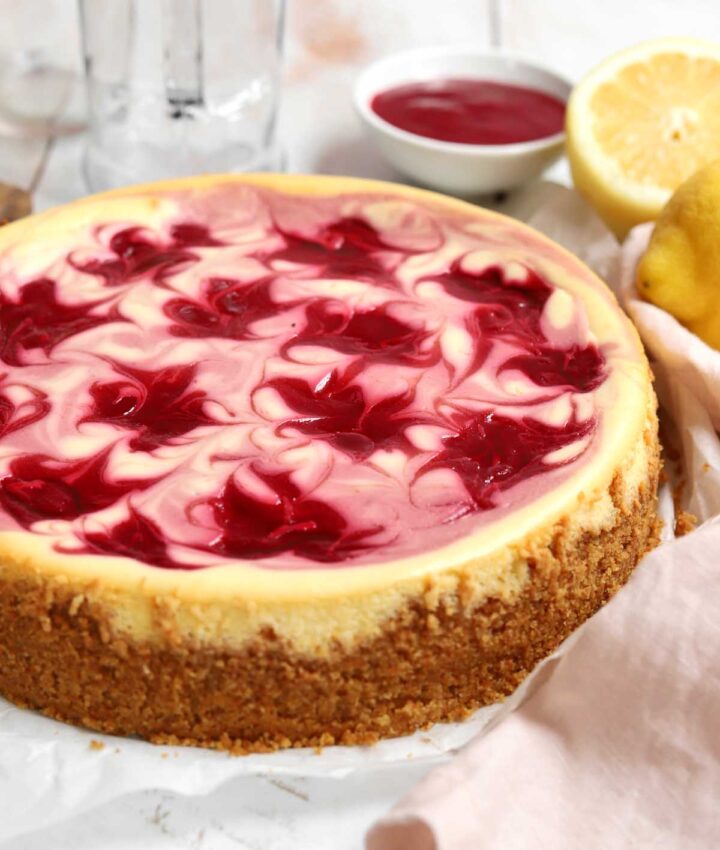
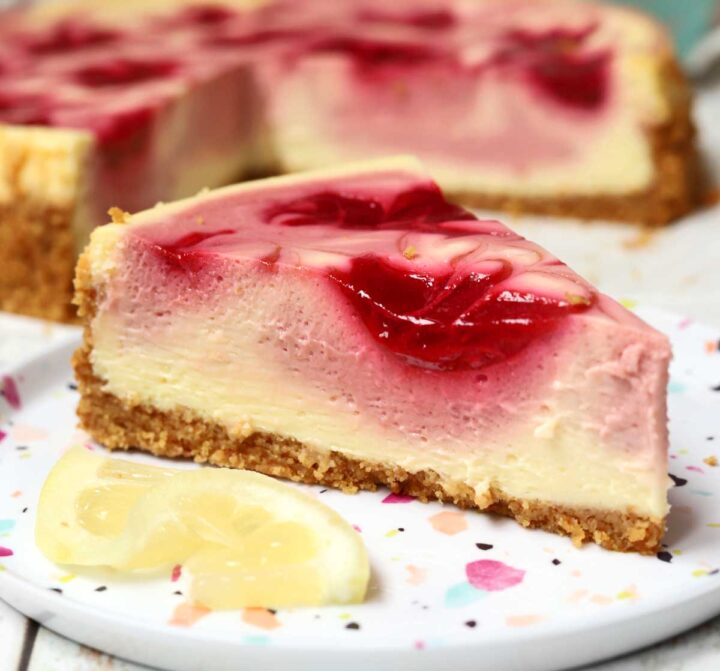
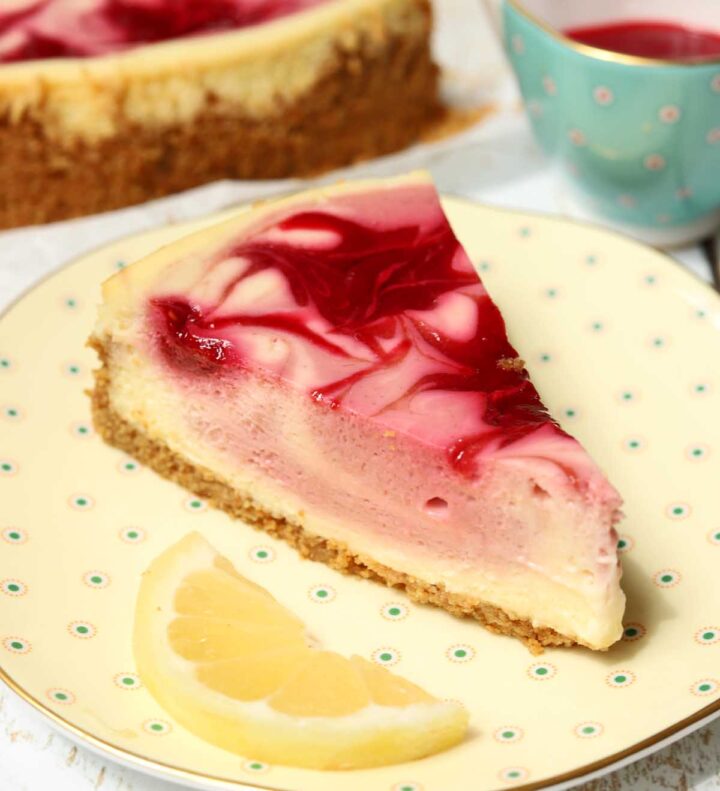
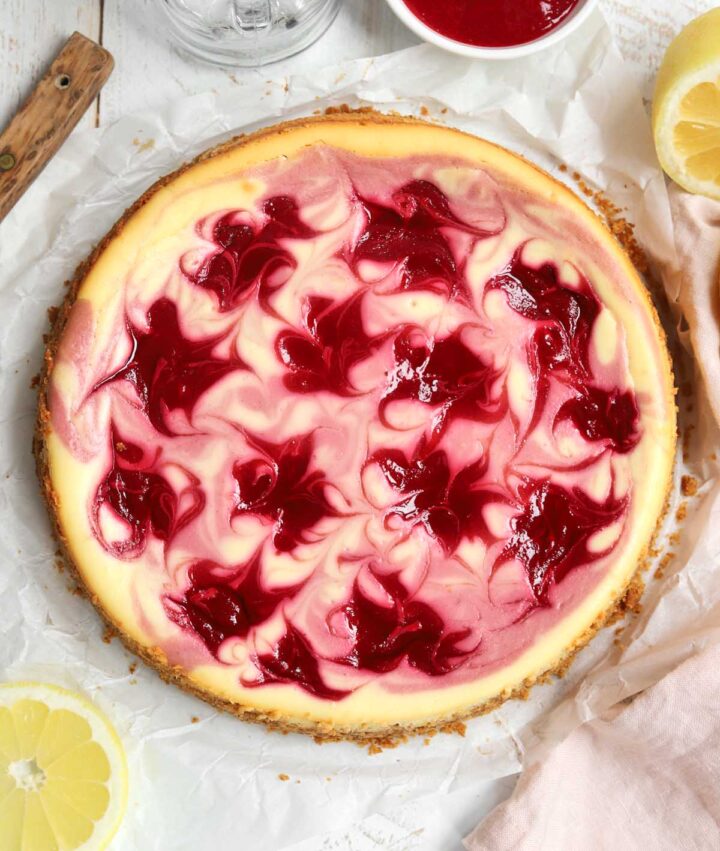
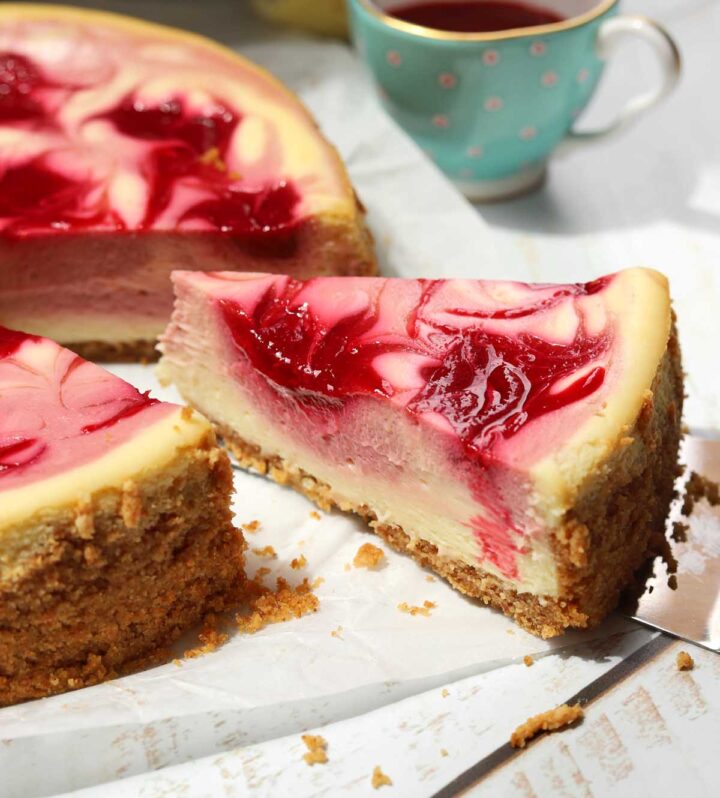
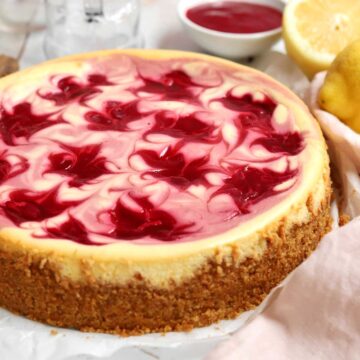
Tart, tangy, creamy and perfectly sweet, this Raspberry Lemonade Cheesecake tastes like Summer sunshine in every bite. I love the combination of raspberry with lemon, and there's no shortage of either in this cheesecake. It starts with a buttery graham cracker crust and a creamy lemon cheesecake base. You make a quick raspberry puree from just pure raspberries and sugar then add this to some of the lemon cheesecake batter to make a stunning vibrant pink raspberry lemonade batter. Swirling these two batters together creates a gorgeous tie-dye effect and then some jammy swirls of raspberry on top add another layer of bold fruity flavor. If you love making cheesecake, try my New York Cheesecake with strawberry topping, this Blueberry Crumble Cheesecake or my popular Burnt Basque Cheesecake.
WHY THIS RECIPE WORKS
- Simple ingredients - this recipe requires few simple ingredients and is quite easy to prepare.
- Crisp graham cracker crust - the base is a simple mixture of graham cracker crumbs, melted butter and brown sugar. It makes a crisp and sturdy base for this lovely cheesecake.
- Ultra creamy texture - the cheesecake batter bakes up into a silky smooth texture and it is so creamy. The proportions of liquid and cream cheese along with gentle baking create this incredible texture without using a water bath.
- Bright lemon flavor - lots of lemon zest and lemon juice in the batter adds so much bright citrus flavor.
- Fresh raspberry swirl - the raspberry swirl on top is so fruity and delicious. It is simply made from raspberries, sugar and corn starch, and it sets to a lovely jammy consistency after baking and cooling.
INGREDIENTS FOR RASPBERRY LEMONADE CHEESECAKE
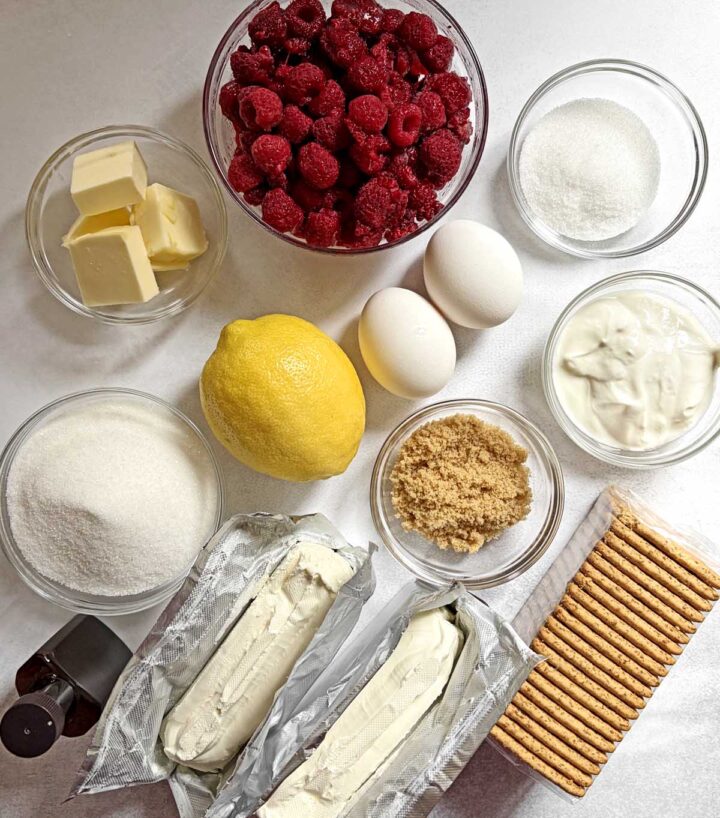
- Butter - you can use unsalted or salted butter to make the crust.
- Cream cheese - you will need one brick of cream cheese for this recipe. Do not use the whipped or spreadable kind as it can have a higher water content and thus a lower fat content which will affect the consistency of the baked cheesecake.
- Granulated sugar - I use regular white granulated sugar for the filling so that the flavor of the lemon and tart raspberries shines.
- Lemon zest - the yellow skin (without the white pith) is where all the lemon flavor lives as essential oils. Rubbing the zest with sugar before adding the remaining ingredients can really bring out the flavor and carry it evenly throughout the batter.
- Lemon juice - fresh lemon juice adds bright tangy flavor to the cheesecake batter so it really tastes like lemonade.
- Pure vanilla extract - vanilla boosts the creamy flavor and I prefer this Madagascar Bourbon Vanilla extract.
- Sour cream - I love to use sour cream in my cheesecake recipes to lighten the texture while still keeping it so creamy.
- Egg - two whole eggs will set the filling into a silky smooth custard. After all, cheesecake is essentially a baked cheese custard!
- Fresh or frozen raspberries - there's no need to even cook the raspberries. You simply puree them with some sugar and mix it into the lemon cheesecake base. For the topping, you add a bit of cornstarch and after it bakes, it becomes this thick jammy swirl.
STEP BY STEP INSTRUCTIONS: HOW TO MAKE LEMON RASPBERRY CHEESECAKE
- STEP 1). Make the raspberry puree. Combine raspberries and sugar (you'll use the corn starch later when you make the topping) in a food processor or blender and puree until smooth. Use a spatula to press the puree through a fine mesh strainer, discarding any seeds and pulp that remain. Scrape the underside of the strainer to get the maximum amount of puree, then set aside.
- STEP 2). Make the crust. Preheat the oven to 350°F. Lightly grease the sides and line the base of an 8-inch round non-stick springform pan with a round of parchment paper. Combine graham crumbs, brown sugar and melted butter in a medium bowl and blend until well combined. Press the crumbs firmly and evenly into the bottom and about 1-inch up the sides of the pan. Bake for 10-12 minutes until lightly golden and feels dry. Reduce oven temperature to 325°F. Meanwhile, make the filling.
- STEP 3). Make the filling. Blend cream cheese in a large bowl with an electric hand mixer on medium speed until smooth. Add sugar and lemon zest and mix until very smooth and creamy. Stop to scrape down the sides of the bowl several times to ensure there are no lumps at this stage and everything is well combined. The mixture should be lump-free before you move on to the next step.
- STEP 4). Mix in eggs. Add sour cream, lemon juice and vanilla and mix until smooth and evenly incorporated. Scrape down the sides and around the bottom of the bowl again and mix in eggs, one at a time until everything is blended. Transfer 1 cup of batter to another clean bowl and stir in ⅓ cup (80ml) of raspberry puree.
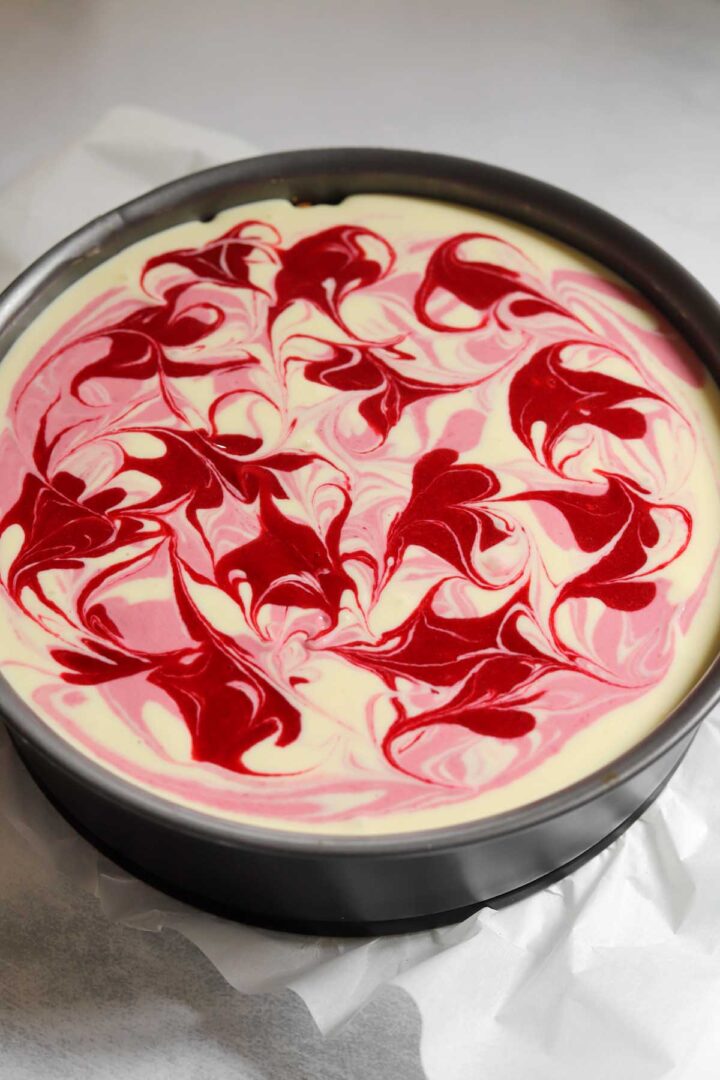
- STEP 5). Assemble the cheesecake. Pour the lemon cheesecake batter into the pre-baked crust, spreading it out evenly and popping any air bubbles that you see. Gently spoon dollops of the raspberry batter over top (or use a cookie scoop to portion it) and gently swirl it in with a butter knife so you get nice defined swirls. Don't swirl too much or it will fade into the batter and don't go too deep or you will disturb the crust.
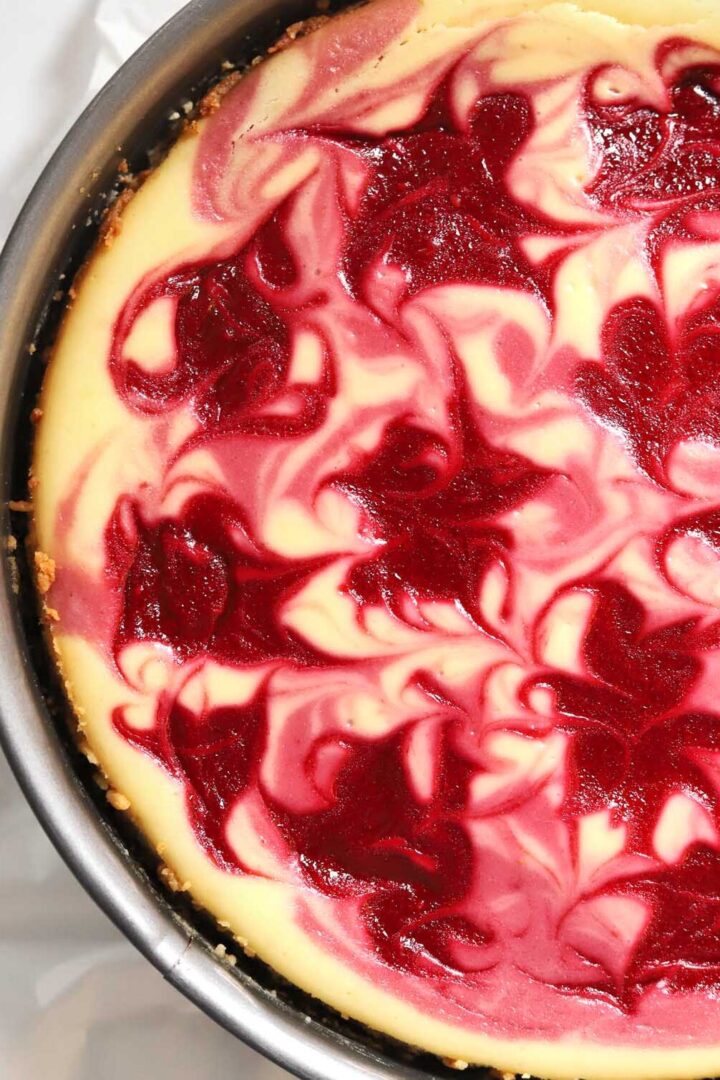
- STEP 6). Make the raspberry swirl. Combine another ⅓ cup (80ml) of raspberry puree with 1 teaspoon of corn starch until smooth and dollop this mixture randomly over the cheesecake batter. Use a skewer to swirl it in just a bit to make the pattern pictured in the article.
- STEP 7). Bake. Place a rimmed cookie sheet or roasting pan on the bottom rack of the oven and fill it with boiling water. Place the cheesecake above on the center rack and bake for 30 minutes. Reduce oven temperature to 300°F and bake for another 15-20 minutes until the edges are set and the center of the cheesecake has a slight wobble when you shake the pan. See video tutorial for what this looks like.
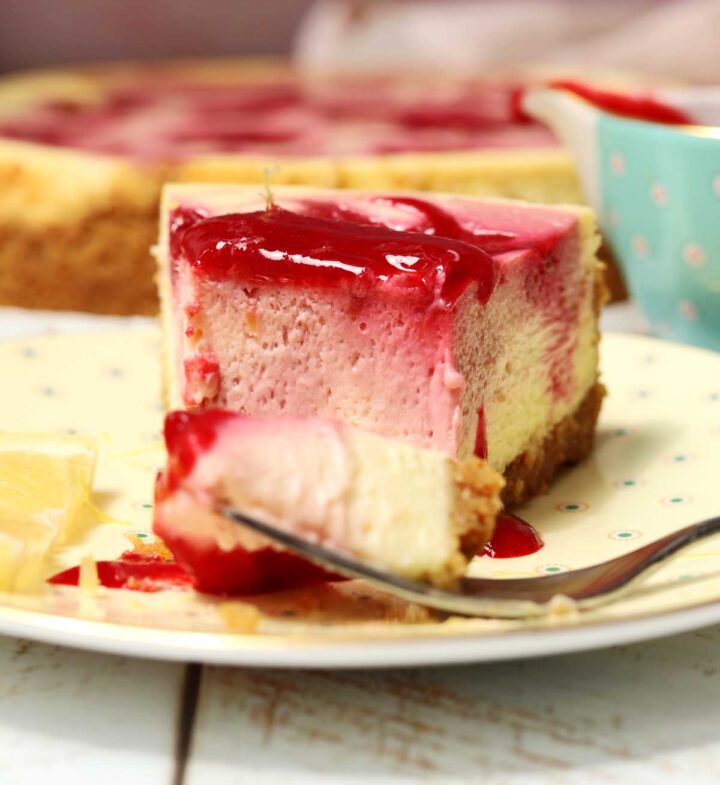
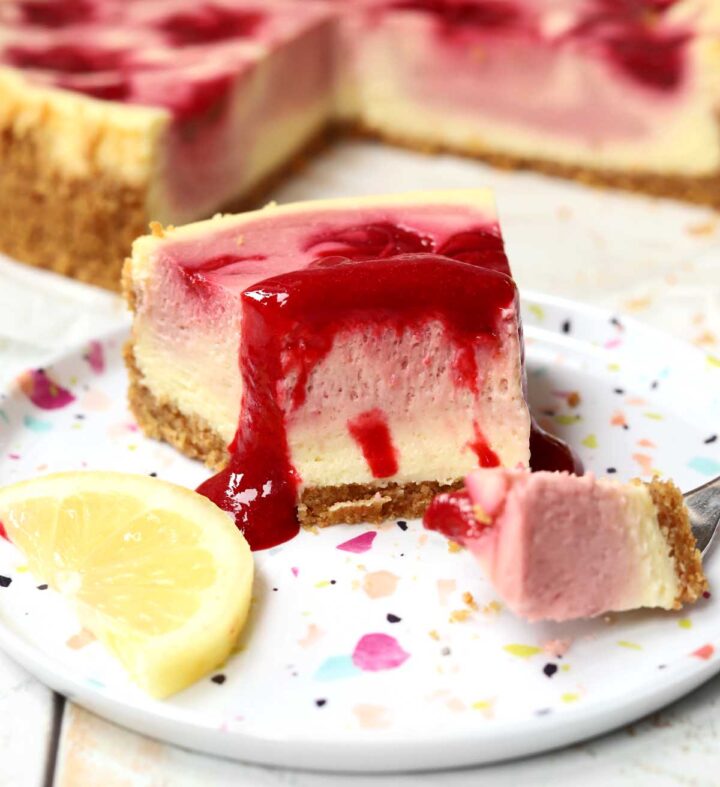
- STEP 8). Cool. Transfer pan to a wire rack and immediately run a butter knife or offset spatula around the sides of the pan to release the cheesecake, then let cool completely in the pan. Once cool, cover with foil and place in the fridge for at least 4 hours or over night. Serve with the extra raspberry puree and enjoy!
EXPERT BAKING TIPS
- Start with room temperature ingredients. This is so important! Take the cream cheese out of the fridge for 2 hours prior to baking so it is soft.
- Blend the cream cheese with sugar FIRST. You need to beat the cream cheese so it is smooth, then add the sugar. The sugar crystals will tear through the cheese and break it down so it is creamy. You'll notice that once it is well combined, it will turn glossy. This is a sign that the sugar has bound the moisture in the cream cheese.
- Add the eggs only AFTER the sugar is blended. If you add the eggs before the sugar, it will most likely leave you with a lumpy batter. That's because eggs have a very high moisture content and it will be difficult to blend smoothly unless there is sugar present to bind the water.
- Use room temperature eggs. Cold eggs will not incorporate as smoothly
- Do not over-beat. Over-mixing or mixing at a very high speed will incorporate too much air into the mixture which will create air pockets that can lead to cracking.
- Gentle baking. To ensure the filling is extra silky smooth, it is important bake these gently at a slightly lower than moderate temperature.
RECIPE FAQ
The key to making any great cheesecake is to be careful not to over bake it. Once the edges are slightly golden and the middle is JUST set with a slight wobble, then it is ready. The residual heat will continue to gently set the filling as it cools.
Yes it is important to let the cheesecake chill in the fridge for at least 4 hours before serving. This cooling time will allow the custard to set completely for the silkiest texture.
Let the cheesecake cool completely and then refrigerate for at least 4 hours before slicing for the best texture and cleanest slices.
Yes, you can make the raspberry pure up to 2 days in advance and keep it stored in a sealed glass container or mason jar in the refrigerator.
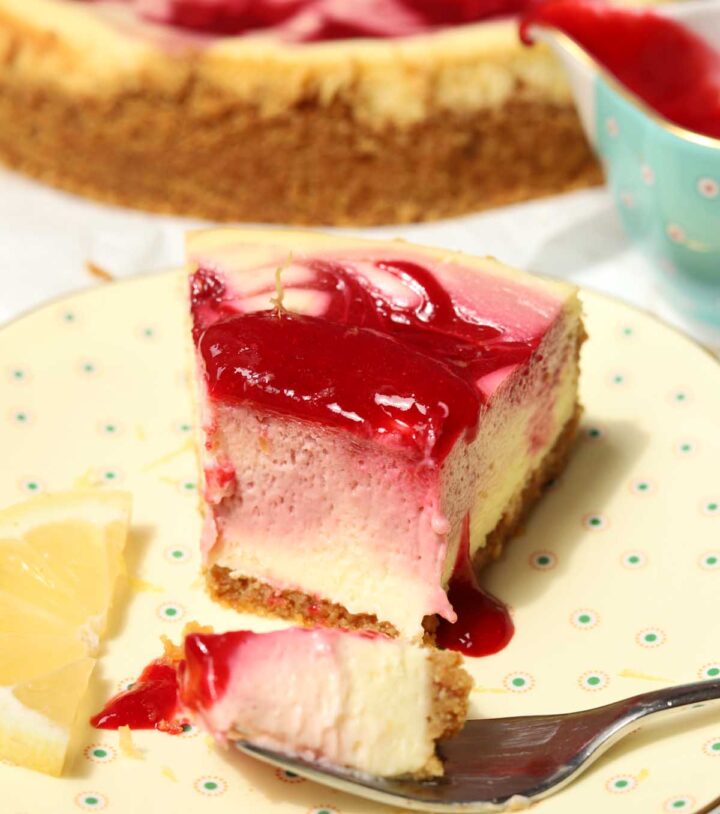
This cheesecake is lovely served just as it is, but if you want to jazz it up even more, you can add some whipped cream and fresh raspberries, or a drizzle of extra raspberry puree.
STORING AND FREEZING
Theis cheesecake should be stored in the refrigerator in an airtight container for up to 5 days.
It is possible to freeze these cheesecake, however the crust will become soft once thawed. If you choose to do this, wrap the chilled cheesecake very well and store in a resealable freezer bag in the freezer for up to 3 months.
If you love cheesecake, check out these recipes!
Peanut Butter Fudge Swirl Brownie Bottom Cheesecake Creamy Burnt Basque Cheesecake Perfect Vanilla Cheesecake Bakery Style Chocolate Chip Peanut Butter Cookies Healthy Homemade Dark Chocolate Peanut Butter Cups Buckeye Peanut Butter Fudge Brownies White Chocolate Blueberry Cheesecake Bars Creamy Black Cherry Cheesecake Bars Cookies & Cream Oreo Cheesecake BarsBaking with raspberries
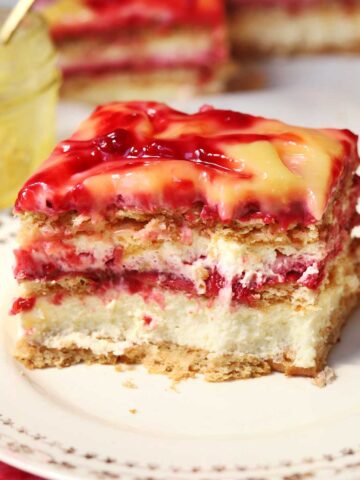
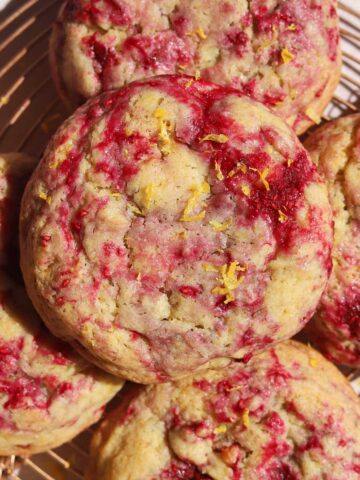
Looking for more raspberry recipes like this? Try these:

Cheesecake recipes
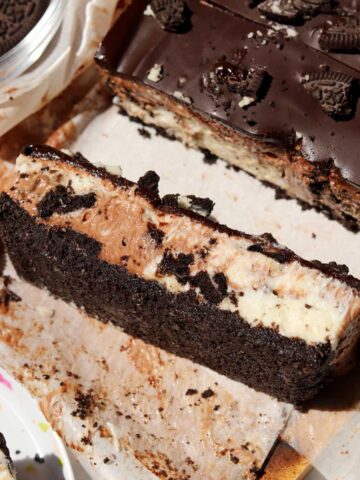
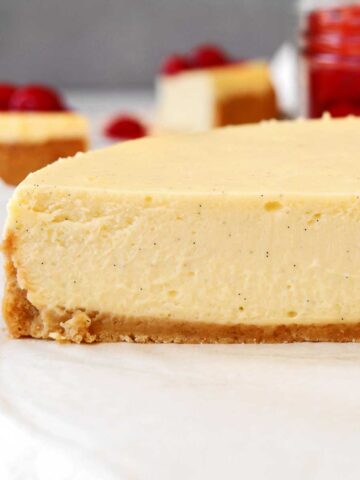
These are some of my favorite cheesecake recipes on the site:
Video
Raspberry Lemonade Cheesecake
Ingredients
Raspberry Puree:
- 8 ounces (227g) raspberries, fresh or slightly thawed frozen
- 3-4 tablespoons (40-50g) granulated sugar, depending on how sweet the berries are
- 1 teaspoon corn starch (reserve for topping)
Crust:
- 1 ¼ cups (130g) graham cracker crumbs
- 2 tablespoon (30g) packed light brown sugar
- 4 tablespoon (56g) unsalted butter, melted
Lemon Cheesecake Batter:
- 18 ounces (500) grams full-fat cream cheese, softened at room temperature
- ¾ cup (150) grams granulated sugar
- 1 tablespoon finely grated lemon zest from 1-2 lemons
- ⅓ cup (80ml) sour cream
- 1 tablespoon (15ml) fresh lemon juice
- 1 teaspoon pure vanilla extract
- 2 large eggs at room temperature
- ⅓ cup (80ml) raspberry puree (from above)
Instructions
- Make the raspberry puree. Combine raspberries and sugar (you'll use the corn starch later when you make the topping) in a food processor or blender and puree until smooth. Use a spatula to press the puree through a fine mesh strainer, discarding any seeds and pulp that remain. Scrape the underside of the strainer to get the maximum amount of puree, then set aside.
- Preheat the oven to 350°F. Lightly grease the sides and line the base of an 8-inch round non-stick springform pan with a round of parchment paper.
- Make the crust. Combine graham crumbs, brown sugar and melted butter in a medium bowl and blend until well combined. Press the crumbs firmly and evenly into the bottom and about 1-inch up the sides of the pan. Bake for 10-12 minutes until lightly golden and feels dry. Reduce oven temperature to 325°F. Meanwhile, make the filling.
- Make the filling. Blend cream cheese in a large bowl with an electric hand mixer on medium speed until smooth. Add sugar and lemon zest and mix until very smooth and creamy. Stop to scrape down the sides of the bowl several times to ensure there are no lumps at this stage and everything is well combined. The mixture should be lump-free before you move on to the next step.
- Add sour cream, lemon juice and vanilla and mix until smooth and evenly incorporated. Scrape down the sides and around the bottom of the bowl again and mix in eggs, one at a time until everything is blended. Transfer 1 cup of batter to another clean bowl and stir in ⅓ cup (80ml) of raspberry puree.
- Assemble the cheesecake. Pour the lemon cheesecake batter into the pre-baked crust, spreading it out evenly and popping any air bubbles that you see. Gently spoon dollops of the raspberry batter over top (or use a cookie scoop to portion it) and gently swirl it in with a butter knife so you get nice defined swirls. Don't swirl too much or it will fade into the batter and don't go too deep or you will disturb the crust.
- Make the raspberry swirl. Combine another ⅓ cup (80ml) of raspberry puree with 1 teaspoon of corn starch until smooth and dollop this mixture randomly over the cheesecake batter. Use a skewer to swirl it in just a bit to make the pattern pictured in the article.
- Place a rimmed cookie sheet or roasting pan on the bottom rack of the oven and fill it with at least ½ inch of boiling water. Place the cheesecake above on the center rack and bake for 30 minutes. Reduce oven temperature to 300°F and bake for another 15-20 minutes until the edges are set and the center of the cheesecake has a slight wobble when you shake the pan. See video tutorial for what this looks like.
- Transfer pan to a wire rack and immediately run a butter knife or offset spatula around the sides of the pan to release the cheesecake, then let cool completely in the pan. Once cool, cover with foil and place in the fridge for at least 4 hours or over night. Once chilled, release the sides of the pan and serve with the extra raspberry puree and enjoy!
Just made this tonight and it smells incredible. It doesn't look the same though, the red has baked up a very dark purple. What did I do wrong?
Hi Jennifer! Did you add the correct amount of lemon juice? The acidity should help maintain the red color. Also, it may change color if swirled in too deep.
This recipe was a win - my whole family devoured this tart and yummy cheesecake! I used blackberries instead since it was what I had and the tartness was perfectly balanced with the sweetness. I squeezed 1 lemon (or half a lemon) and accidently put that amount of lemon juice in the recipe, but it turned out great that way as well. I also used a 9.5 inch oven safe glass pyrex pan since I don't own a springform pan and it came out totally ok, just not as tall. I need to get myself a springform pan to make it with raspberries next time. Love this recipe!
Thank you Stephanie! I'm so glad you enjoyed the recipe 🙂
This turned out amazing!
Thank you Lauren!