
Homemade Pizza Dough
Make Friday nights even more special with this professional Homemade Pizza Dough recipe that my husband developed. He is also a Food Scientist who specializes in bread, sourdough and laminated doughs. Pizza Fridays are our favorite and my family loves this recipe. After so many requests, we have published the recipe for you to enjoy at home with all of the tips and troubleshooting info that you need for success on the first try. It is so easy to make with just 4 simple ingredients and it never fails to make the most beautiful soft, airy dough with crisp edges. It is also very convenient as you can store the dough balls in the fridge for up to 2 days and have them ready and waiting for you to assemble the pizzas - that's my kids' favorite part! There are no fancy tricks, just good technique and I break down all of the science for you in this article so that you can make pizza dough from scratch at home any time. If you love making bread at home, try my Best Cinnamon Rolls recipe.

WHY THIS RECIPE WORKS
- Easy to make - this is a very simple recipe with only 5 ingredients. You combine all of the dough ingredients and knead until it becomes very smooth and the gluten is well developed. This dough rises only once (single bulk fermentation) and then it can be portioned into balls.
- Simple ingredients - you just need basic pantry ingredients to make a great pizza dough. Flour, water, yeast, oil and salt are the main ingredients.
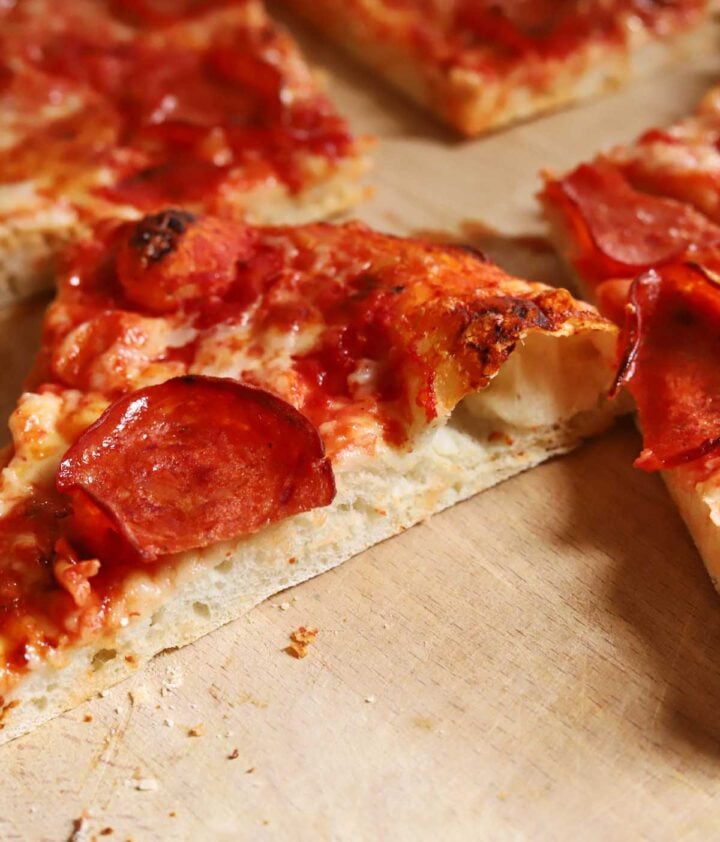
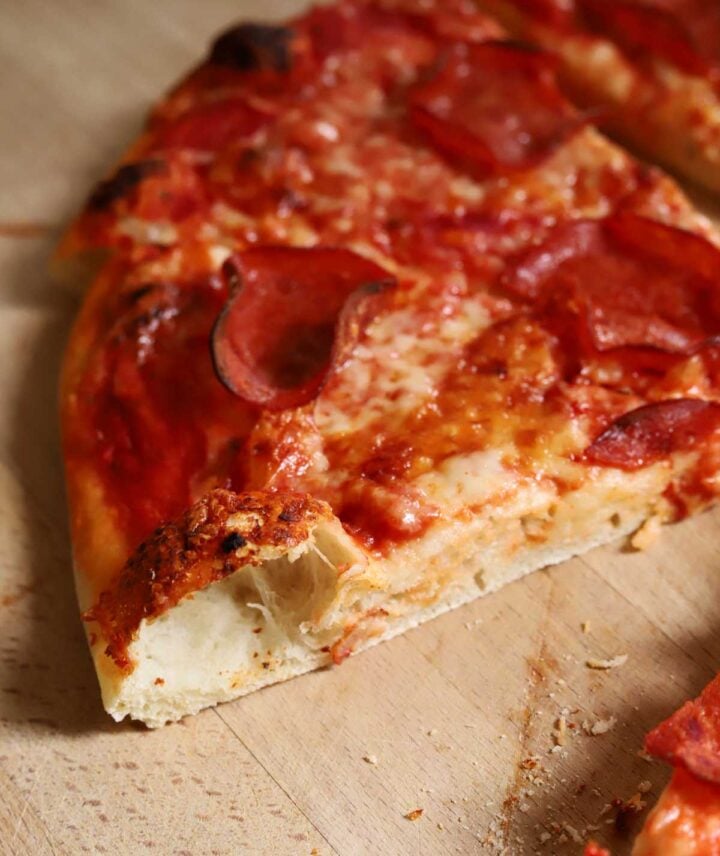
- Crisp exterior with soft crumb texture - you will love the soft and airy internal crumb, alongside a nice crusty exterior. I like a medium thickness for my pizza crusts, baked in 12- or 13-inch pans.
- Convenient - this recipe makes 4 pizza dough balls which can be used the same day or stored in the refrigerator for up to 2 days.
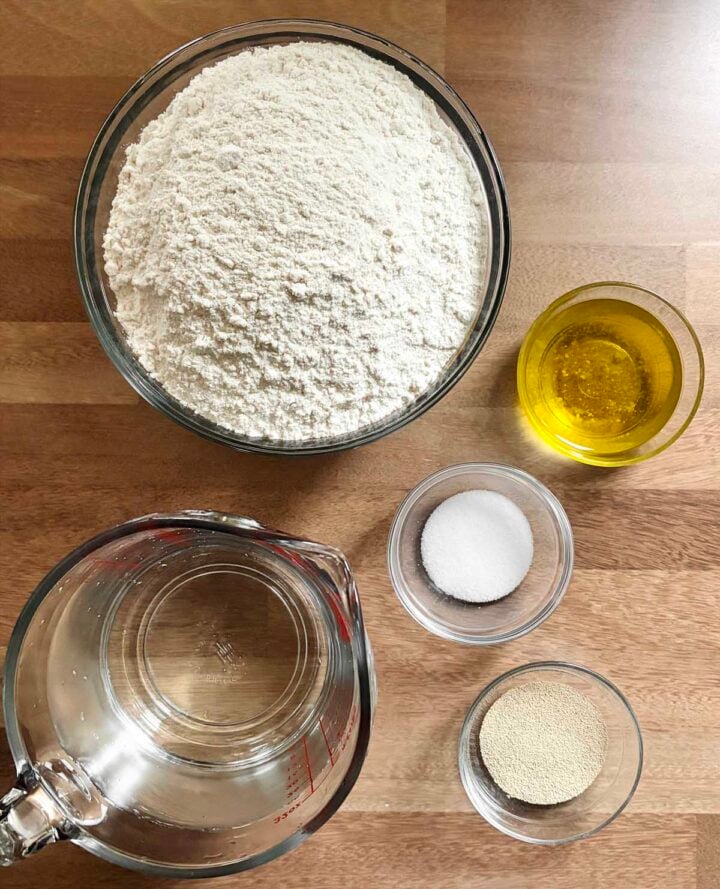
INGREDIENTS FOR THE HOMEMADE PIZZA DOUGH
- Bread flour - I like to use bread flour for this recipe. Bread flour contains a higher protein content and also higher protein quality which means that has a greater ability to build strength in the dough to hold in air. You can also use all purpose flour, which works just as well and has the benefit of being more extensible and easier to stretch without snapping back.
- Yeast - I use instant yeast which is so convenient because you do not need to proof it. You can add instant yeast directly to the dry ingredients as long as it is not in direct contact with the salt for a prolonged period of time. Lesaffre instant yeast is great, and I also like Fleischmann's rapid rise yeast. If you use active dry yeast you will need to bloom it before adding it to the bowl.
- Oil - liquid oil helps lubricate gluten proteins so that they can expand and trap air for fluffier dough. It also helps a little with extensibility to stretch or roll out the dough more easily.
- Salt - this recipe has 2% salt and it is an important ingredient! Salt is not just for flavor in bread. Salt creates a more stable gluten network to hold more gas and provide greater volume.
ACTIVE DRY YEAST VS. INSTANT YEAST
Active dry yeast looks like little spheres and is larger than instant yeast which has smaller granules the size of white granulated sugar meant to dissolve easily. It requires rehydration or "blooming" because of the way it is processed, there is more dead yeast on the surface. Hydrating penetrates this layer so the active yeast, which is only about 30%, can thrive. Instant yeast does not require rehydration and you can add it directly to the dry ingredients when making breads. Since it is smaller, there is more surface area so it dissolves readily. Instant yeast is processed in a way that makes it more viable and more convenient to use. Active dry yeast, although requiring blooming, can offer one advantage in pizza dough over instant dry yeast. Since active dry yeast contains more dead yeast cells, it also contains more glutathione, which is an amino acid that promotes extensibility or dough relaxation by splitting the disulfide bonds on the gluten molecules. In simple terms, it makes the dough easier to stretch or roll out.

WHAT IS THE ROLE OF SALT IN BREAD
Salt provides flavor and strength to bread dough. In low concentrations (typically 2% on flour), salt helps to improve the volume of breads. Salt is composed of sodium and chloride minerals. The negatively charged chloride ions shield the polar charges of the gluten molecules so that there is less electrostatic repulsion and therefore they are more attracted to each other. This helps gluten molecules come together or associate and build a stronger network.



IT DOESN'T MATTER HOW MUCH YEAST YOU ADD
It's true… to a reasonable extent. You can add less or more yeast and it will just take longer or faster for the dough to rise. Adding more yeast will make the dough rise faster if you're in a rush, but it will also have an impact on flavor. Bakers will tell you that using less yeast with a longer fermentation time makes the best bread and that is because yeast have more time to thrive and produce delicious flavor compounds. Fast fermentation typically causes yeast to produce undesirable flavors. Of course if you use so little yeast then it will not be effective as it will take way too long for the dough to ferment.
WHY DOES DOUGH TEMPERATURE MATTER?
The dough temperature controls how yeast behaves in dough. If you're making bread at room temperature around 23 degrees C using a mixer, then you can use cool water around 16 degrees C or 60 degrees F. Surprised? Many recipes on the internet might instruct you to use warm water or heat your water to 44 degrees C or 112 degrees F. That may be necessary to activate dry yeast, however if the liquid is still that warm when you make the dough, then you might end up with a very sticky dough that requires more flour to handle easily. More flour creates a drier dough and drier bread. The mixer and your hands create enough friction/heat to warm up the dough without having to use hot water.

STEP-BY-STEP INSTRUCTIONS: HOW TO MAKE HOMEMADE PIZZA DOUGH
- STEP 1). Make the dough. Combine dry ingredients. Place flour in the bowl of a stand mixer. Add in yeast and salt in little piles in separate places over the flour in the bowl so that they are not touching. You do not want the salt in direct contact with the yeast for a prolonged period of time without mixing or it can inhibit its activity.
- STEP 2). Add wet ingredients. Add in the oil and water.
- STEP 3). Mix the dough. Attach the dough hook and mix on medium-low for 10-15 minutes until it the surface looks smooth. Stop after a 2 minutes to scrape down the sides of the bowl and ensure all of the flour is incorporated and the dough is a uniform mixture. It will still be wet and rather loose at this point. Continue mixing for another 2-3 minutes. The dough should start to climb up the dough hook and will still be webbing around the bottom of the bowl. (Note: if the dough seems rather dry and stiff at this point, add water at 20ml increments until you reach a softer consistency as described). Stop the mixer and scrape around the inside of the bowl to release the dough. Continue mixing for another 3 minutes. Stop again, pull the dough off of the hook and scrape around the inside of the bowl to release the dough again. Continue mixing for another 3-5 minutes. At this point the dough should start forming a mass and come away from the bowl as it is mixing. You can check the temperature of the dough now if you have a digital thermometer - it should be between 24-26 degrees C (75-80 degrees F) for optimal activity.
- STEP 4). Knead the dough. Transfer the dough to a lightly floured work surface. Now you will stretch and fold the dough to help develop the gluten structure. Using both hands, grab both sides of the dough, pull it outwards (this is the "stretch"), then fold it inwards over itself. Rotate the dough and continue to stretch and fold until the dough feels very smooth. Watch my video for a full tutorial. Shape the dough into a ball by tucking the sides underneath and rolling it around the counter. The surface of the dough ball should pull smoothly without tearing.
- STEP 5). Bulk Fermentation. Place the ball into a lightly oiled bowl. Cover the bowl with plastic and then cover with a kitchen towel. Set it aside in a warm dark place and let it rise for 1-2 hours until nearly doubled in size. Note that the amount of time required will depend on the temperature of your kitchen.
- STEP 6). Divide the dough into equal portions. Lightly flour a work surface and tip the dough out onto the surface. Divide the dough into 4 equal portions (approximately 390g each) and shape into balls.
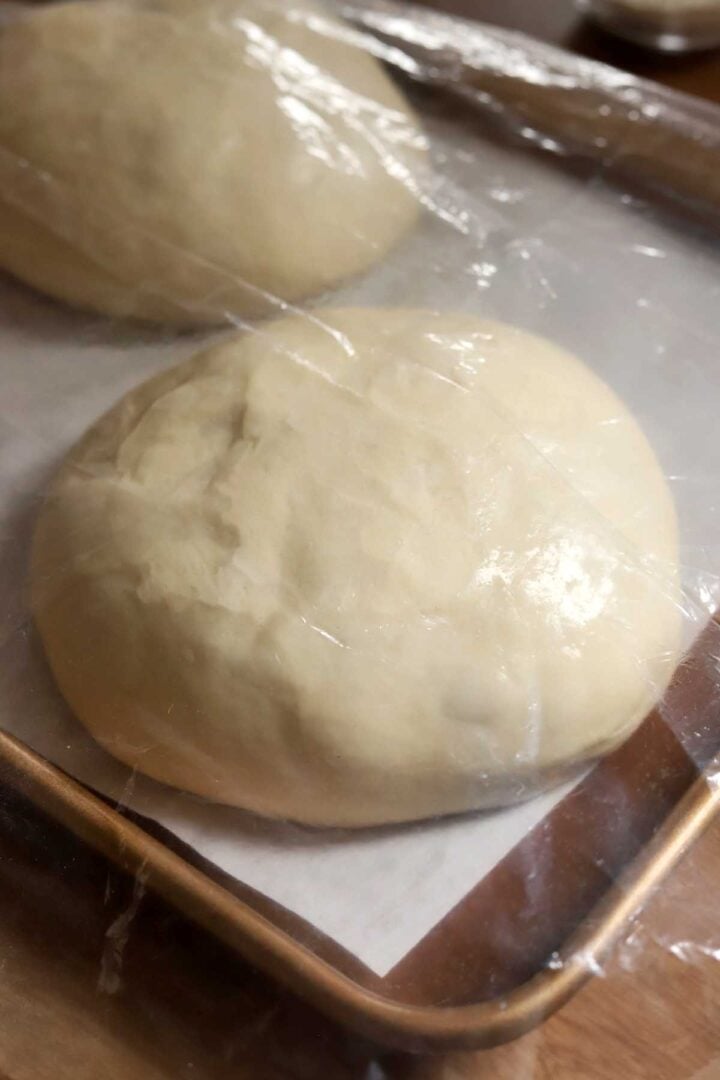
- STEP 7). Rest the dough. If using same day, place the dough balls onto an oiled tray and cover them. You can rest them for 20-30min if you are in a rush, but I prefer to place them in the refrigerator for 2 hours. This will allow them to stretch easier as it will provide even more time for the gluten to relax. Also, since the dough is cold it will be easier to handle as it will be less sticky. If using at a later date, place each dough ball into a tall plastic bag and store in the refrigerator for up to 2 days, squeezing out all the air/headspace and tying a knot really high up on the neck of the bag to allow plenty room for expansion. Resting the dough for longer will provide even more flavor and gluten relaxation.
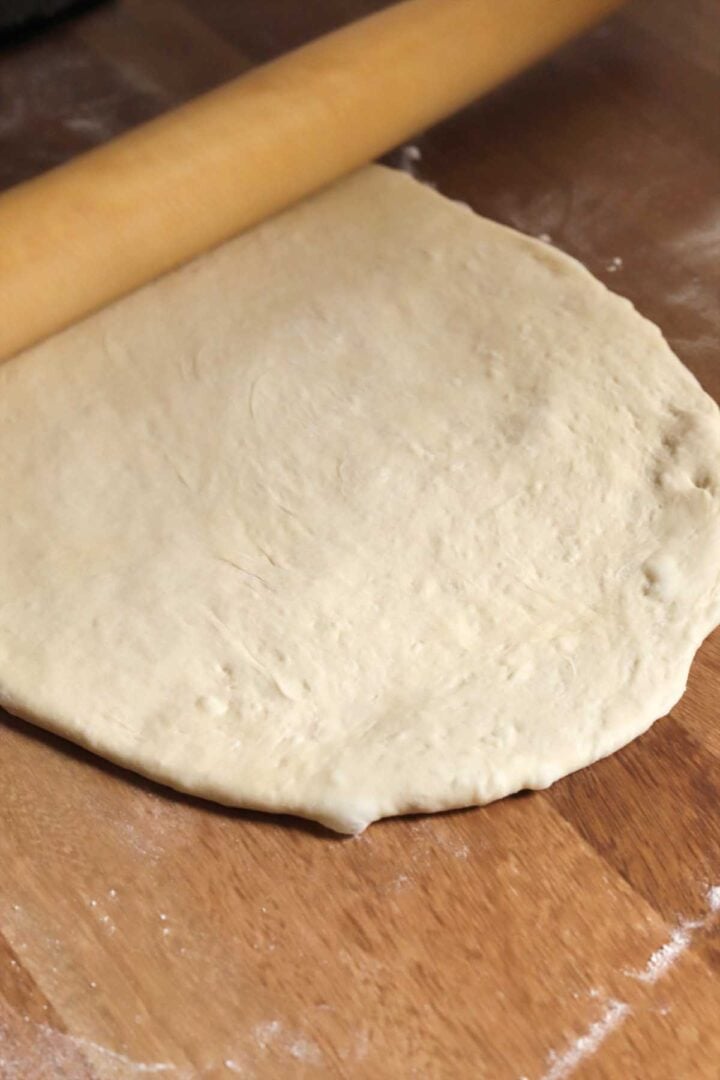
- STEP 8). Stretch/roll out the dough. Using a rolling pin, roll the dough into a flat circular shape on a lightly floured surface by rotating the dough by a quarter turn after each pass until it is the correct size of your pan. You can also use your hands to stretch the dough, just be careful not to tear the dough and keep the thickness as uniform as possible. I like to use a combination of rolling and hand stretching to maintain some rustic open crumb structure.
- STEP 9). Prepare the pans. Spray or coat each pizza pan lightly with oil and place a piece of round parchment on top. This will adhere the parchment to the pan, so it doesn't shift when you add the dough to the pan, but also help brown and crisp up the bottom of the pizza while ensuring it releases from the pan after baking. If you are using pans with a very effective non-stick coating, then you can skip the parchment and sprinkle some corn meal onto the pan.
- STEP 10). Prepare the pizza. Place the stretched pizza dough into the prepared pans. For a lighter and airy crust, cover them with a sheet of plastic and let them sit out at room temperature for 20-30min to rise until slightly puffy, while the oven preheats or during the preparation of the toppings. Add a layer of sauce and preferred toppings.
- STEP 11). Bake for 13 minutes at 230 degrees C (450 degrees F) until evenly browned. Depending on your oven you may need to rotate the pans after about 8min. Remove from oven and let them cool for a few minutes on a wire rack to maintain crispy bottoms. Once cool enough to handle, slice and dig in!
STEP BY STEP INSTRUCTIONS (watch the recipe video at the bottom of the page for a full tutorial)
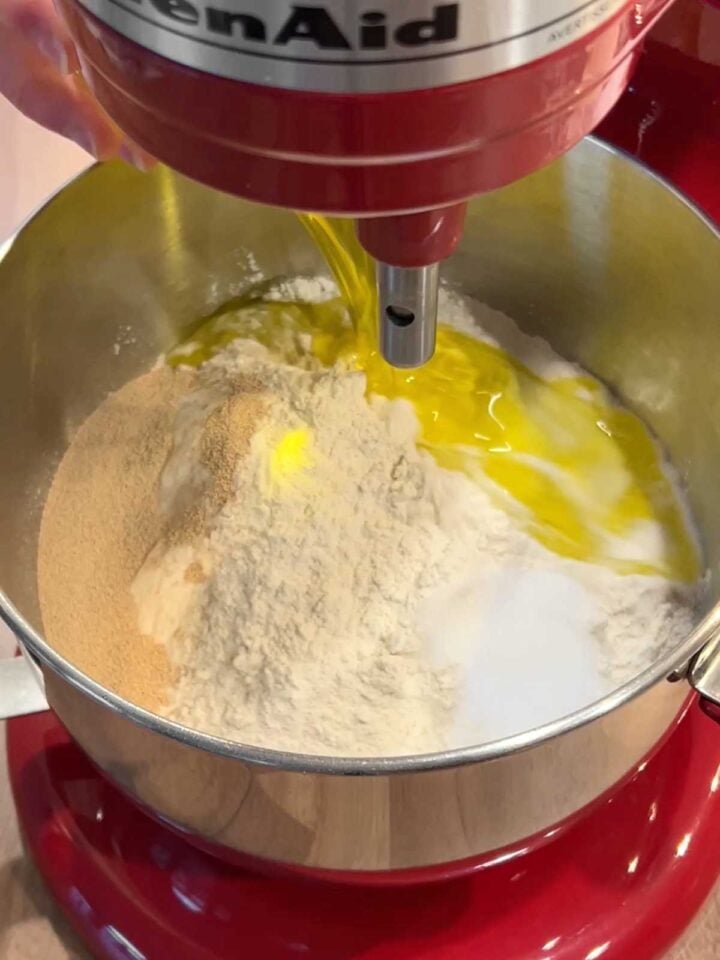
Combine all pizza dough ingredients in the mixer bowl.
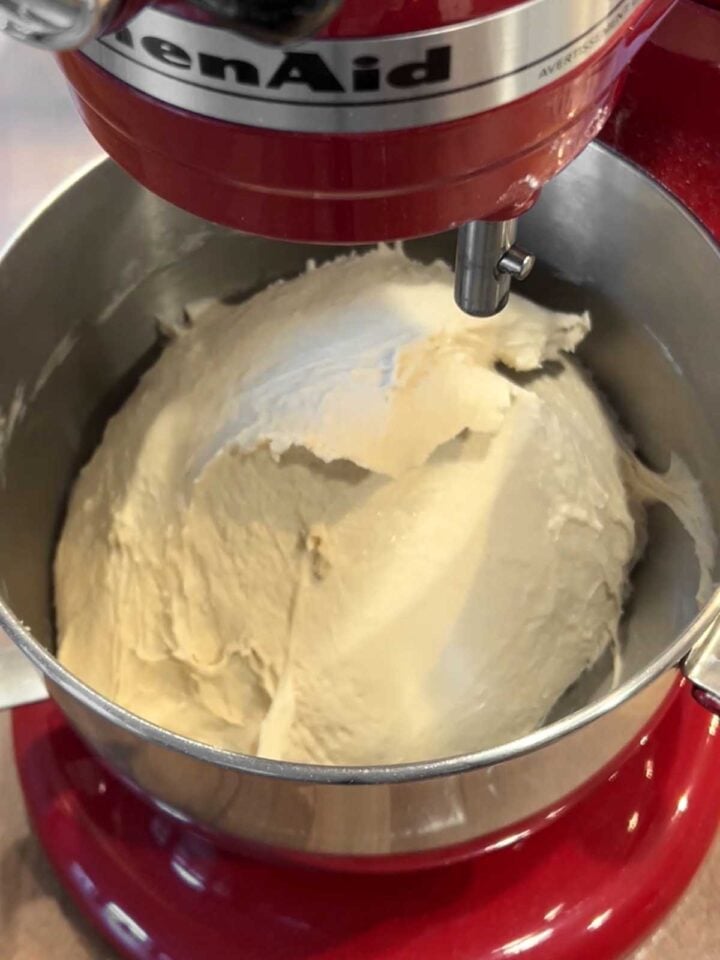
Mix until the dough is smooth and well developed, about 10 minutes.
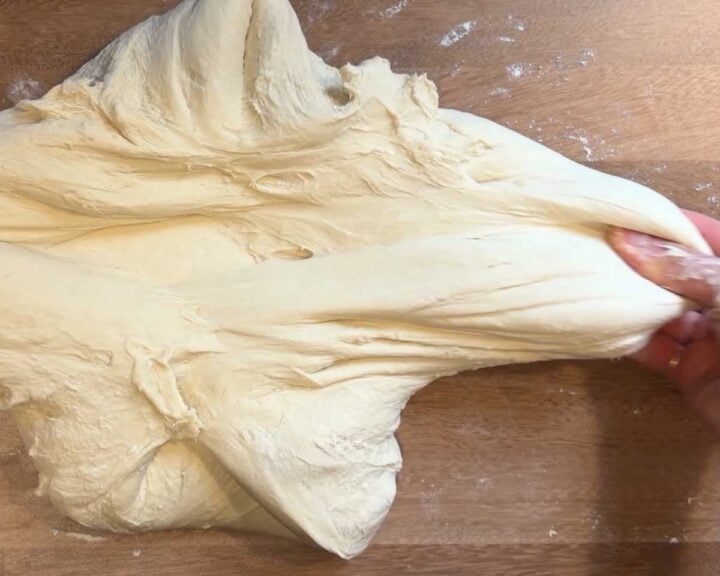
Stretch and fold the dough to help build more structure.
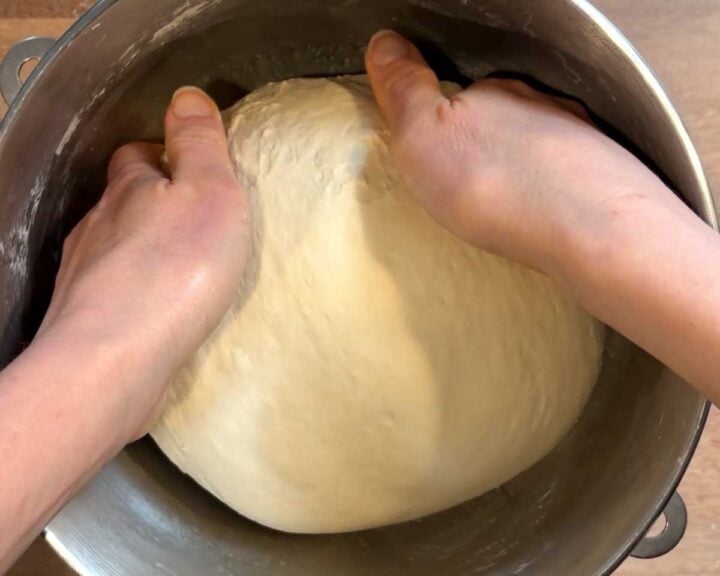
Bulk ferment the dough for 1-2 hours or until it has doubled in size.
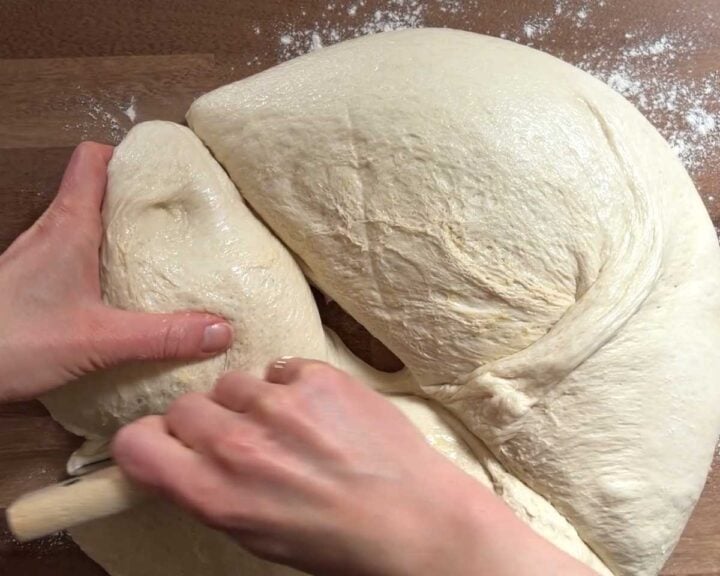
Transfer the bulked dough to a work surface and divide into 4 equal portions.
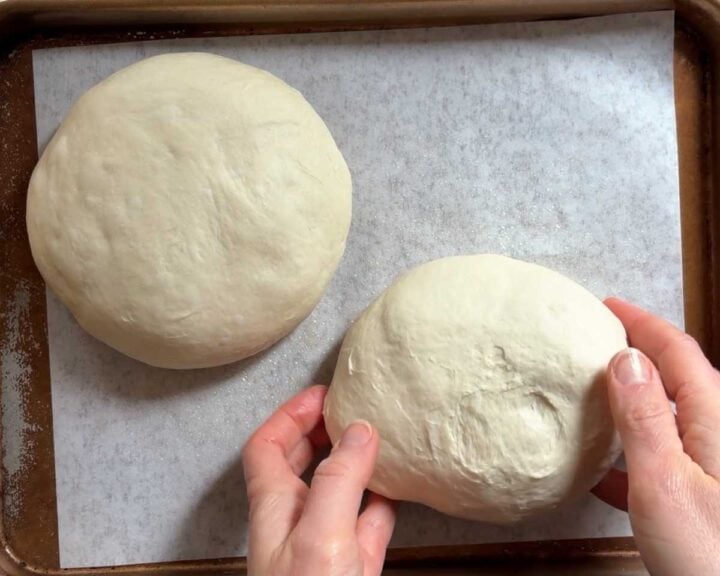
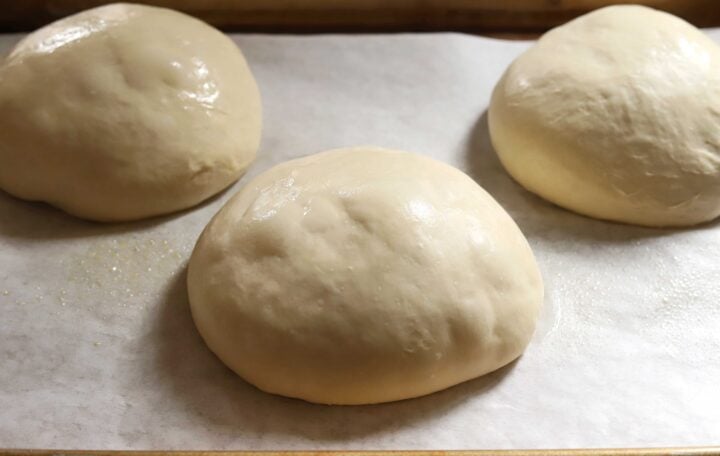
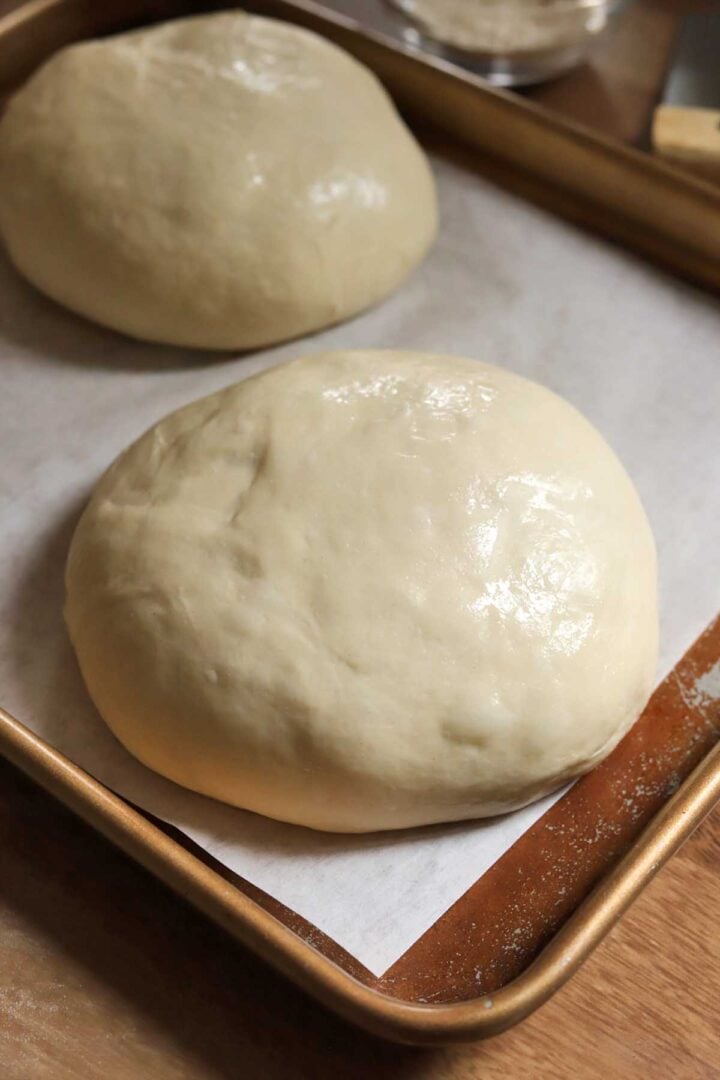
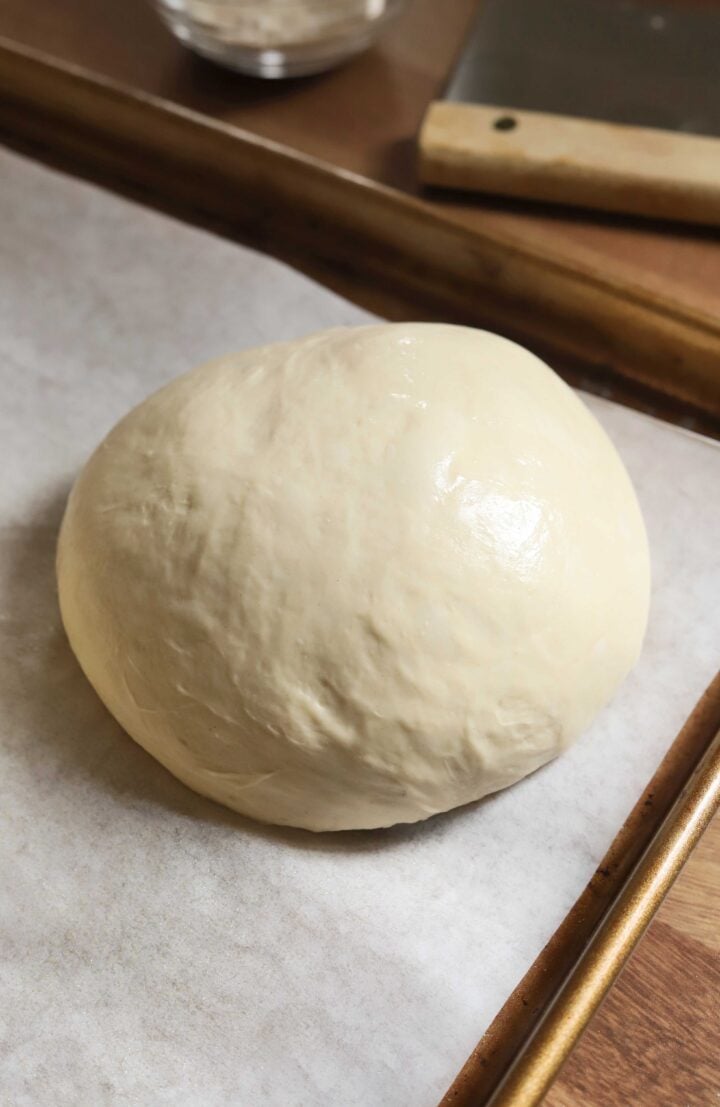
Shape into tight balls and transfer to a parchment-lined baking sheet, cover and rest in the refrigerator.
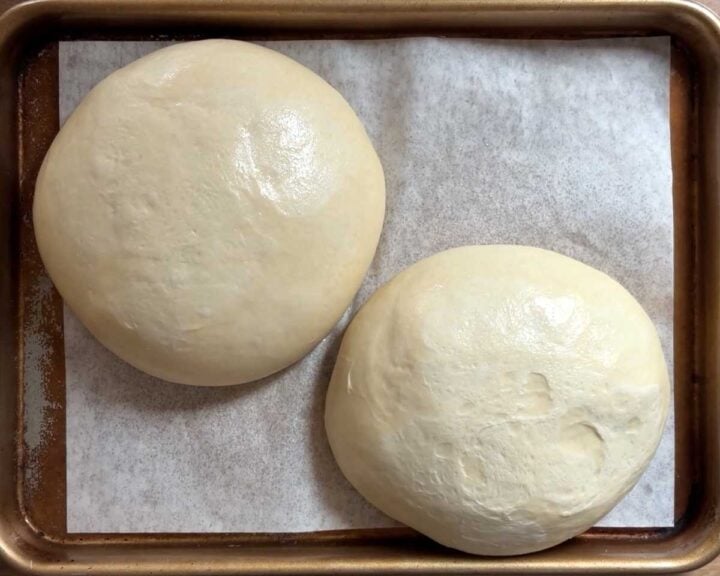
Rested dough should be relaxed for easy rolling.
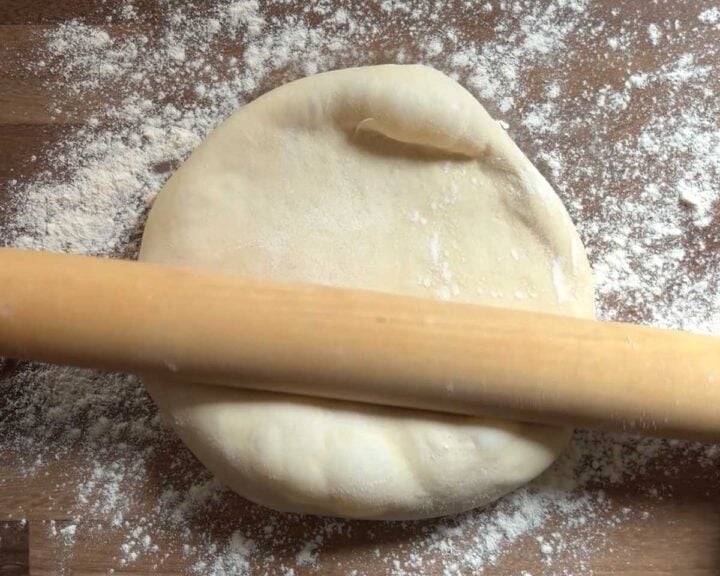
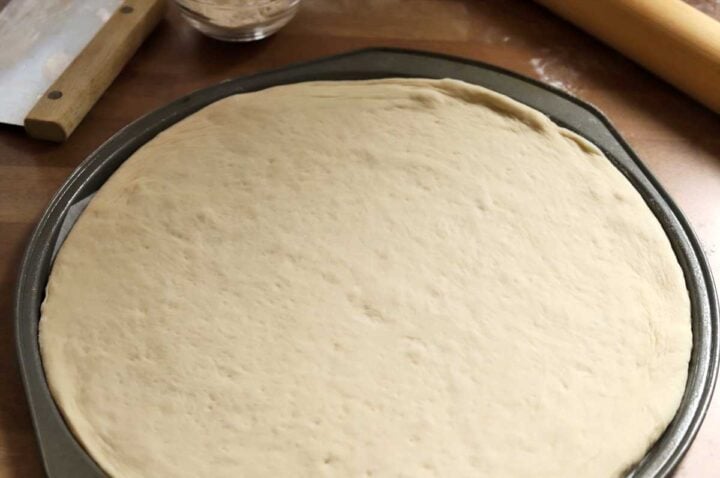
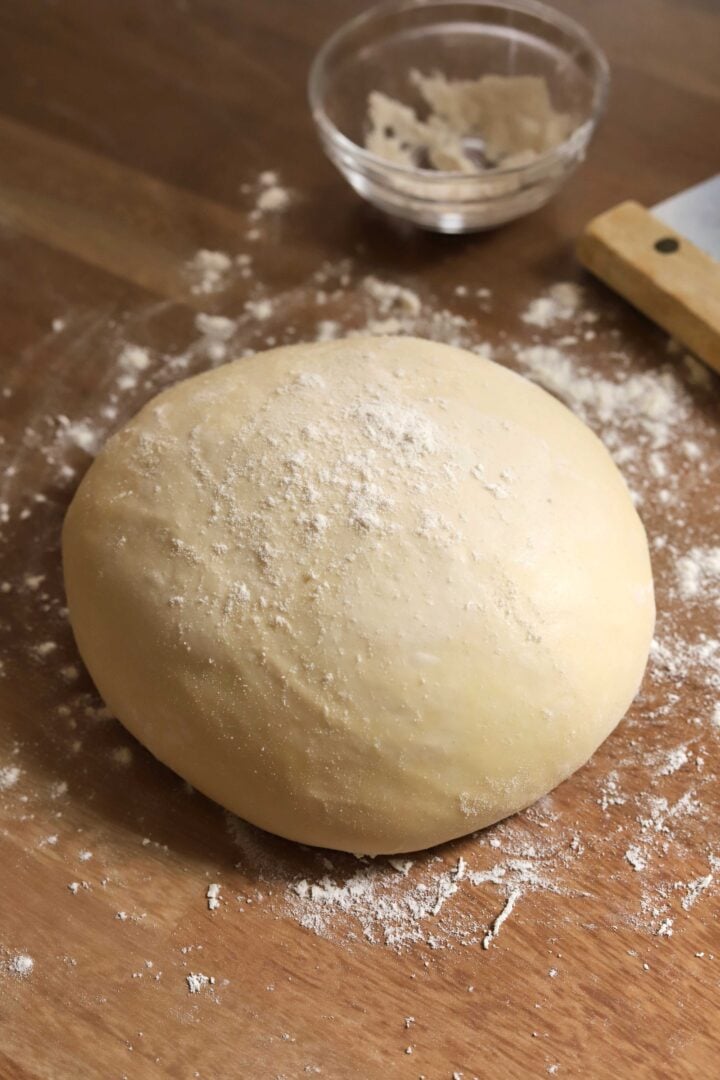
Roll the dough ball out on a lightly floured work surface.
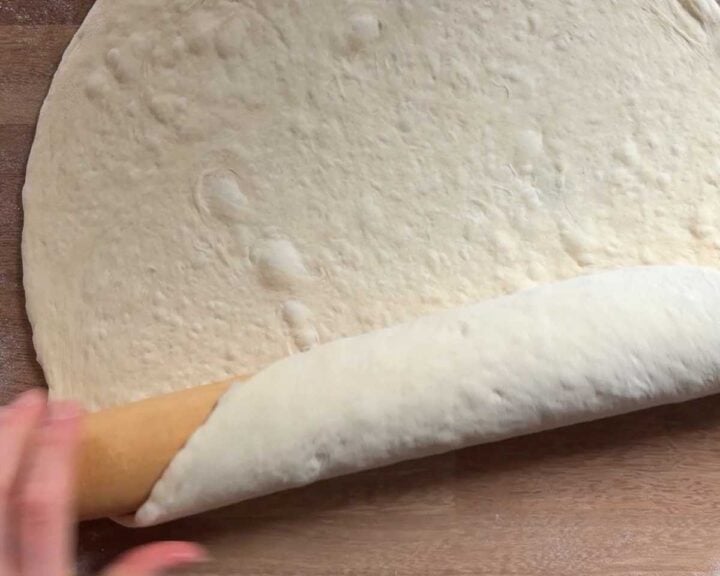
Roll up the dough over the rolling pin…
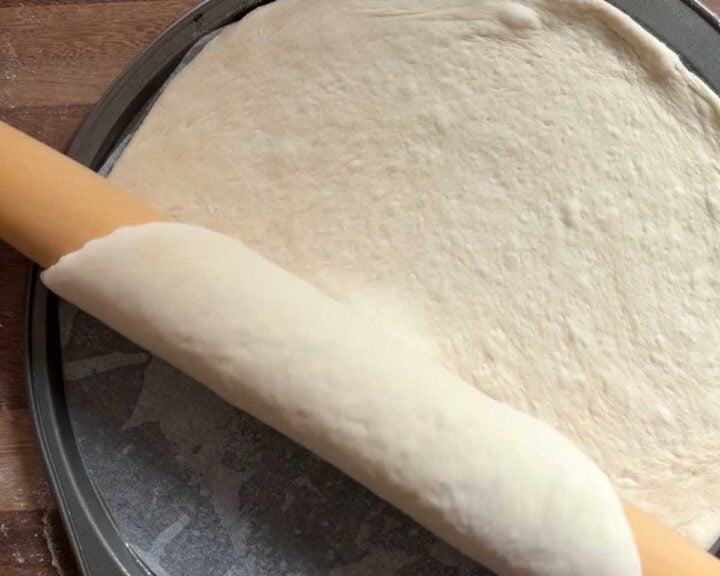
...and transfer to an oiled, lined pizza pan or other baking sheet pan.
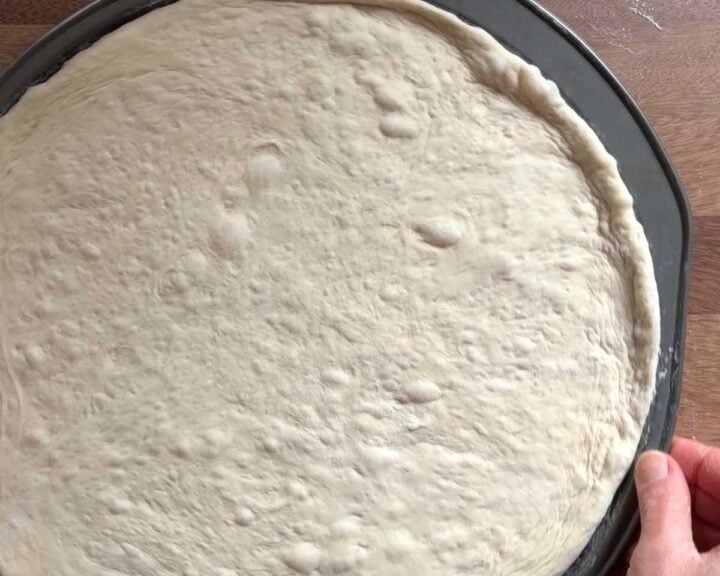
Set the pan aside, cover and let the dough rise again until slightly puffy.
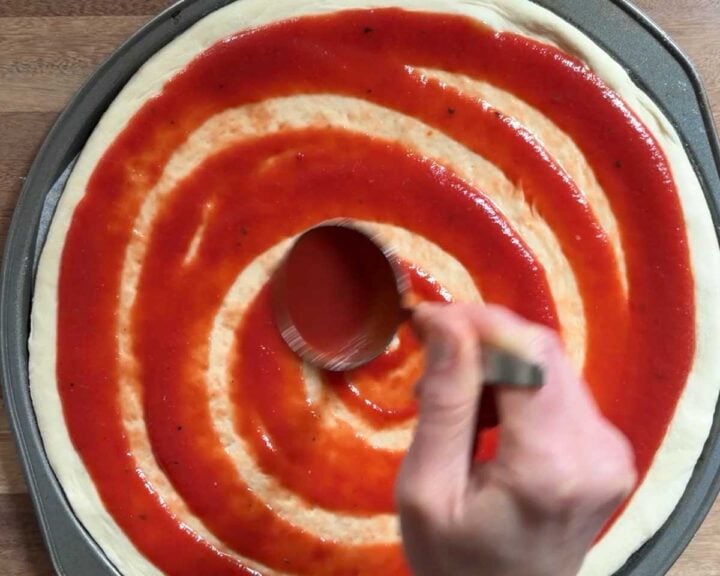
Spread tomato sauce over top.
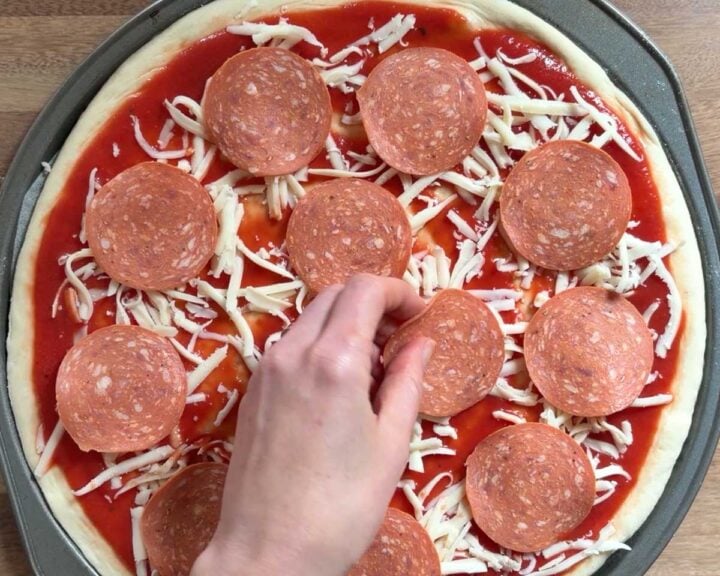
Add toppings.

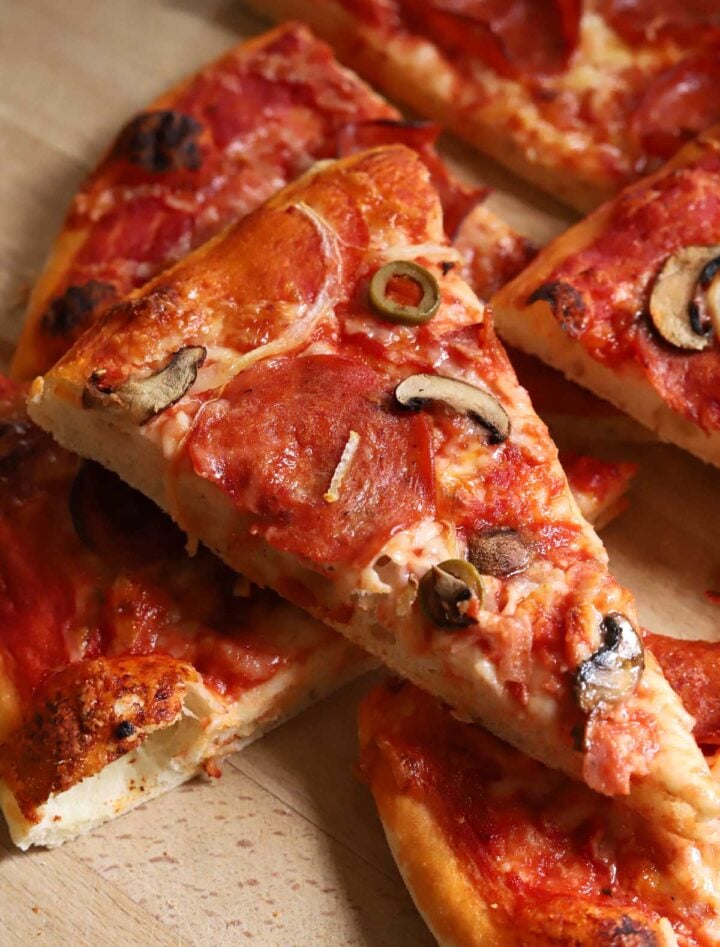
Bake and enjoy!
EXPERT BAKING TIPS FOR HOMEMADE PIZZA DOUGH
- Have a well hydrated dough. This dough has 67% hydration which is a well hydrated dough. You may be tempted to add more flour as you may feel it is a bit tacky, but this is correct. Conversely, different flours can absorb different amounts of water, so depending on the quality of your flour, you may need to increase hydration. A well developed hydrated dough will feel tacky, not sticky and it is the best way to ensure you have nice soft internal crumb.
- Don't over-heat the dough. Yeast thrives at 24-26 degrees C (75-79 degrees F). The friction of the mixer often heats the dough alone, so I often even use cool to room temperature water and don't even need warm water pizza dough in my stand mixer. If the temperature is too high, the dough will be sticky and it will proof too fast. A controlled temperature creates controlled fermentation for optimum flavor.
- Knead thoroughly. The dough should be smooth like a baby's bottom and will not tear when it is ready. A dough that is well developed will hold in the gas bubbles produced by yeast to yield fluffy crumb. This usually takes at least 10 minutes in a stand mixer on medium-low speed.
- Rest the dough sufficiently. After shaping into balls, the gluten needs time to relax before it can be stretched or rolled out, otherwise it will snap back or tear.
- Prepare the pans. There is nothing worse than not being able to release your beautiful baked pizzas from the pan. If you are using non-stick pans that are new or have a very effective non-stick coating, then you can probably get away with just some oil or a sprinkle of corn meal. To ensure they release properly you can also lightly coat the pans with oil and a piece of parchment on top. If you don't use the oil the paper will slide and/or the bottom won't brown well. The oil helps transfer the heat to the bottom of the crust through the parchment to brown and crisp up the bottom of the pizza.
- Do not over-bake. Over baking will dry out any type of bread so make sure the oven is hot enough so you achieve a shorter baking time.
- Slice toppings thin. Since there is a relatively short baking time for pizzas, ensure the toppings are sliced thin enough so they are not raw by the time the crust is baked.

RECIPE FAQ
Any oil can work, but I prefer olive oil for its flavor.
Yes, you can leave the portioned balls in the fridge for up to 2 days. I re-use those thin plastic bags from the grocery to store each individual dough ball, by squeezing out all the air and tying a knot high up on the neck of the bag to allow room for expansion.
Yes you can, but you will need to proof or "bloom" the yeast before adding to the dough. You can do this by adding the active yeast to a portion of tepid water with a pinch of sugar. When it is frothy, then add it to the remaining ingredients in the bowl just before mixing.
TROUBLESHOOTING PIZZA DOUGH
If your dough is very difficult to stretch and is constantly snapping back or tearing, you need to let the dough rest longer. If needed, you can cover the partially stretched dough and leave it for another 15-20min, before coming back and continue stretching.
Most likely it is over over-baked, not enough moisture in the dough (low hydration) or you have used too much flour for rolling and shaping.
If your pizza dough didn't rise during bulk fermentation, you may have used active yeast instead of instant active yeast without blooming, the yeast was too old, or the dough and/or surrounding environment is too cold. Yeast that is too old will lose the ability to leaven the dough and can even cause the dough to become more sticky. Its activity is highly dependent on temperature, so it is important to have a final dough temperature between 24-26 degrees (75-79 degrees F). If the dough is too cold, or kept in a very cool place, the yeast will ferment very slowly.
If your pizza dough is really dense and didn't rise much in the oven, then either the yeast activity was degraded or the gluten network was not properly developed. If you want a lighter more airy crust, cover the pans with the already stretched pizza doughs and let sit for 20-30min in a warm environment until they are puffed up a bit. Add sauce and toppings then bake.
Yes, you can, but you may lose some volume and the crust will be more dense. The freezing process creates ice crystals that damages the yeast and gluten network. I don't recommend freezing for best results, but if you need to freeze them I wouldn't keep them in the freezer for more than 2 weeks.
If you love making loaf cakes, check out these recipes!
Walnut Chocolate Chip Zucchini Bread Brown Butter Chocolate Chip Pumpkin Bread Best Chocolate Chip Banana Bread Copycat Starbucks Lemon Loaf Apple Cinnamon Bread with Maple Crumble Double Chocolate Loaf Cake DOUBLE CHOCOLATE ZUCCHINI BREAD CLASSIC BANANA BREAD RECIPE MAPLE PECAN BANANA BREAD WITH DARK CHOCOLATE DOUBLE CHOCOLATE BANANA BREADCraving Carbs...
Here are some more yeasted dough recipes:



Video
Homemade Pizza Dough

Ingredients
- 6 ⅓ cups (900g) unbleached bread flour
- 1 tablespoon (17g) fine salt
- 4 ½ tablespoon (50g) liquid oil such as vegetable, canola, sunflower or olive oil
- 1 ½ tablespoon (14g) instant dry yeast
- 2 ½ cups (600g) water, plus more if needed (added in 20ml increments)
Instructions
- Make the dough. Combine dry ingredients. Place flour in the bowl of a stand mixer. Add in yeast and salt in little piles in separate places over the flour in the bowl so that they are not touching. You do not want the salt in direct contact with the yeast for a prolonged period of time without mixing or it can inhibit its activity.
- Add wet ingredients. Add in the oil and water.
- Mix the dough. Attach the dough hook and mix on medium-low for 10-15 minutes until it the surface looks smooth. Stop after a 2 minutes to scrape down the sides of the bowl and ensure all of the flour is incorporated and the dough is a uniform mixture. It will still be wet and rather loose at this point. Continue mixing for another 2-3 minutes. The dough should start to climb up the dough hook and will still be webbing around the bottom of the bowl. (Note: if the dough seems rather dry and stiff at this point, add water at 20ml increments until you reach a softer consistency as described). Stop the mixer and scrape around the inside of the bowl to release the dough. Continue mixing for another 3 minutes. Stop again, pull the dough off of the hook and scrape around the inside of the bowl to release the dough again. Continue mixing for another 3-5 minutes. At this point the dough should start forming a mass and come away from the bowl as it is mixing. You can check the temperature of the dough now if you have a digital thermometer - it should be between 24-26 degrees C (75-80 degrees F) for optimal activity.
- Knead the dough. Transfer the dough to a lightly floured work surface. Now you will stretch and fold the dough to help develop the gluten structure. Using both hands, grab both sides of the dough, pull it outwards (this is the "stretch"), then fold it inwards over itself. Rotate the dough and continue to stretch and fold until the dough feels very smooth. Watch my video for a full tutorial. Shape the dough into a ball by tucking the sides underneath and rolling it around the counter. The surface of the dough ball should pull smoothly without tearing.
- Bulk Fermentation. Place the ball into a lightly oiled bowl. Cover the bowl with plastic and then cover with a kitchen towel. Set it aside in a warm dark place and let it rise for 1-2 hours until nearly doubled in size. Note that the amount of time required will depend on the temperature of your kitchen.
- Divide the dough into equal portions. Lightly flour a work surface and tip the dough out onto the surface. Divide the dough into 4 equal portions (approximately 390g each) and shape into balls.
- Rest the dough. If using same day, place the dough balls onto an oiled tray and cover them. You can rest them for 20-30min if you are in a rush, but I prefer to place them in the refrigerator for 2 hours. This will allow them to stretch easier as it will provide even more time for the gluten to relax. Also, since the dough is cold it will be easier to handle as it will be less sticky. If using at a later date, place each dough ball into a tall plastic bag and store in the refrigerator for up to 2 days, squeezing out all the air/headspace and tying a knot really high up on the neck of the bag to allow plenty room for expansion. Resting the dough for longer will provide even more flavor and gluten relaxation.
- Stretch/roll out the dough. Using a rolling pin, roll the dough into a flat circular shape on a lightly floured surface by rotating the dough by a quarter turn after each pass until it is the correct size of your pan. You can also use your hands to stretch the dough, just be careful not to tear the dough and keep the thickness as uniform as possible. I like to use a combination of rolling and hand stretching to maintain some rustic open crumb structure.
- Prepare the pans. Spray or coat each pizza pan lightly with oil and place a piece of round parchment on top. This will adhere the parchment to the pan, so it doesn't shift when you add the dough to the pan, but also help brown and crisp up the bottom of the pizza while ensuring it releases from the pan after baking. If you are using pans with a very effective non-stick coating, then you can skip the parchment and sprinkle some corn meal onto the pan.
- Prepare the pizza. Place the stretched pizza dough into the prepared pans. For a lighter and airy crust, cover them with a sheet of plastic and let them sit out at room temperature for 20-30min to rise until slightly puffy, while the oven preheats or during the preparation of the toppings. Add a layer of sauce and preferred toppings.
- Bake for 13 minutes at 230 degrees C (450 degrees F) until evenly browned. Depending on your oven you may need to rotate the pans after about 8min. Remove from oven and let them cool for a few minutes on a wire rack to maintain crispy bottoms. Once cool enough to handle, slice and dig in!
There are just two of us and the quantity is too big. Can this recipe be successfully halved? Thank you for your advice/tips.