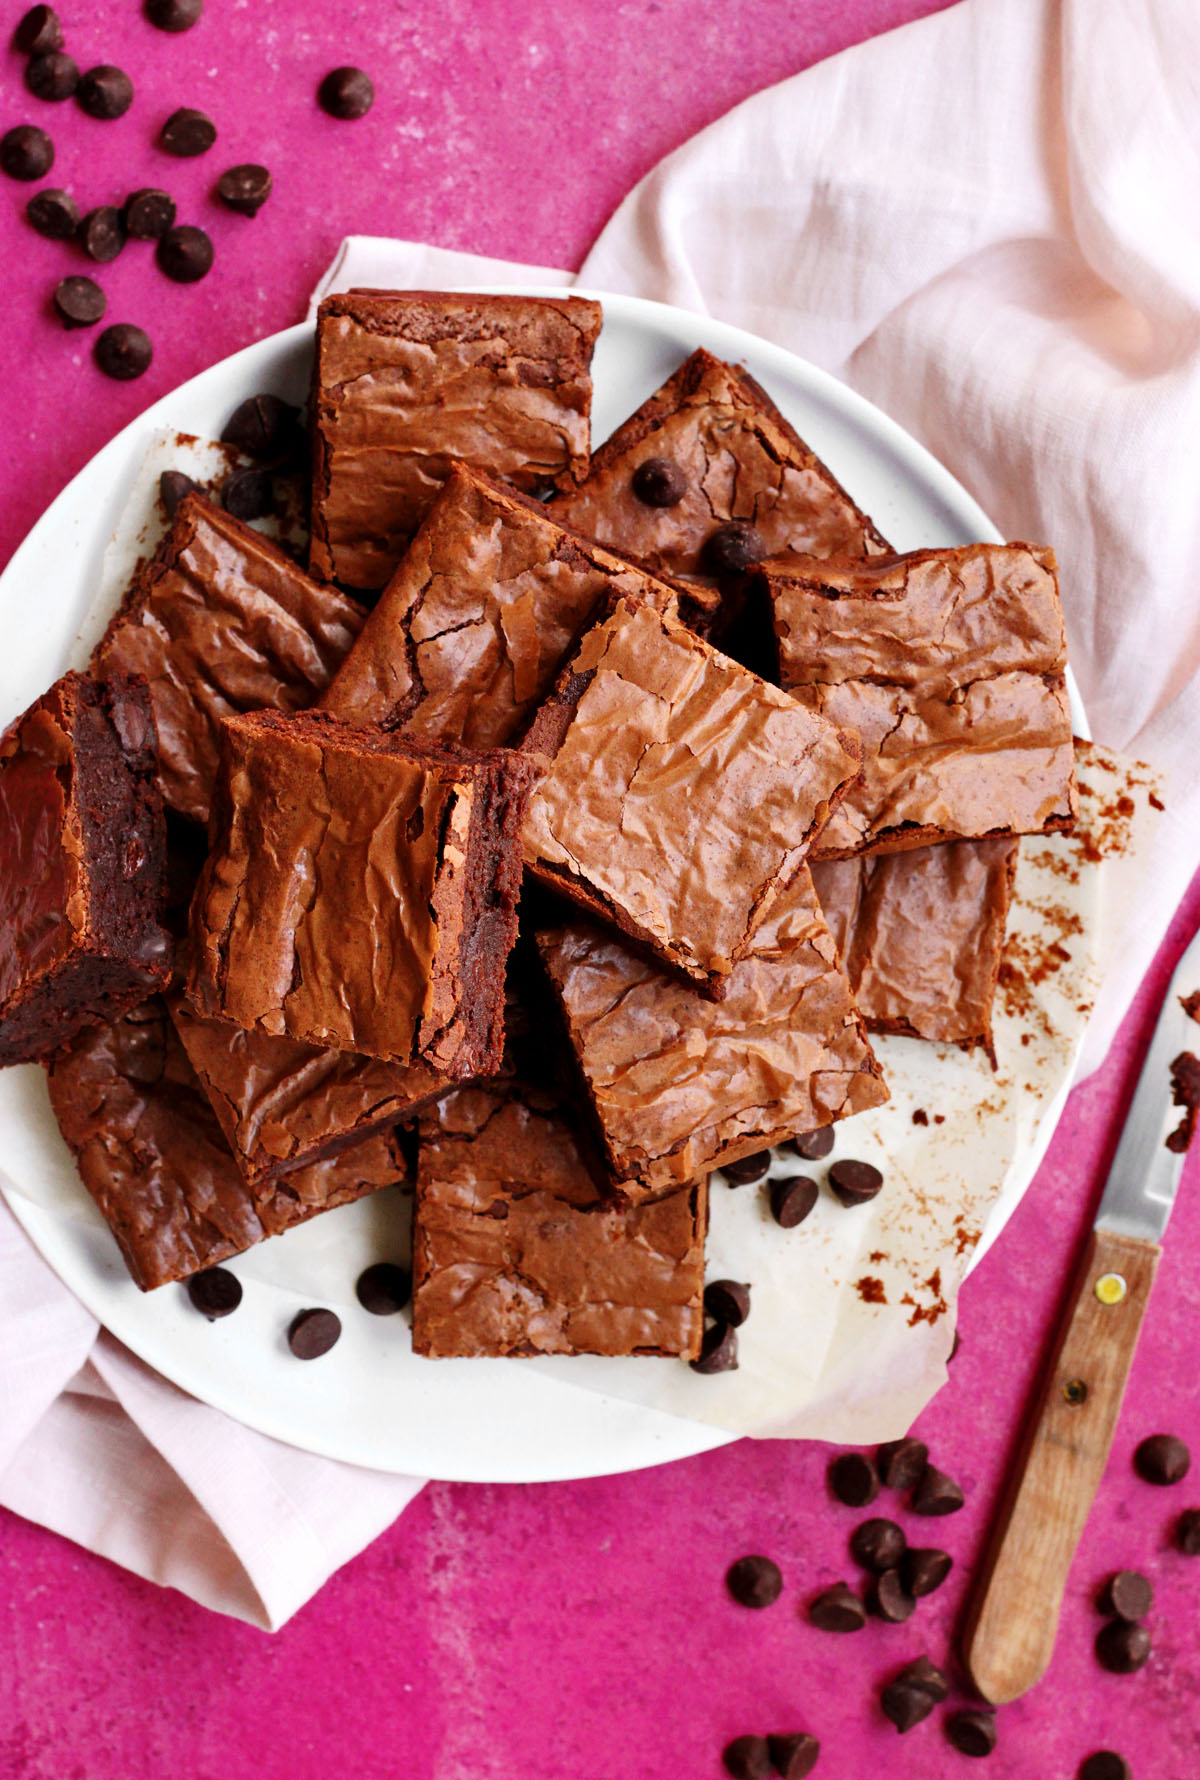
Better Than Box Mix Brownies Recipe
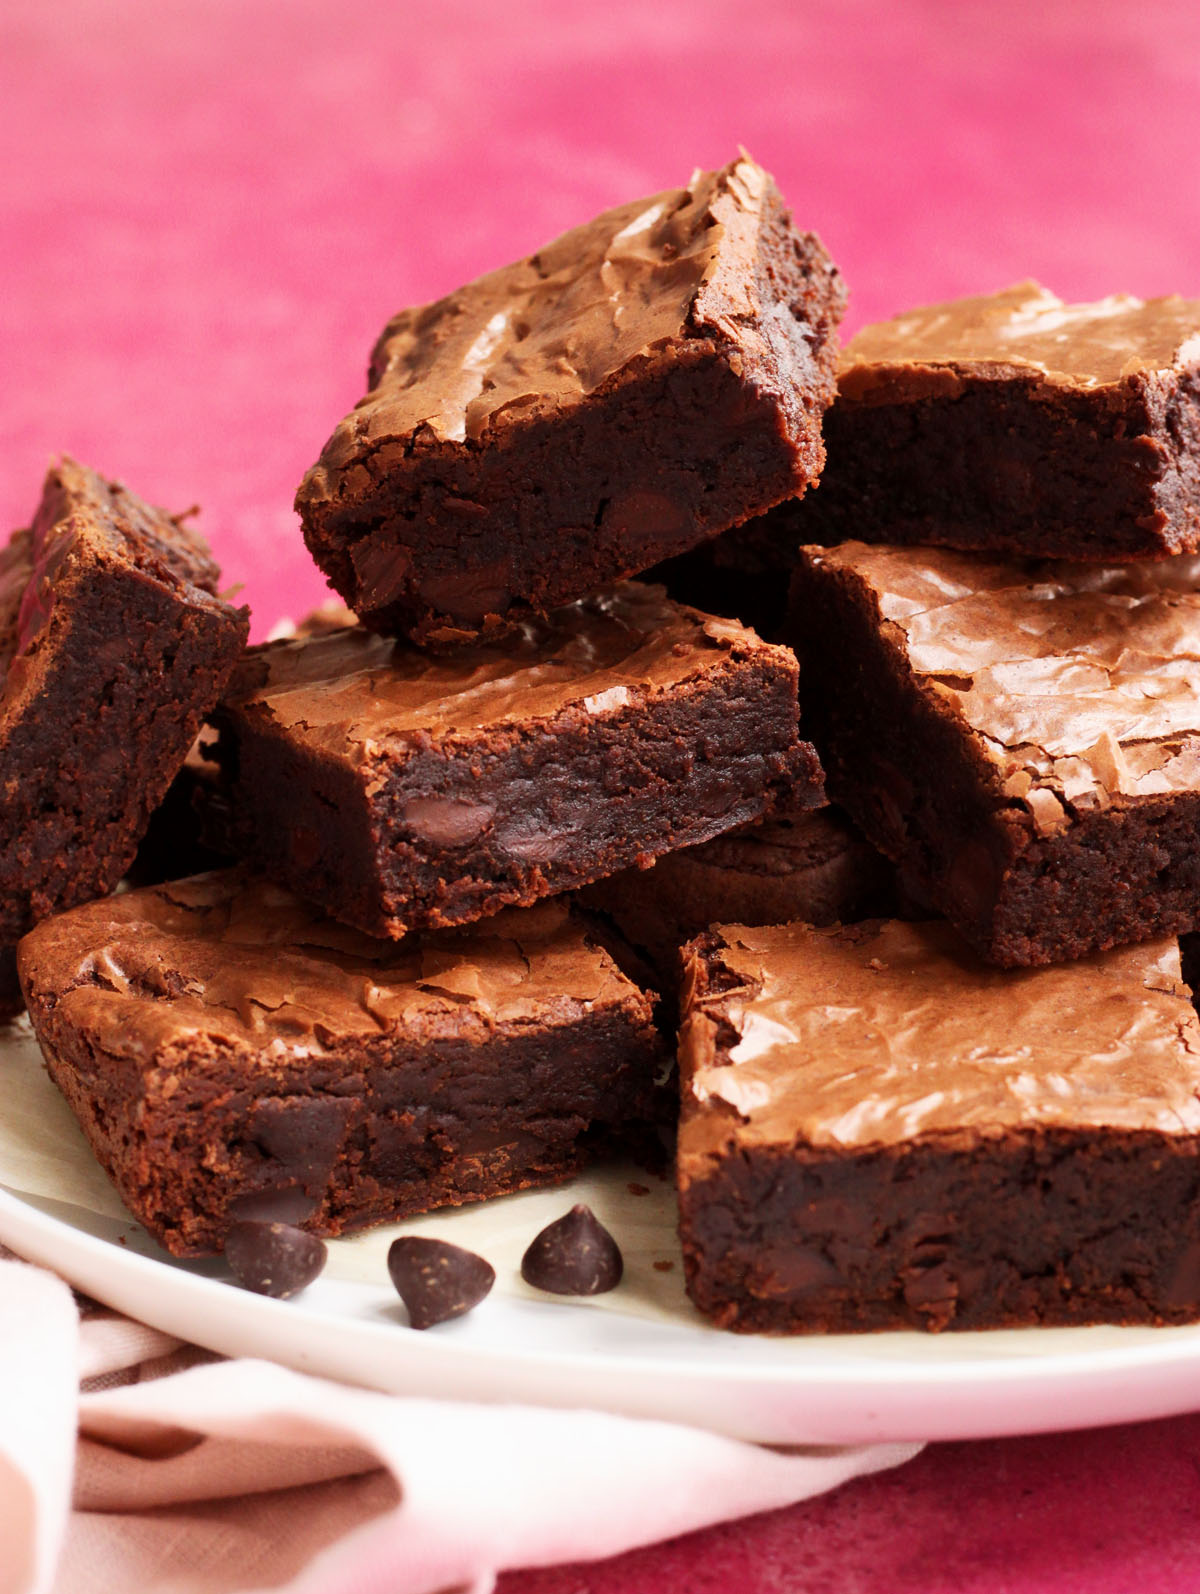
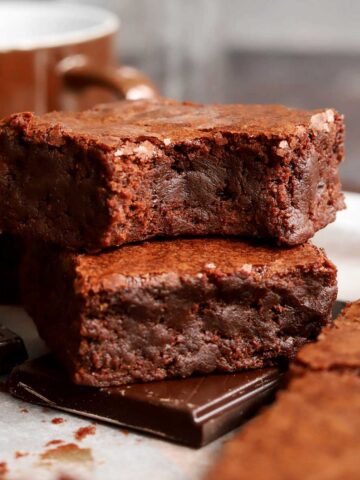
If you are a fan of brownies from a box mix, then you will love my Better Than Box Mix Brownies Recipe that makes perfectly chewy, moist and rich brownies with intense cocoa flavor and a shiny crust. The recipe is so easy to prepare that you'll never want to buy a box mix again. While I worked as a corporate product developer, I actually developed the formulas for different brands of box mixes! Homemade brownies are always better than boxed, even those Ghirardelli brownies - these are better, I promise. Since this recipe mimics a box mix, it uses cocoa in the batter instead of melted chocolate. There's no oil and no water, just pure buttery cocoa goodness. Make them and tell me what you think. Will you buy a box mix ever again?
WHY THIS RECIPE WORKS
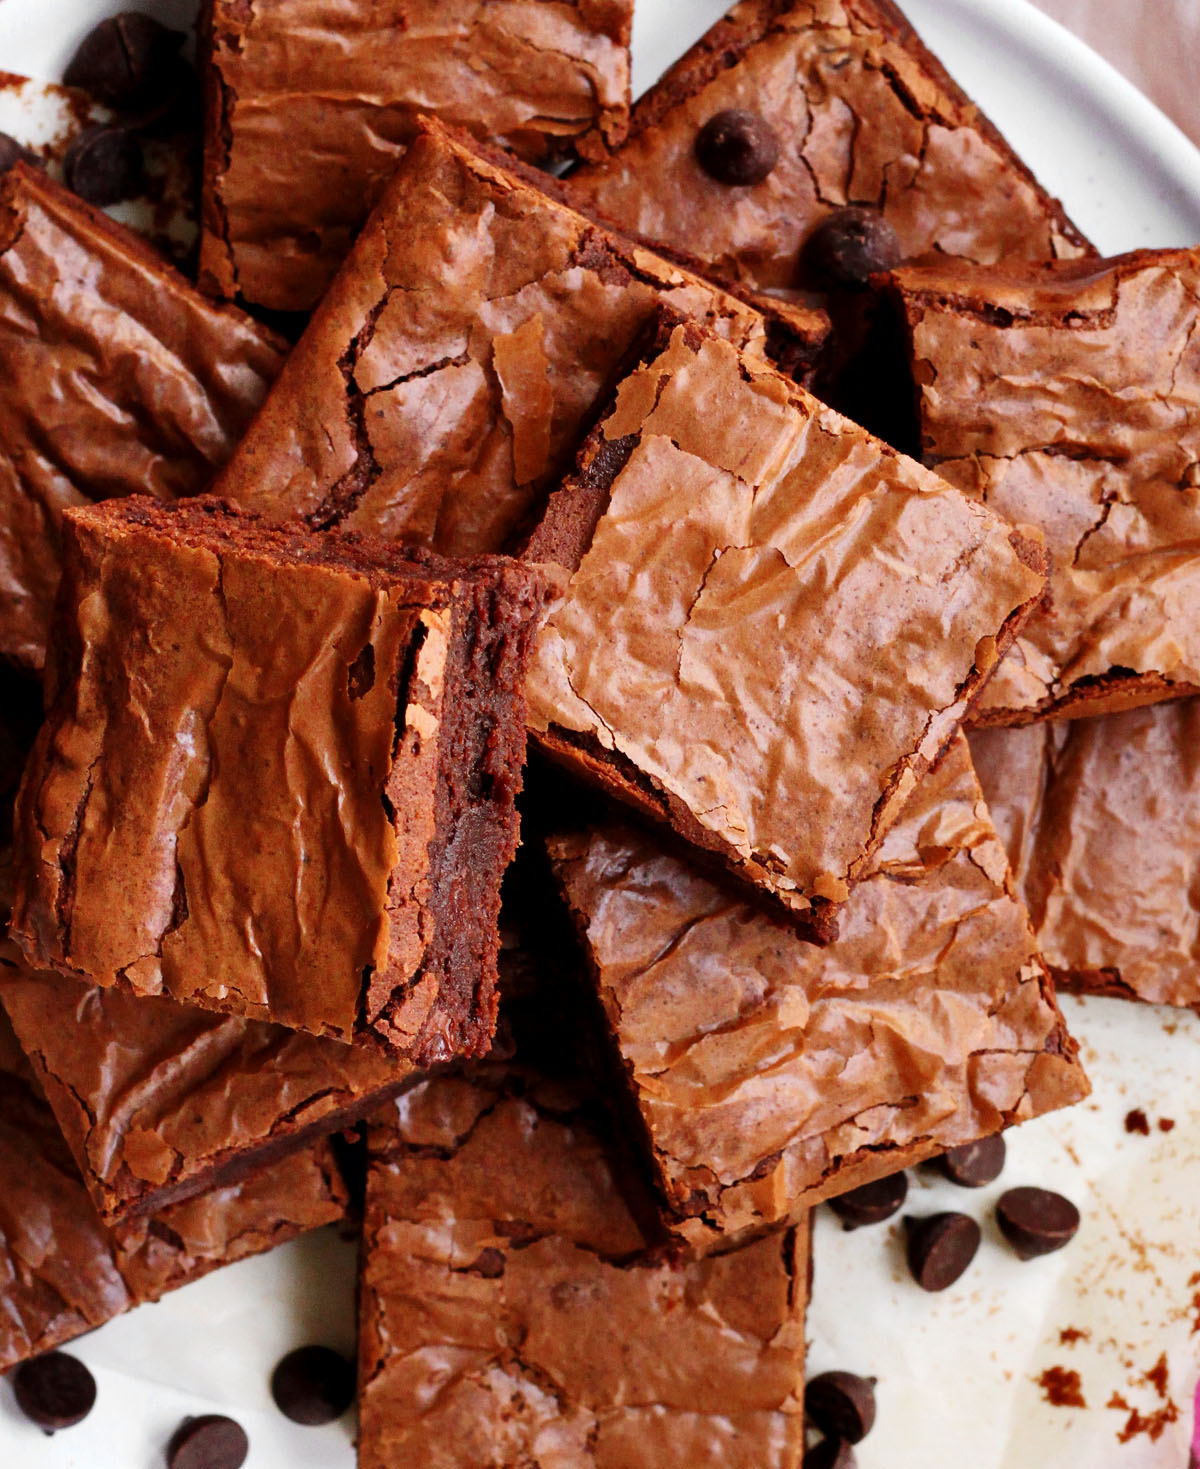
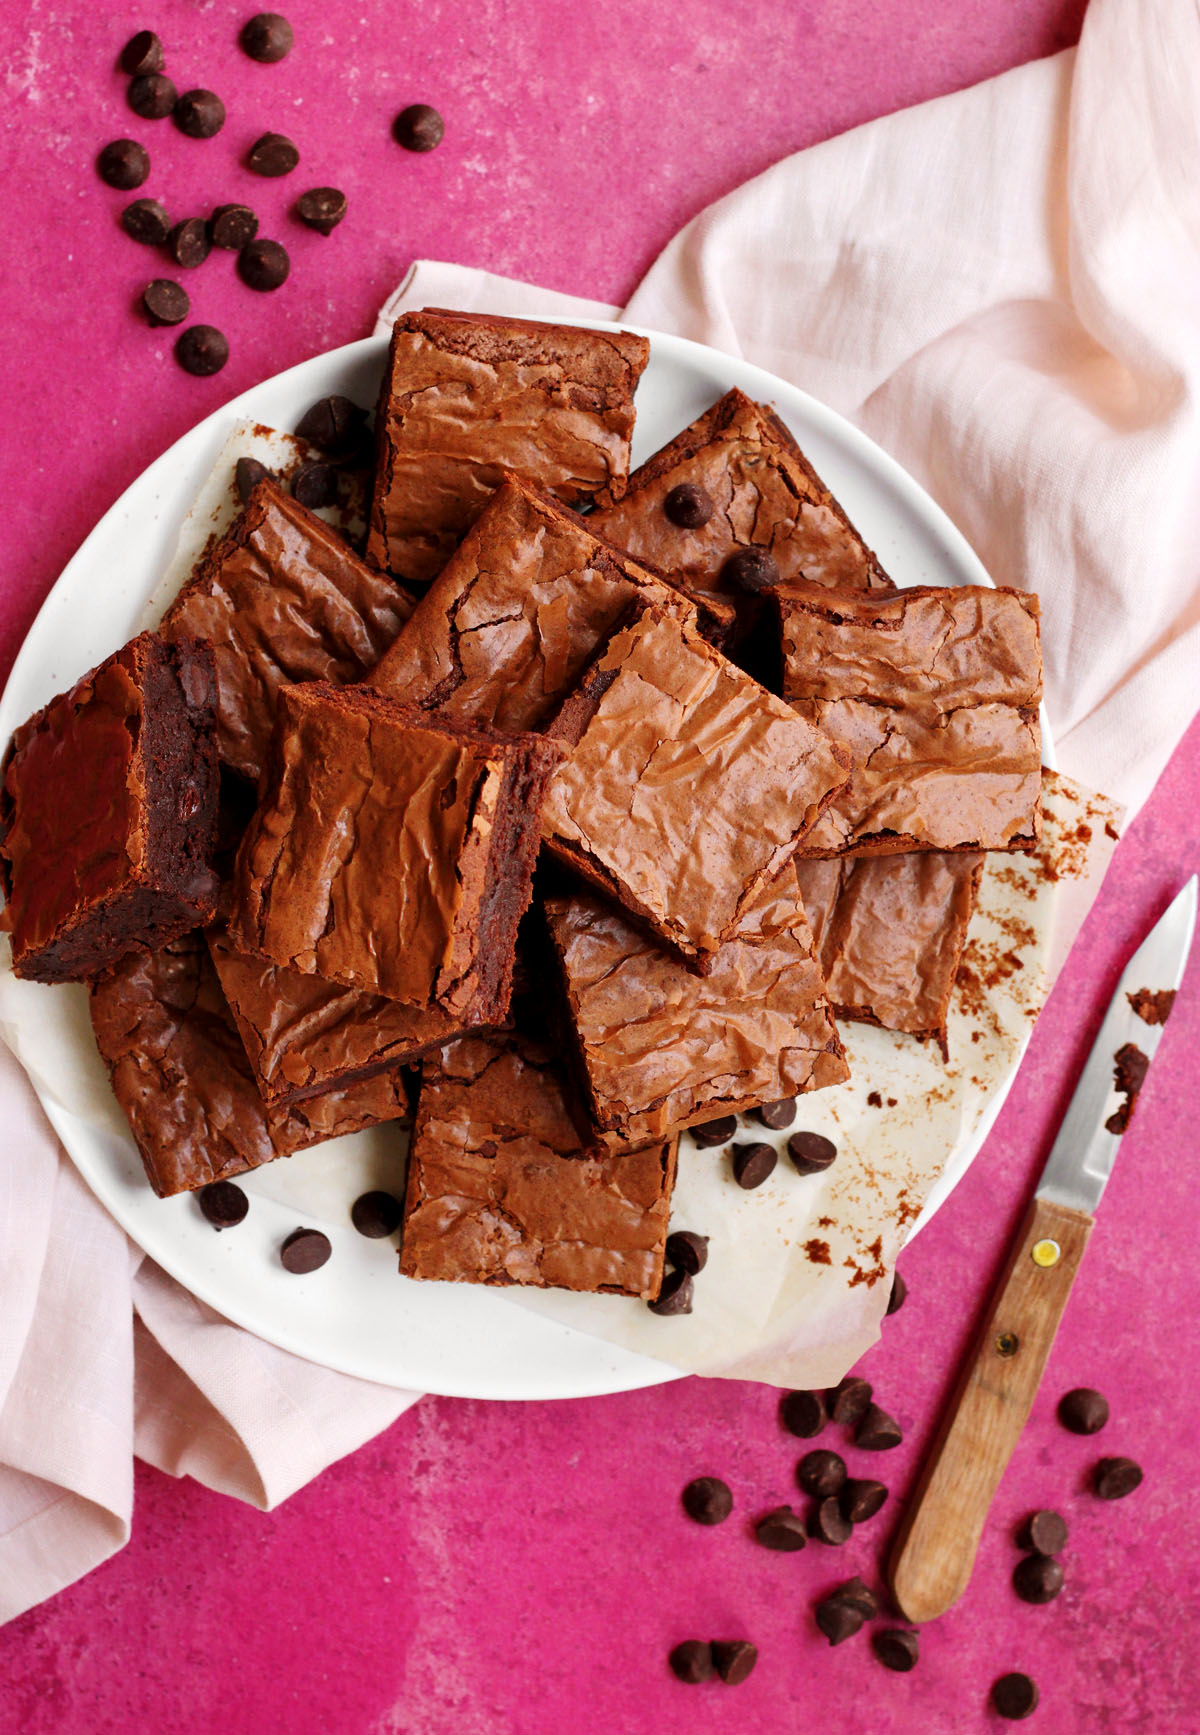
- Shiny top brownies - yes, you can achieve that quintessential shiny crinkle crust on top of your brownies even when you make them from scratch! It's all about science, so be sure to read my tips below to make sure you use the right technique to get that glossy top.
- Easy recipe - my recipe for Better Than Box Mix Brownies is not complicated. No corn starch, no extra egg yolks, no corn syrup - it uses just basic ingredients with some thought-out science and technique.
- Soft & chewy texture - box mix brownies are know for their softer and chewier texture. That's because they don't have melted chocolate which has cocoa butter in it (a harder fat than butter).
- Cocoa brownies - just like a box mix, these brownies are made with cocoa powder and added fat instead of melted chocolate. But you know what? Say goodbye to hydrogenated fats and the added oil! Oil makes brownies with a greasy texture and I don't like the flavor. We are using butter!
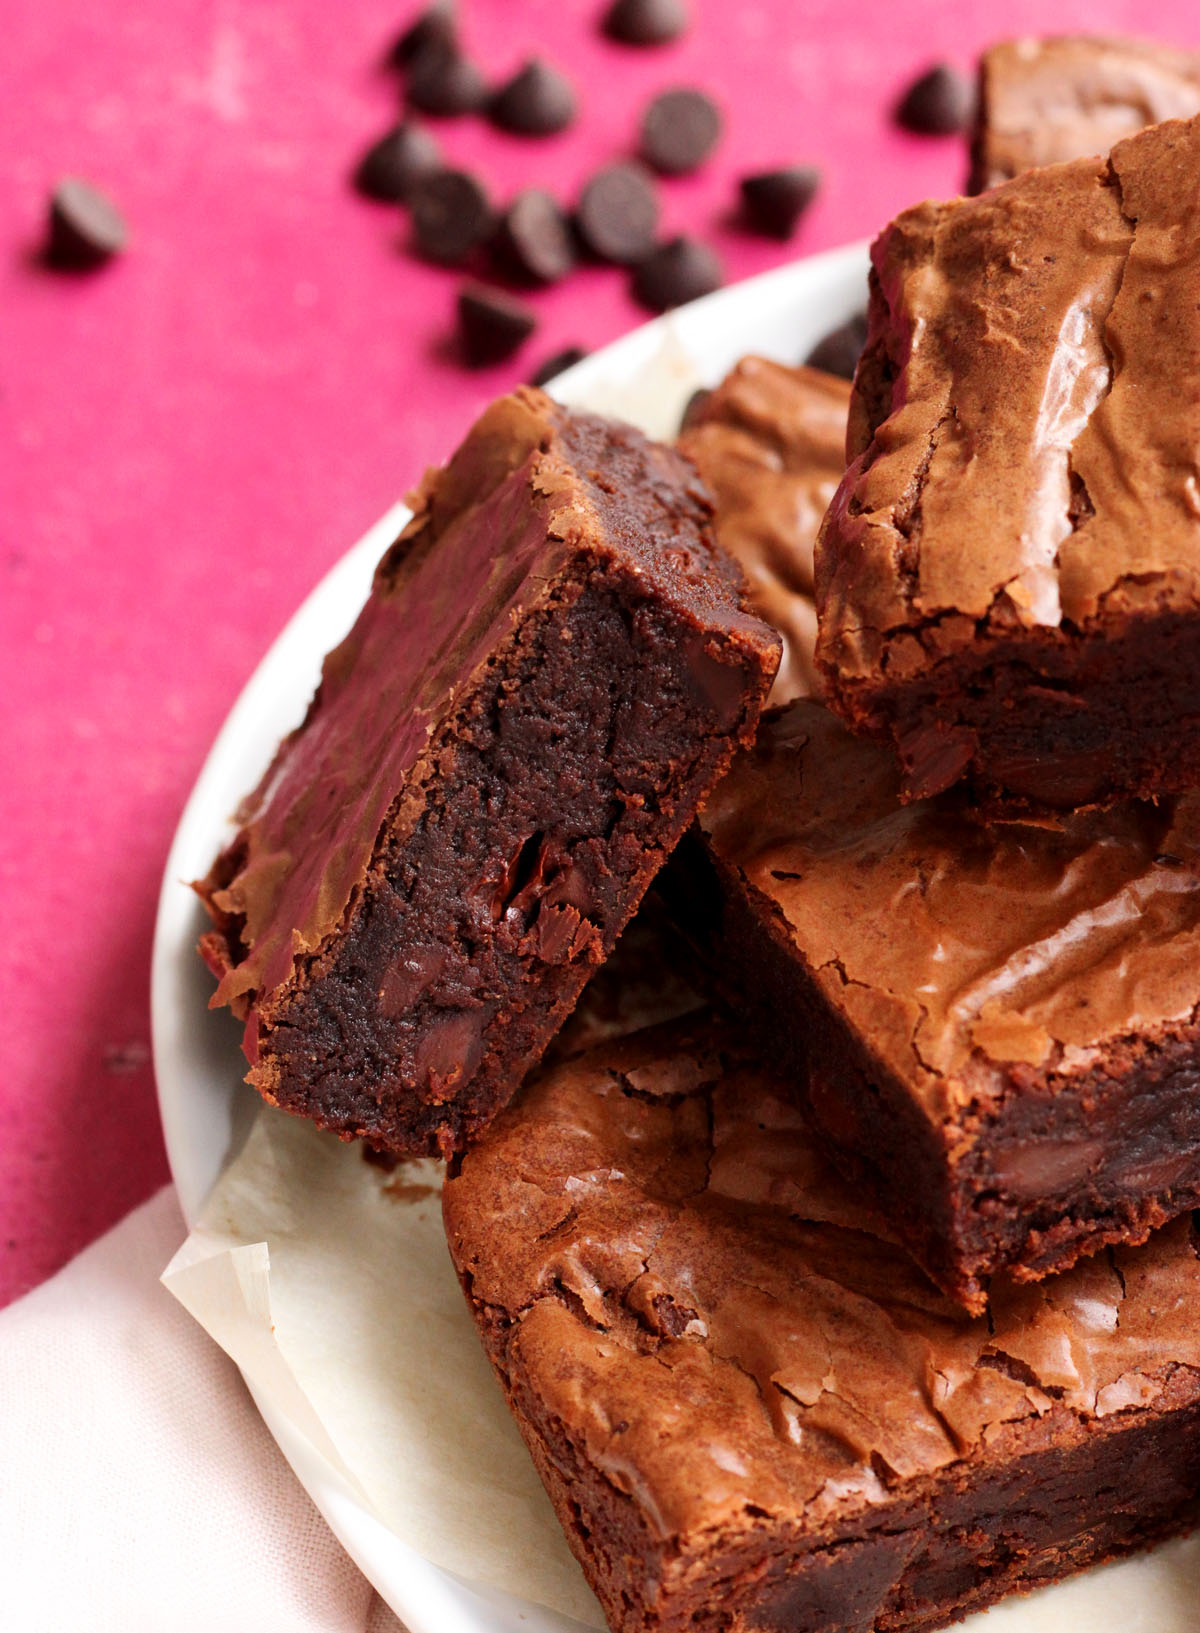
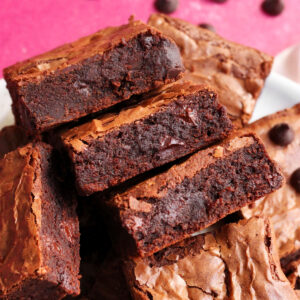
- Homemade fudgy chocolate brownies - these have a chewy and melting fudgy texture. They are not cakey at all and they have intense chocolate taste.

INGREDIENTS FOR BETTER THAN BOX MIX BROWNIES
- Cocoa powder - get your hands on some good cocoa powder! It's the main flavor in these brownies and you want it to shine so use the best you can find. I love to use this Dutch Process cocoa powder for most chocolate recipes, and natural cocoa (un-alkalized) is also recommended for its fruity taste. Make sure you use unsweetened cocoa powder and not hot cocoa mix.
- Pure vanilla extract - vanilla plays a big role in enhancing the flavor of the chocolate. I like this Madagascar Bourbon Vanilla extract.
- Salted butter - I love salted butter for this recipe (it's one of my secret ingredients!). Salted butter has a richer dairy taste, almost like cultured butter, so it will enhance the taste of the cocoa. You can also use unsalted butter, and in that case you should double the amount of added salt.
- Granulated sugar - simple fine white granulated sugar keeps these brownies moist. It also dissolve more easily than brown sugar to give you that shiny top. I do not recommend reducing the sugar in this recipe or they will not have the same moist and fudgy texture and they may not have the shiny top.
- Icing sugar - this is my secret for the best homemade box mix-style brownies. Icing sugar or powdered sugar will dissolve very quickly and easily in the moisture from the eggs to ensure you get that shiny top. Remember - shiny and glossy is caused by dissolved sugars!
- Eggs - 2 whole eggs will provide majority of the structure in these brownies.
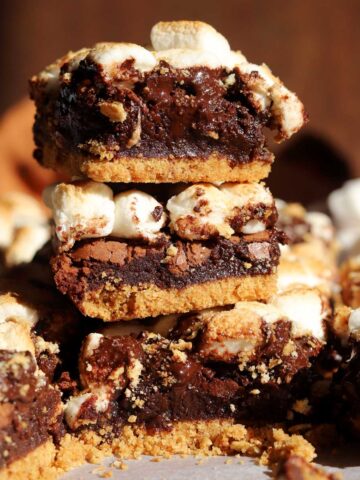
- Dark chocolate chips - this is optional, but I really like to add chocolate chips to cocoa brownies. It's also just like the popular Ghirardelli Triple Chocolate brownie mix! These bittersweet chocolate callets are very convenient and really rich.
- Salt - this is one of the most important ingredients in cocoa brownies. Without salt, they can just taste flat no matter how much cocoa you add. I always use fine table salt for baking as the finer crystals disperse and dissolve readily. If you use kosher salt, you will need to use twice as much since it is less dense, and it doesn't have the same impact on flavor enhancement compared to iodized salt for baking.
STEP BY STEP INSTRUCTIONS
- STEP 1.) Melt butter with cocoa. Heat butter in a saucepan until completely melted and very hot (it will start crackling). Remove from heat and whisk in icing sugar, cocoa powder and salt until smooth.
- STEP 2.) Beat eggs with sugar. Place eggs, granulated sugar and vanilla in the bowl of a stand mixer fitted with the whisk attachment and beat on medium-high speed for 3-4 minutes, until creamy and lemon-colored. You can also use a hand mixer for this.
- STEP 3.) Combine eggs and cocoa mixture. When the eggs are pale and thick, add the warm cocoa mixture and beat for 30 seconds until smooth and shiny.
- STEP 4.) Add dry ingredients. Add the flour and mix it in. It should be smooth and glossy, like thick hot fudge. Fold in chocolate chips.
- STEP 5.) Bake. Pour the batter into your prepared pan bake for 20-22 minutes, until a toothpick inserted in the center comes out with moist crumbs attached. Make sure you do not over-bake these or they will be dry. Transfer pan to a wire rack and let brownies cool completely in the pan. Refrigerate for at least 1 hour before lifting out and cutting into squares.
EXPERT BAKING TIPS
- Use salted butter! Salted butter has a savory richness that really elevates and carries the cocoa flavor. Cocoa is powder lacks the body of cocoa butter which has flavor in itself, so without a rich flavor carrier it can be rather bland. Use salted butter and see the difference yourself!
- Use a mixer. You can use a stand mixer or a hand mixer, but I do recommend using one since it will ensure that the sugar fully dissolved in the eggs for that shiny top.
- Mix the eggs and sugar on medium speed, not high speed. Mixing at a controlled pace will ensure that you form fine air bubbles instead of large ones that can leave large air pockets and cause the batter to soufflé.
- Mix eggs and sugar until it reaches the ribbon stage. When you lift beaters, the mixture should fall back on itself in ribbons and hold on the surface for a few seconds before sinking in. You can tell it is thick enough when the egg mixture holds a figure "8".
- Invest in high quality cocoa powder. This is where it counts. I love to use a mild Dutch cocoa or Natural cocoa for this recipe. I would not recommend black or onyx cocoa, such as Hershey's Black Cocoa.
WHAT IS DUTCH PROCESS COCOA POWDER?
Dutch processing is a method of treating cocoa with an alkalizing agent to alter the chemical composition. This process enhances color, making deep red tones and black cocoa. However this also raises the pH and affects the taste. Generally, the higher the pH, the darker (more black/brown) the cocoa becomes.
The alkalinity of dark cocoa also makes these cookies crispy on the edges. At high pH, caramelization reactions happen faster so that sugar will cook quicker. It also means that the dough will set more slowly so that they will spread slightly more.
RECIPE FAQ
You can use a light Dutch cocoa powder or natural cocoa powder for this recipe. In fact I love to use Natural (unalkalized) cocoa here - it has fruity, floral and acidic notes and is more complex than Dutch cocoa. Although Dutch cocoa (alkalized cocoa) has a darker color due to the alkalizing process, it does not always mean that it has more flavor.
Yes, you can use unsalted butter. I really love making these brownies with salted butter because it adds another level of richness and offsets the sweetness while still maintaining the fudgy texture. I highly encourage you to try this recipe with salted butter!
Brownies can be chewy or fudgy, or a blend of both. Brownies get their chewiness from the right amount of sugar, and a higher ratio of sugar:butter and recipes that use mainly butter instead of melted chocolate tend to be chewier. Alternatively, recipes that use melted chocolate in the batter and have a high ratio of chocolate:butter tend to have a fudgy texture. More butter gives a softer chewier texture, while more chocolate and more sugar gives a fudgier texture thanks to the hard cocoa butter content. Cocoa butter is harder than butter at room temperature so it will give more "shortness" to the bite, creating the perception of fudginess. More butter will make brownies soft for a chewier texture.
Make sure the sugar is well dissolved because dissolved sugar will bind the moisture more tightly to keep it locked in. Also, make sure you never over-bake brownies. Check them after 20 minutes and then keep checking until the skewer comes out with a few sticky crumbs attached.
Use melted butter + cocoa powder. Butter is soft and pliable at room temperature with creates a more flexible and chewy texture. Also, sometimes you might not have chocolate around the house (what's the matter with you!!?). But you might have cocoa powder and it's nice to have a recipe for each occasion.
Again, it's about dissolved sugar. Whisk the sugar into the eggs first. This will help it dissolve some, and also the bonds between sugar and egg proteins is what creates the thin tissue like crust. To help this along, always use room temperature (not cold) eggs. The warmer temperature helps sugar dissolve. The longer you whip the eggs with the sugar, the thinner and shinier the crust will be.
TIP: to bring eggs to room temperature quickly, submerge them in warm water for 10 minutes.
Yes you can add some nuts to this recipe! If you'd like to add some walnuts to complement the brown butter, I would recommend not more than ⅓ cup as they can dry out the batter.
It comes down to finely dissolved sugar which is why this recipe uses a portion of icing sugar. Eggs are the main source of liquid in a brownie recipe, so it's important to whip the eggs with sugar to help dissolve it further. This will also create a bit of a foam which will help to create a softer-textured brownie.
If your brownies turn out dry, then it is most likely because they are over-baked. These low sugar brownies are ready when a skewer inserted into the center comes out with a few moist sticky crumbs attached - not wet batter, and NOT clean. If the skewer is clean then the brownies are over-baked and if the skewer has wet batter then they are still raw.
The number one reason why these would turn out dry is if they are over-baked. Check on the brownies at 25 minutes. Also, take care to measure the flour accurately because too much flour will certainly make these brownies dry.
Brownies keep really well at room temperature as long as they are stored in an airtight container to prevent drying out. If you plan to keep them for more than a couple of days, then store them in the fridge.
Brownies will sink in the middle if you over-beat the eggs and sugar. When you beat the eggs, you are incorporating a lot of air which will cause the batter to soufflé or puff up in the oven. As the brownies cool, the air bubbles will collapse and they will fall. To prevent this, be sure to only beat the eggs for 1-2 minutes and then bake the brownies evenly. If you think your oven runs hot, then bake at a slightly lower temperature for a longer time. If the oven is too hot, the brownies will puff up and over-cook on the edges while the center is still raw.
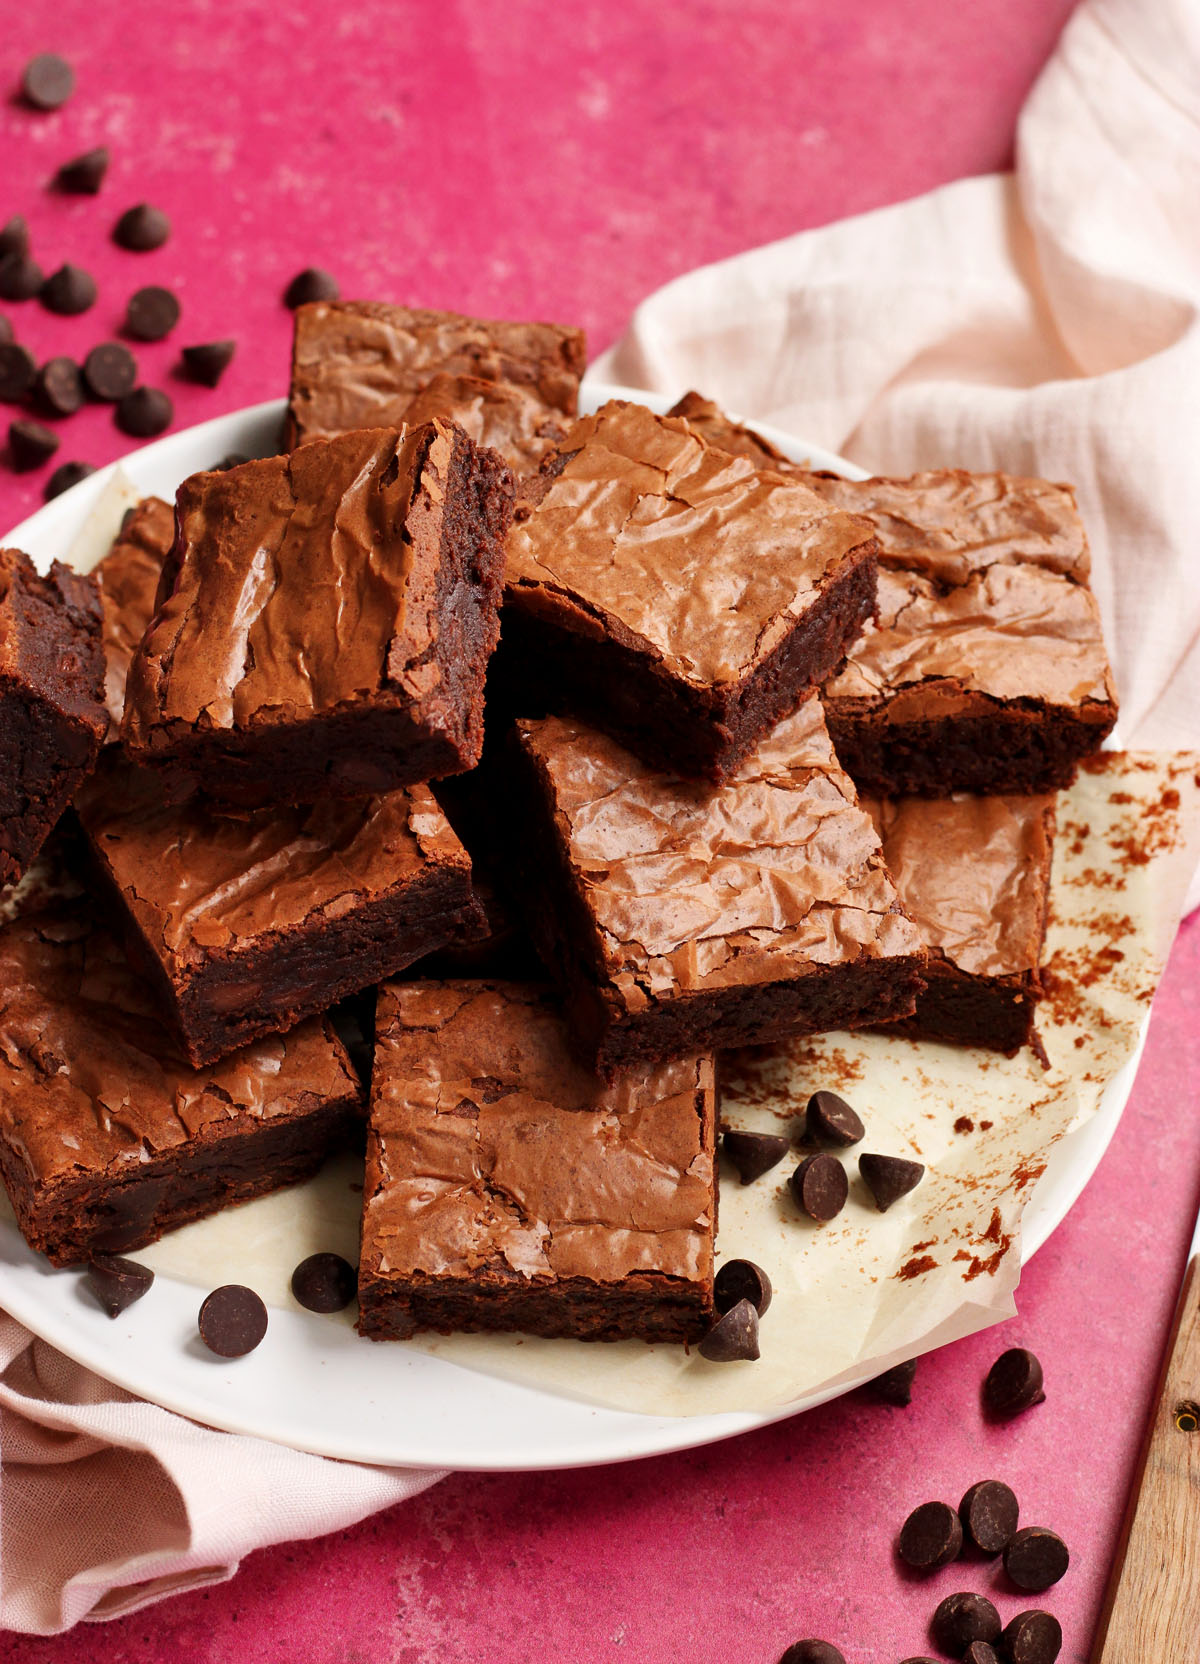
To get neat clean squares when you slice the brownies, run a sharp knife under hot water and wipe it clean between each slice. See my steps in this article for more details.
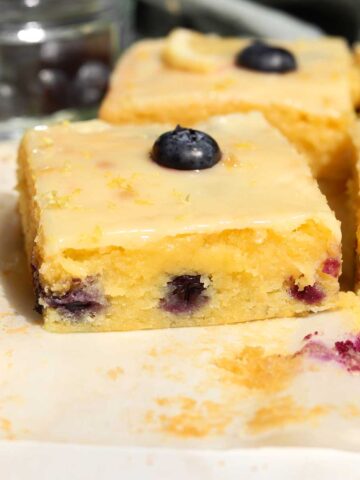
If you love brownies, check out all my other brownie recipes on this site below!
Buckeye Peanut Butter Fudge Brownies Outrageous Fudgy Chocolate Chip Cheesecake Brownies Peanut Butter Cheesecake Swirl Brownies Homemade Chewy Cosmic Brownies The BEST Small Batch Chocolate Fudge Brownies Perfect Shiny Crust Fudge Brownies Triple Chocolate Truffle BrowniesVideo
Better Than Box Mix Brownies Recipe
Ingredients
- 2 large eggs, warmed under hot running water
- 1 cup (200g) granulated sugar
- 1 teaspoon (5ml) pure vanilla extract
- 10 tbsp (140g) salted butter
- ½ cup (60g) powdered confectioner's sugar
- ⅔ cup (56g) cocoa powder
- ¼ teaspoon fine table salt (or ½ teaspoon plus ⅛ teaspoon if using unsalted butter)
- ½ cup (71g) all-purpose flour
- ½ cup (85g) dark chocolate chips (I also love these bittersweet callets)
Instructions
- Preheat oven to 350°F. Line a 7x7-inch or 8x8-inch square metal baking pan with parchment paper leaving a 2-inch overhang at each side and secure the sides down on the edge of the pan with ¾-inch binder clips. Brownies baked in a 7-inch pan will be slightly thicker.
- Place eggs, granulated sugar and vanilla in the bowl of a stand mixer fitted with the whisk attachment and mix on medium speed for 3 minutes until creamy and lemon-colored. You can also use an electric handheld mixer for this.
- Heat butter in a saucepan until completely melted and very hot (it will start crackling). Remove from heat and whisk in powdered sugar, cocoa powder and salt until smooth.
- When the eggs are pale and thick, add the warm cocoa mixture and mix for 30 seconds until smooth and shiny. Add the flour and mix it in. It should be smooth and glossy, like thick hot fudge. Fold in chocolate chips.
- Pour the batter into your prepared pan bake for 20-23 minutes, until a toothpick inserted in the center comes out with moist crumbs attached. Make sure you do not over-bake these or they will be dry. Transfer pan to a wire rack and let brownies cool completely in the pan. Refrigerate for at least 1 hour before lifting out and cutting into squares.
Hey! I always use your recipes to make brownies and they always taste so great! Just want to ask can i use oil instead of butter in this recipe? Im a breastfeeding mother to a CMPA baby so i have to avoid dairy.
Hi Mavrah! I have not tested that, but they might be come out a bit greasy.
Great recipe. Easy to make. The only brownies my kids will eat now.
Thank you Vina! Glad your kids enjoy the brownies 🙂
Taste is amazing! I only have a problem with deflation after baking. I used 8x8 pan, amount already was low when spreading before baking. After baking they puff up a little, but then they collapse and deflate in the middle. Any tips what went wrong? Thanks!
Thanks Tamara! It could be that you over-beat the eggs and sugar or your oven runs hot. Please see the Recipe FAQ section for more information about sinking in the middle.
I have lost count of the number of times I have made these brownies. They are my go-to OG recipe. I like to change up the mix ins - tonight will be tahini and halva. I double the recipe and bake in a 13x9 inch tin. You can't can't lose.
Thank you for the feedback Rosie! Glad you like the recipe 🙂
Made these today and baked them in muffin tins. They turned out so well with the shiny crust, crispy edge and fudgey center. Will definitely make them again!
Thank you Jade! Glad you enjoyed the recipe 🙂
This is hands down my family’s favorite brownie recipe. I’ve made it numerous times and it’s always a hit. I’d like to double recipe and I don’t have two square pans. What size rectangular pans do would you recommend for a doubled recipe?
Thanks Michelle! For a double batch I'd recommend a 13x9 inch pan and bake for about 10 minutes longer.
I have made this recipe on three continents. It never misses. A tried and true favorite that I recommend to everyone—so easy and so delicious! The quality of the cocoa really does impact the flavor, so if you’re tempted to splurge, I say go for it.
The most incredible, rich, chewy and chocolately brownies, so easy to make and only takes 10 mins to prepare. 10/10
Thank you Andrea! Glad you enjoyed the brownies!
I am at 4200 ft, how would I adjust this recipe for high elevation?
Hi K, you might need to add 1 tbsp more flour.
These are THE BEST brownies, it’s the only recipe I use anymore. I’ve made them in round metal cake pans, mini muffin tins… they’re just amazing.
IMO a brownie isn't a brownie if it isn't chewy, and I was so hopeful that this would be. I cooled it allllll the way-- a feat of patience-- and then threw it in the fridge overnight before cutting in and tasting. Of 6 or 7 other tested recipes, this is among the best (read: chewiest) 2 recipes that I've tried (the other used condensed milk), but still doesn't touch the box mix. Sigh.
Thanks so much Jess! I'm so glad they meet your expectations.
Excellent recipe! The recipe took longer to bake in my oven than specified, but the taste and texture were perfect-chewy, moist and dense without having undercooked “raw” taste in center. Outer edges were crisp. The result is delightful perfection! Thank you!
Thank you so much. I'm so glad you love it.
These came out amazing! I love all of your recipes! Just one question, though. My brownies took about 50 minutes to bake. They were completely raw at 22 minutes. I have an over thermometer and it was at the correct temperature. Do you know what could've happened? Again, thank you so much! You're always my go-to recipe website!
Hi Dani, that's so strange. This would only happen if there is too much sugar, but then you would also notice in the finished brownies. It may still be your oven settings. Next time just increase the temperature a bit.
Thanks for replying! I'll try that next time!
These are the best cocoa brownies I’ve tried. They’re so fudgy and not dry without having a ton of butter.
And you were absolutely 💯 correct,better than any box brownie Thank you for the recipe!. They were excellent and I really appreciate all time and effort you put into the write up.i had no idea a brownie doesn't need a raising agent, but that make so much sense now that I'm brownie-wise
Thank you so much Amina!
And you were absolutely 💯 correct.Thank you for the recipe!. They were excellent and I really appreciate all time and effort you put into tye write up.i had no idea a brownie doesn't need a raising agent, but that make so much sense now that I'm brownie-wise
I had such high hopes. Followed the recipe to the letter…Experienced baker here and, from the pictures, the brownies looked like they are tall and thick…these are just flat…..I mean, just under 3/4 inch in height. The taste is great, the texture is OK…I just wonder how the pictures are there and they are looking so thick…B/f asked. I measure everything, I use an over thermometer, etc. Def got to ribbon stage with the eggs and sugar…Used an 8” square light aluminum tin. I wonder if a 6’ tin would have been better?
Hi David, these brownies rise to about 1 inch. They are dense and fudgy. Did you measure your ingredients with a scale? Also, check your pan as it should be 8 inches from top to top (not just across the bottom).
I've tried a bunch of brownie recipes on YouTube and they have either came out cakey or dry but this one came out soooo fudgy and the chocolate flavor was deep which is crazy because it's cocoa powder. It came out tasty and this will be the only recipe I'll be doing from now on.
I love this! Thanks so much Karlha!
I am an experienced baker and have made many many brownie recipes. The flavor of these brownies is fantastic- smooth, full of chocolate flavor and not overly sweet. I used Schaffenberger natural cocoa powder. My only problem was deciding when they were done. I left them in for about 25-26 minutes and they ended up a little dense, almost like fudge. I wonder if I should have left them in a little longer. The texture wasn't terrible but I think may not what was intended. Next I'm trying your recipe for thicker brownies, which looks amazing! Thanks for all the science - it makes the recipes make so much more sense!
Thank you so much Jennifer! You can try baking a little longer next time since every oven is different. When you stick a toothpick in the middle, it should still have a few sticky crumbs attached (not wet batter).