How to Blind Bake Pie Crust
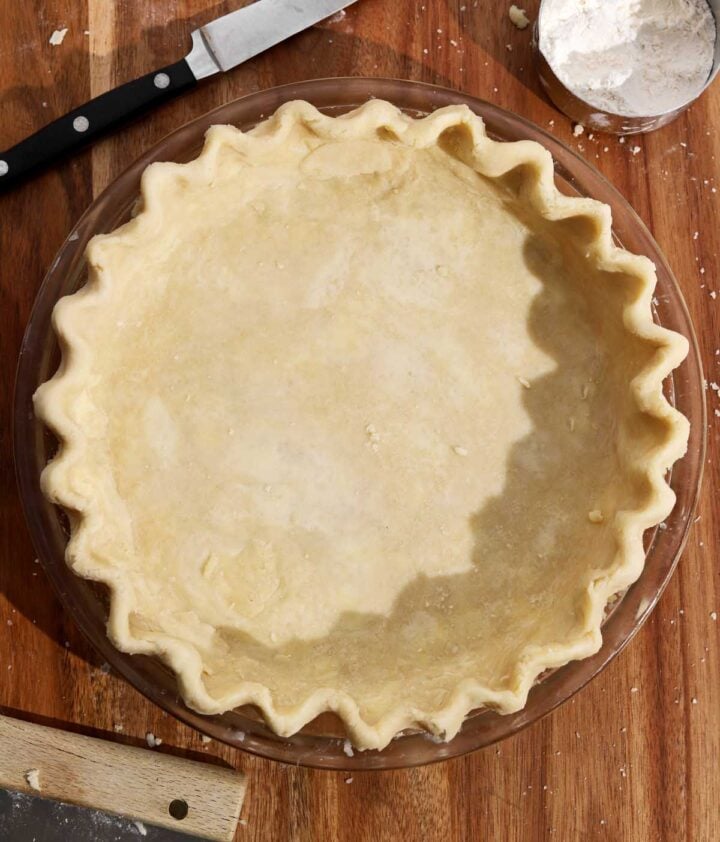
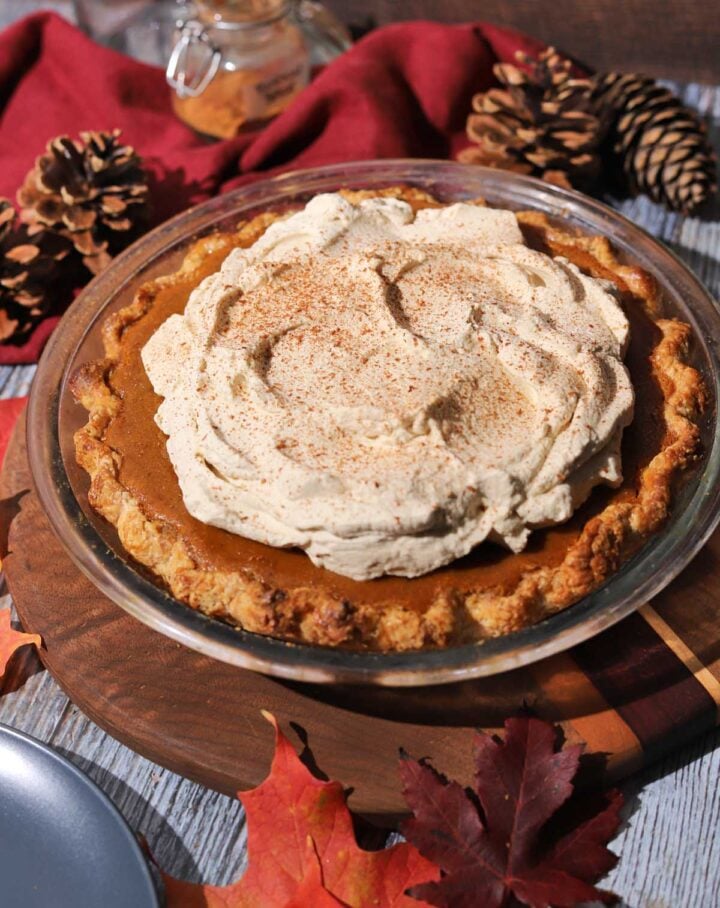
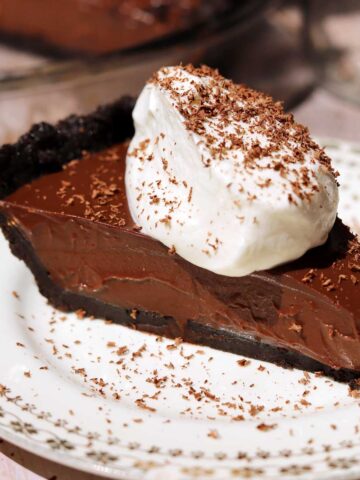
This article will teach you all about how to par-bake or blind bake pie dough to make a single crust pie. Blind baking is most often used for pies that have wet fillings, and the filling is added after the crust is baked so that the crust doesn't get soggy. This technique is basic baking skill that is essential if you love to bake. I use this method to make Pumpkin Pie, French Silk Pie and Chocolate Cream Pie. You can also use it for no-bake fillings such as Vanilla Custard, Chocolate Pastry Cream and Lemon Curd. If you love making pies, try my Classic Apple Pie.
WHY THIS RECIPE WORKS
- Easy recipe - you don't need a mixer to make perfect pie crust. In fact, I prefer to use my hands so I can control the extent of mixing so I don't over-work the dough.
- Tender pie crust - the two-step method I use to incorporate the butter means this pie crust will be tender AND flaky.
- Flaky pie crust - my technique of slicing cold butter into thin sheets helps promote lamination without having to fold and actually laminate the dough as you would when making puff pastry. The result is delicate, flaky pastry that still has integrity.
- Rich buttery taste - this is an all-butter pie crust recipe which means it is very flavorful. Although non-dairy fats like shortening and lard can product wonderful flaky results, they do not lend much taste. This recipe guarantees flakiness AND flavor!
- Crisp edges and golden bottom - using this method, you will never suffer a soggy bottom pie and you'll achieve a nice crisp, flaky crust.
WHAT DOES BLIND BAKE MEAN?
Blind-baking means to bake an empty pie shell before you add any filling.
WHY DO YOU BLIND BAKE PIE DOUGH?
You will need to blind bake pie dough to fully cook the crust for recipes that have wet, liquid-y fillings or fully-cooked fillings that are temperature sensitive. For example, pudding pies and cream pies with cooked fillings require fully-baked pie crusts since they will not be baked further. Pies with uncooked fillings that are heat sensitive, such as custard pies, cheesecake, savory quiche and pumpkin pie require par-baking the crust since they should only bake at a lower temperature after the filling is added so that it doesn't curdle. The lower temperature won't cook the crust that much and serves to just gently bake the filling.
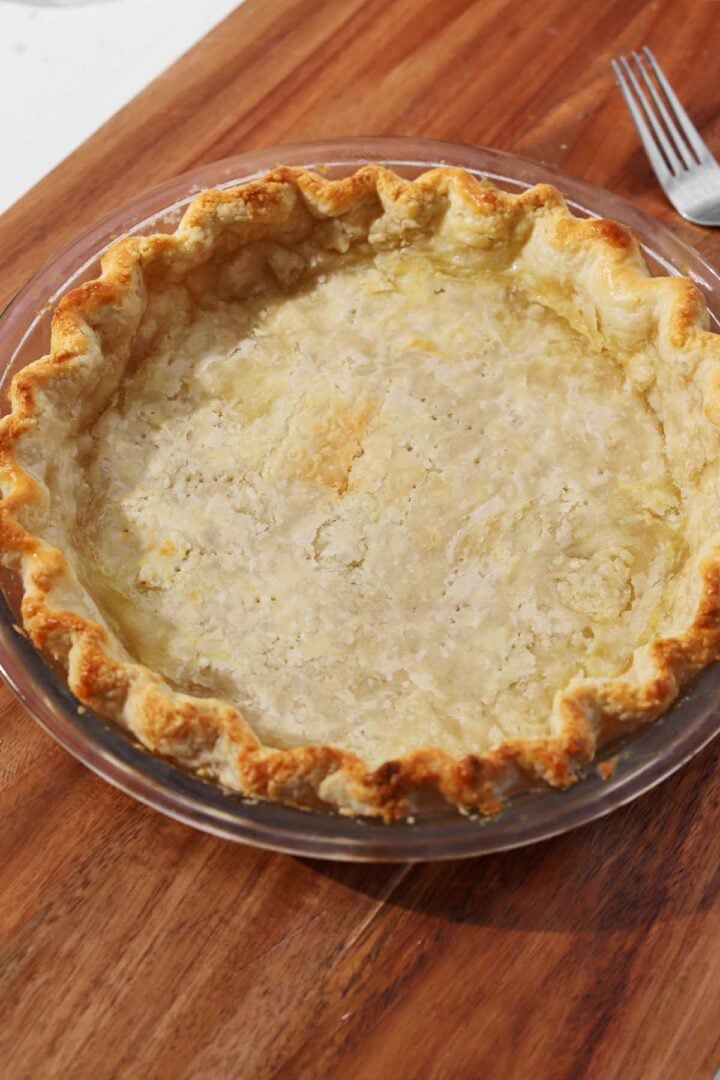
For my pumpkin pie, I almost fully blind-bake the crust because I prefer an extra crisp pie crust that snaps under your fork. Also, if you're preparing the pie a day ahead, it is beneficial to fully bake it. Note that blind-baking does usually mean the crust may shrink more than par-baking, but it won't impact the taste. There are a few instances, actually.
HOW TO USE PIE WEIGHTS
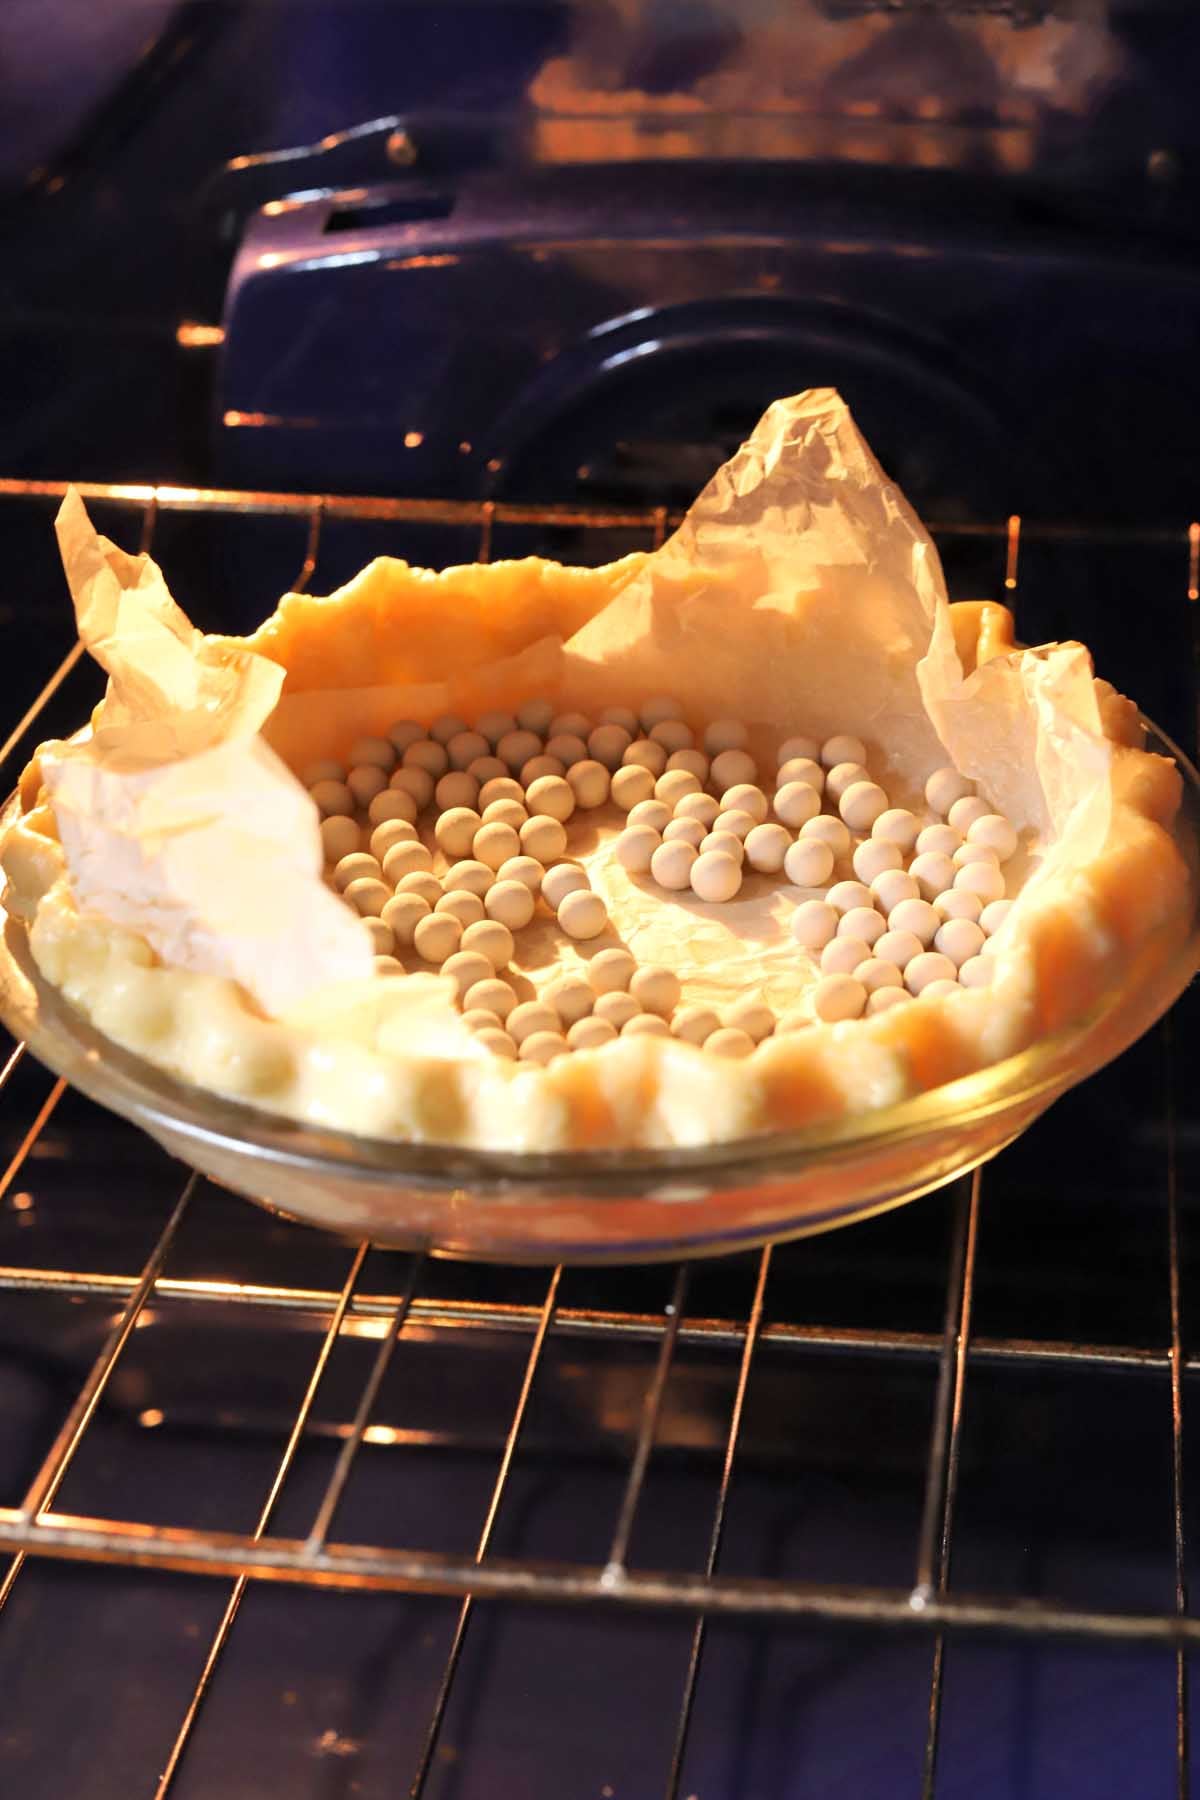
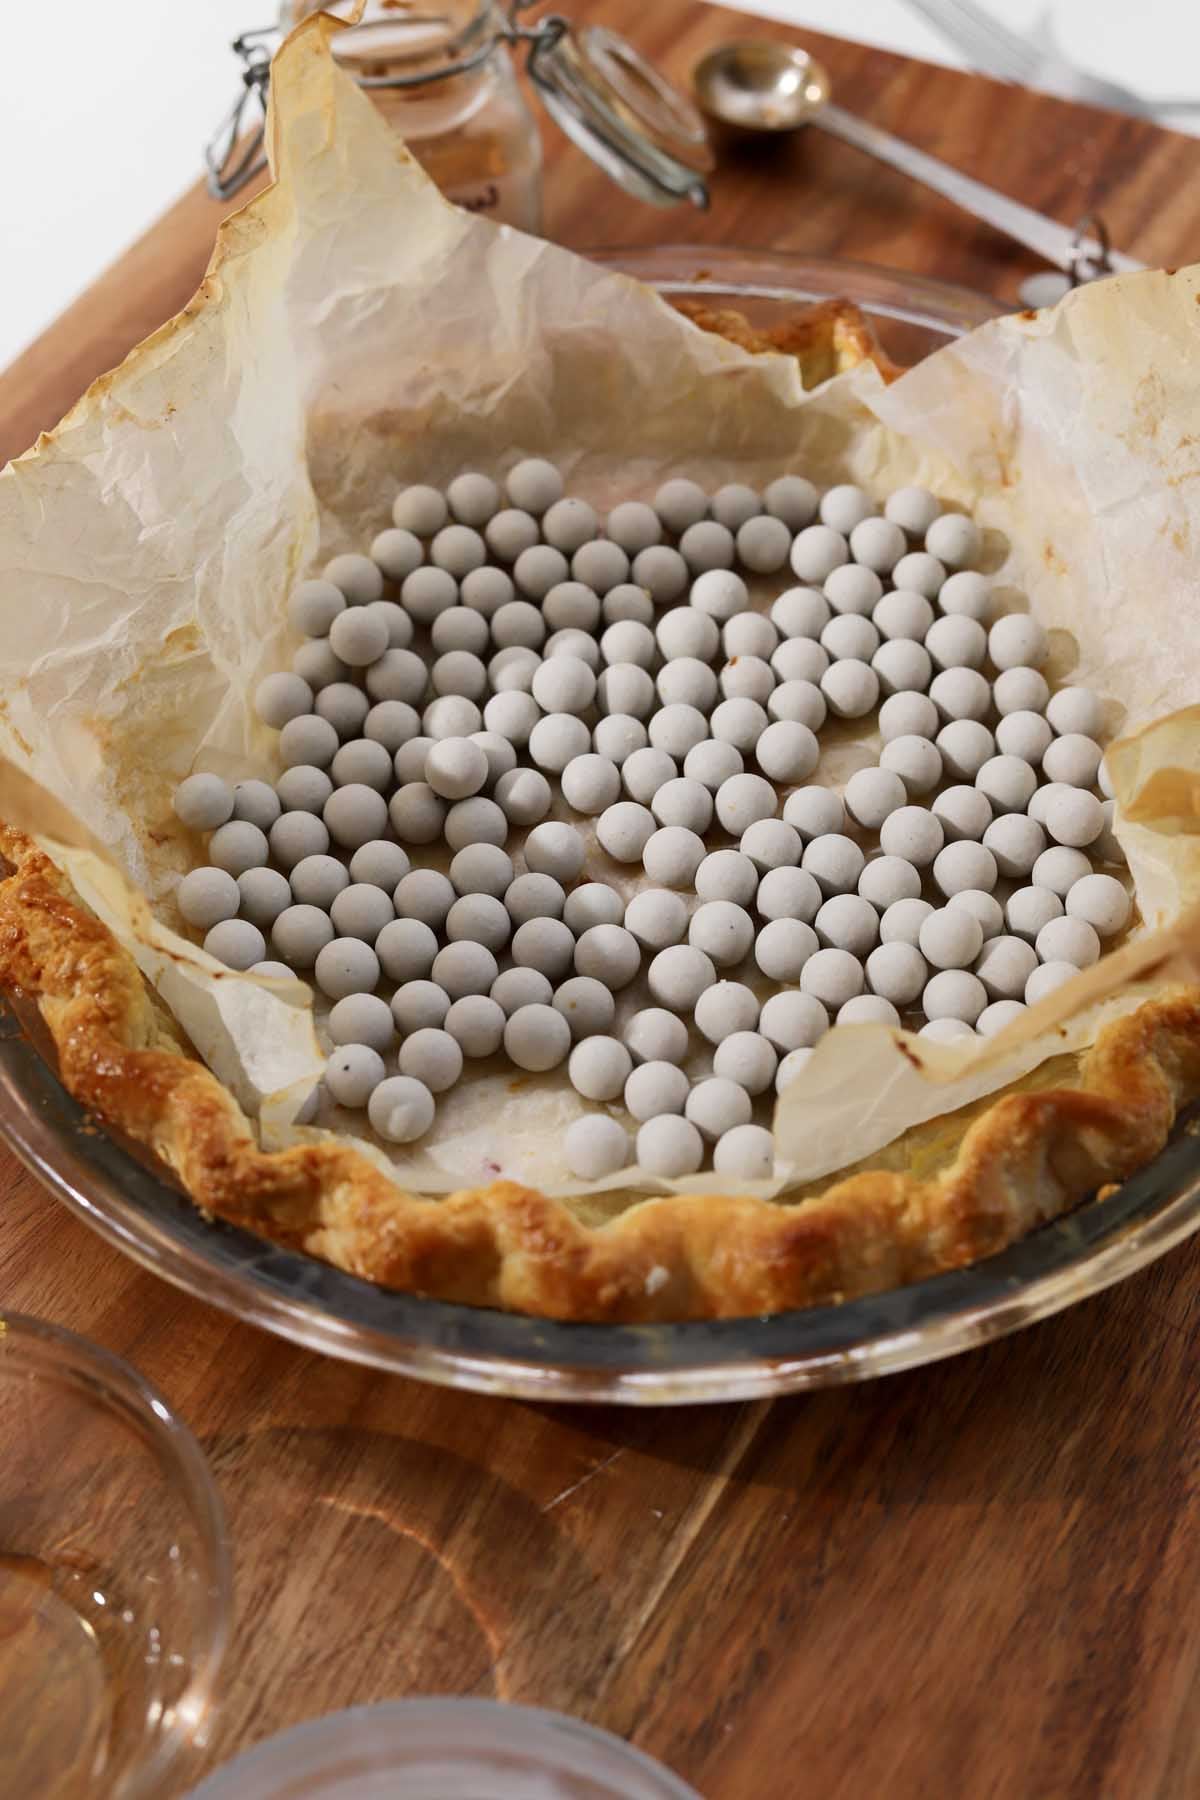
Pie weights are heavy heat-safe ceramic beads that weigh down the crust and keep it flat so it doesn't puff up during baking. If the crust puffs up, then there is no contact with the pie dish and it cannot brown as easily. Pie weights also conduct heat directly to the dough so it bakes evenly. You can use baking beads, dried beans or dried rice to do this. Make sure that you fill the whole pie with beans so that it is heavy enough to keep the edges in place so the crust doesn't shrink down the sides of the dish. You first bake the pie dough with weights until the edges set and the base is golden, then you remove the weights and continue baking until it browns.
STEP-BY-STEP INSTRUCTIONS
- STEP 1). First make my pie dough for a single crust pie using this recipe here. Wrap it firmly and refrigerate for at least 2 hours or, preferably over night.
- STEP 2). Preheat the oven to 400°F and lightly grease a deep 9-inch pie dish with butter.
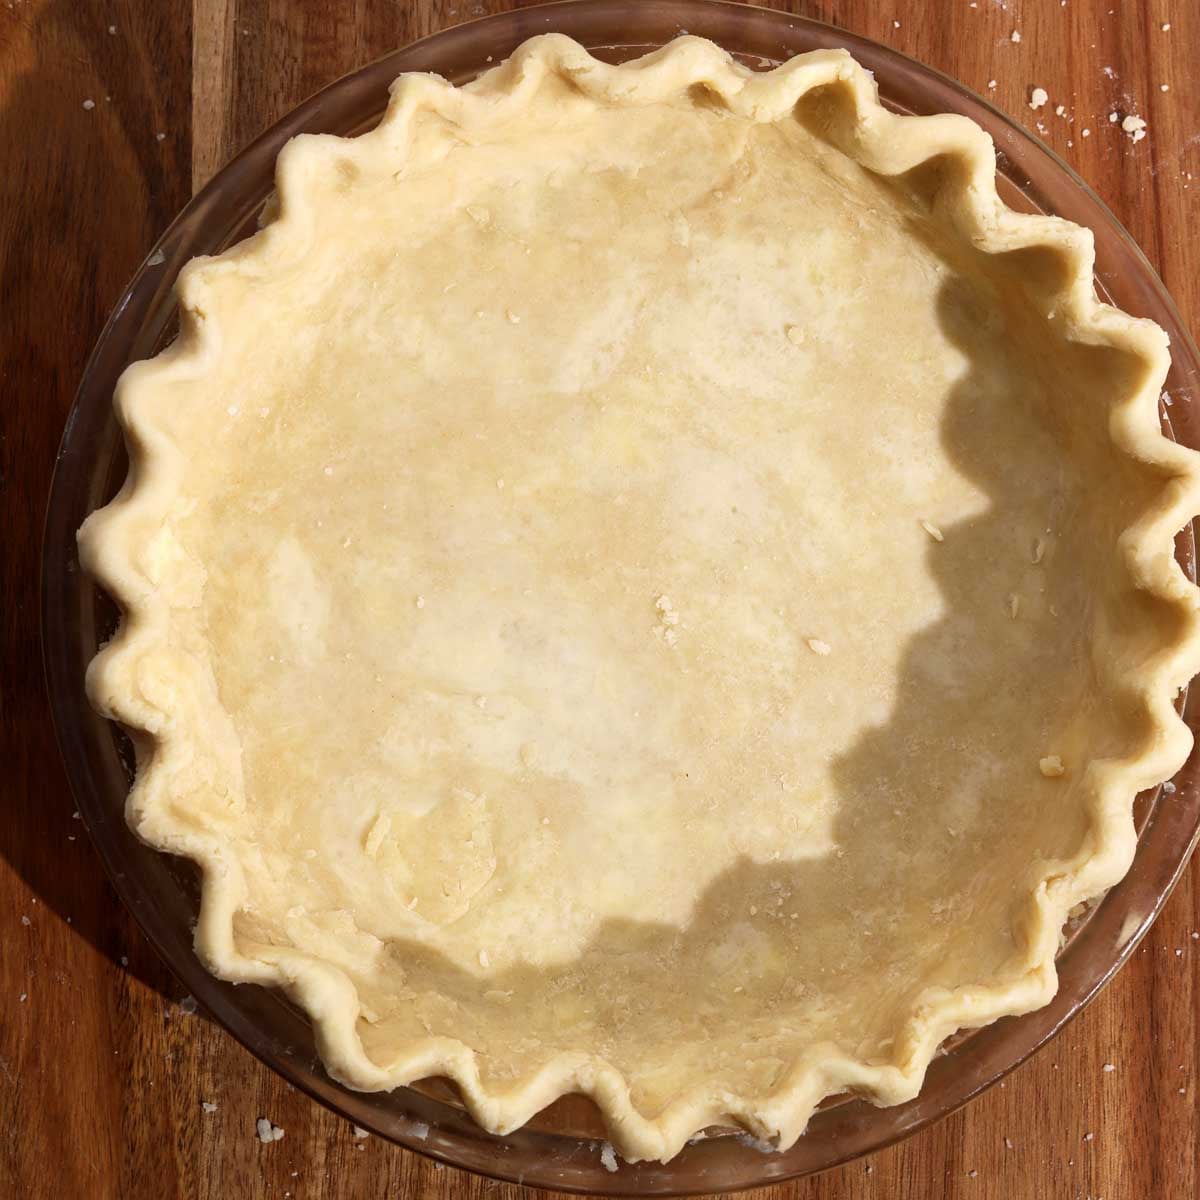
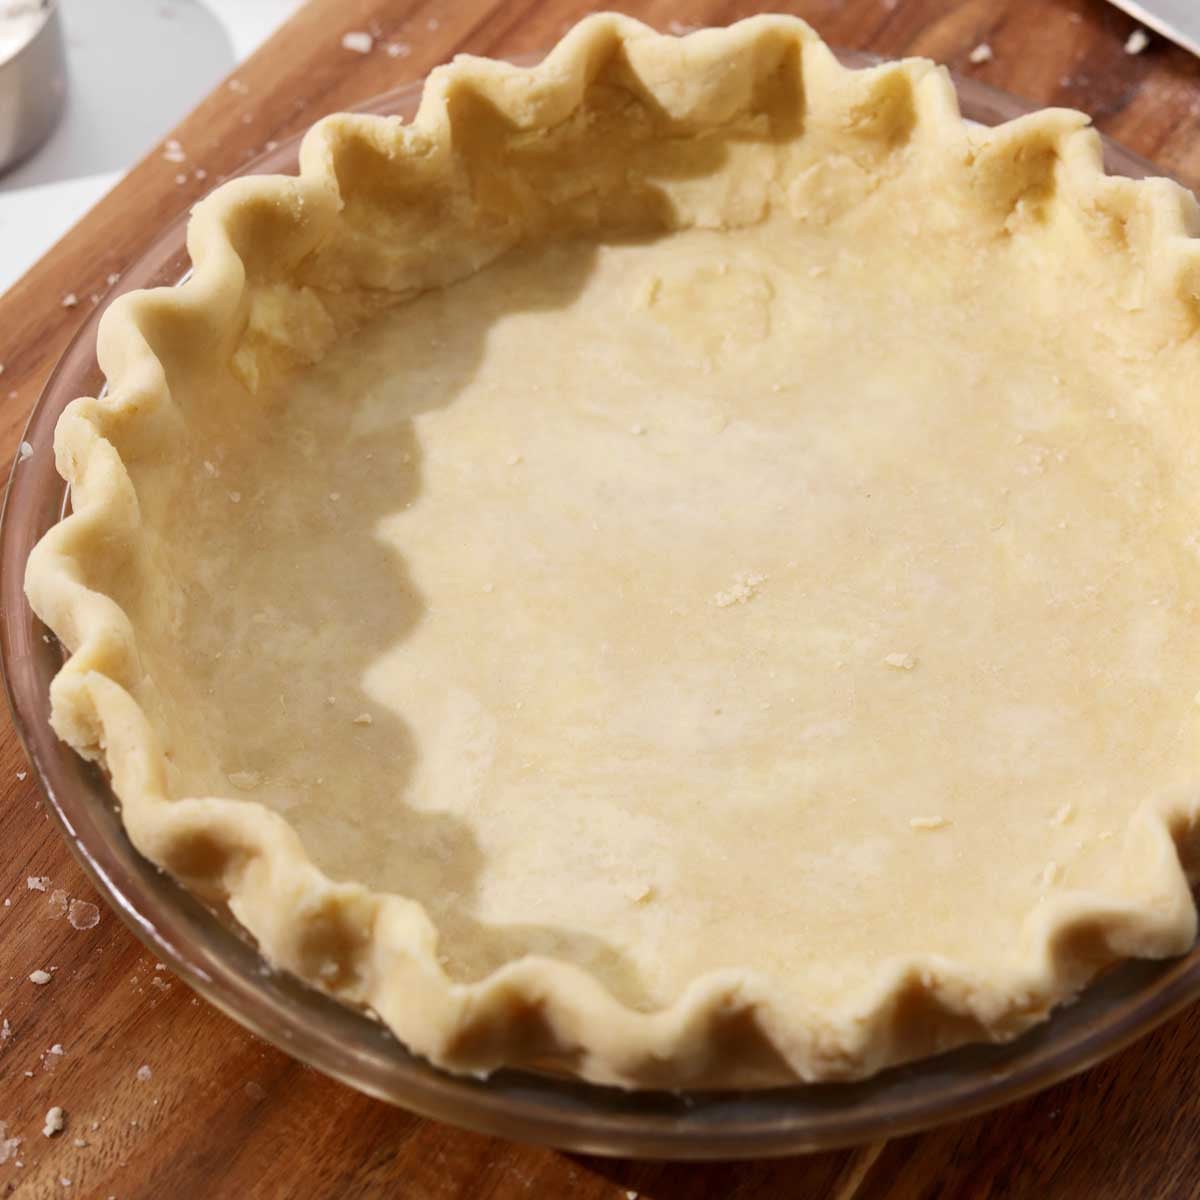
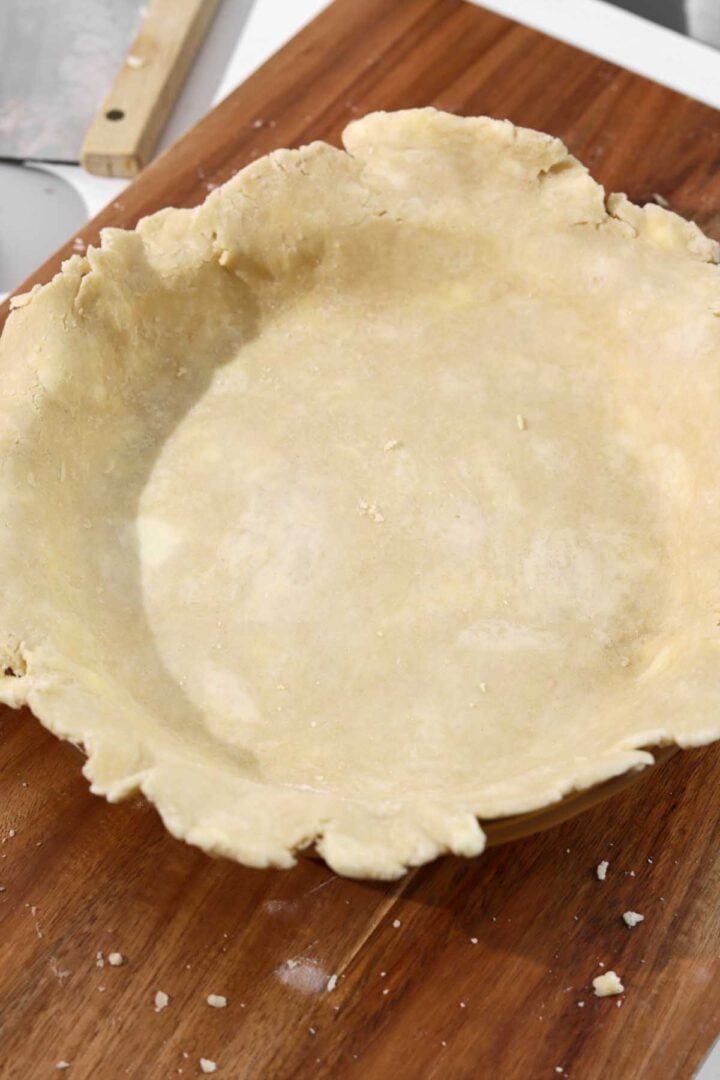
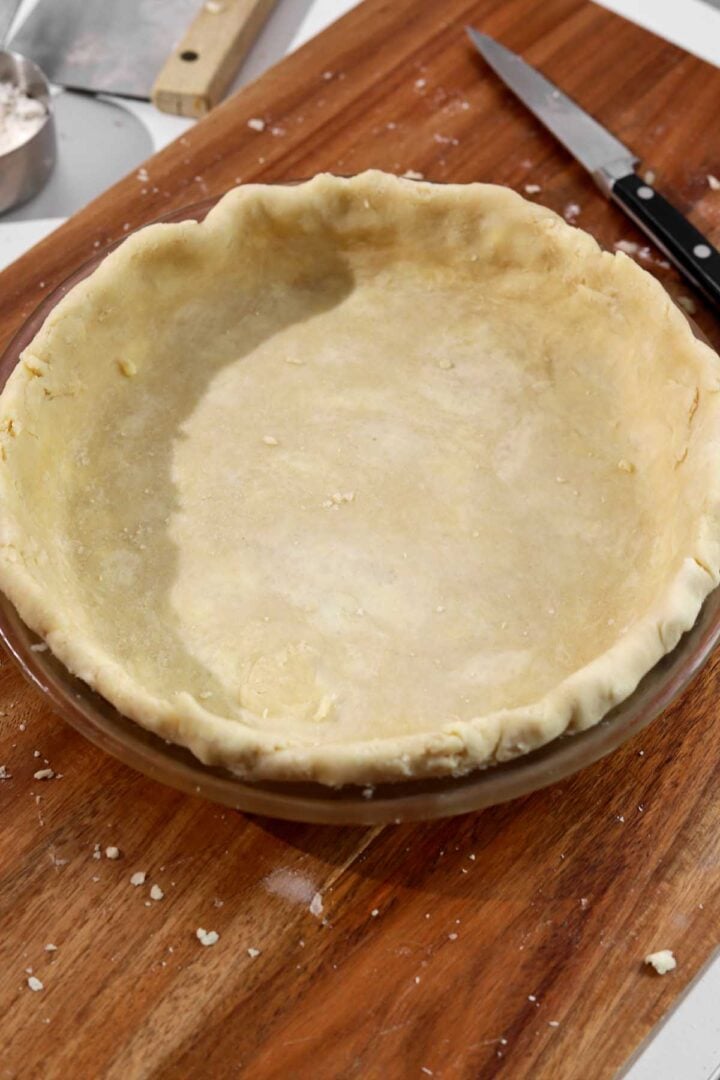
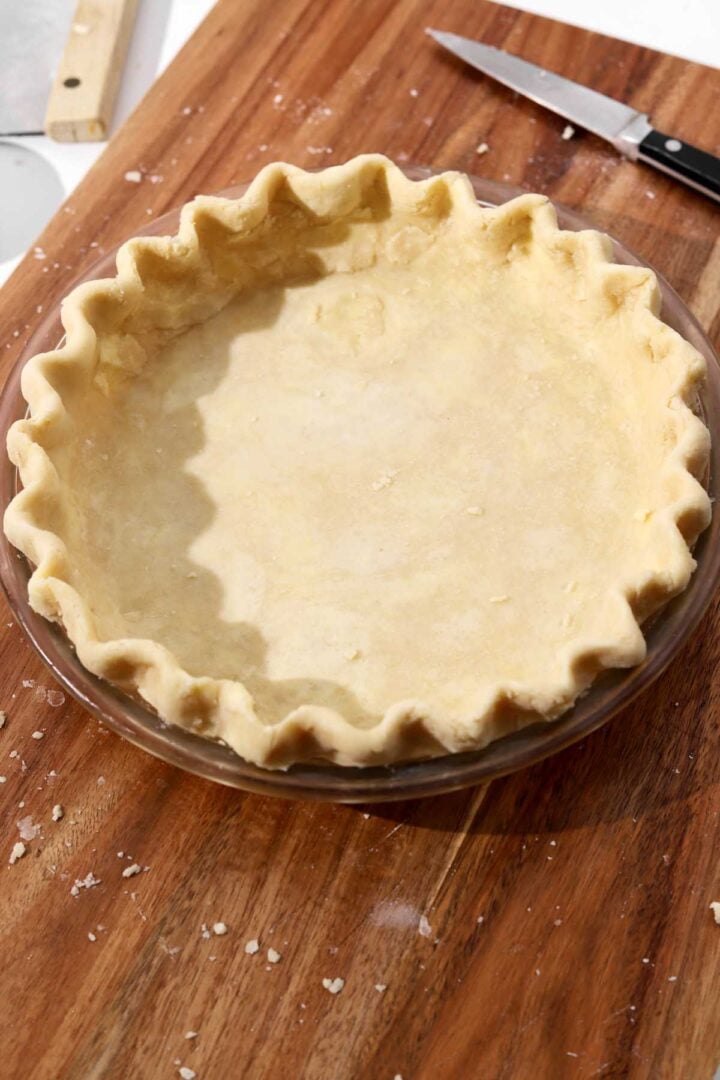
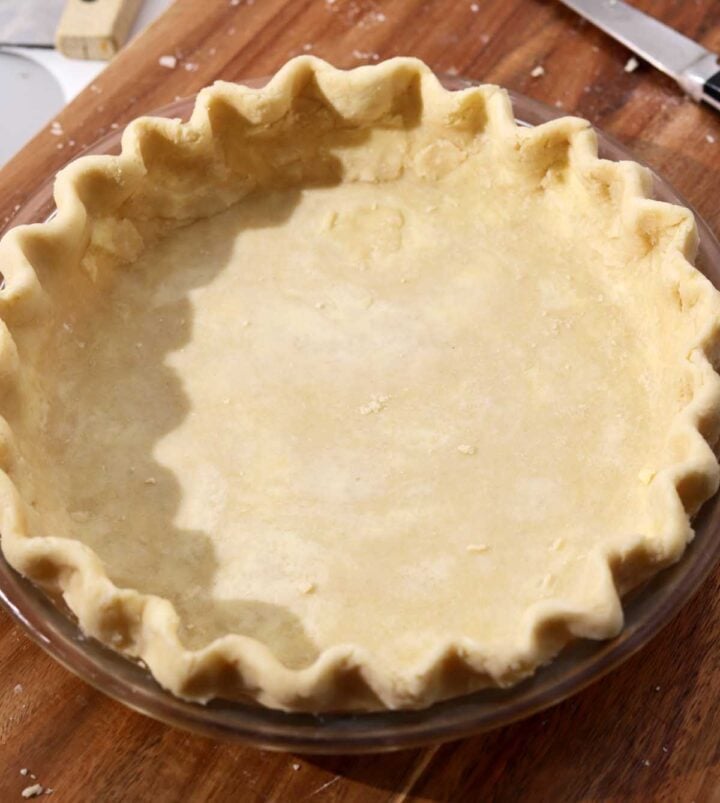
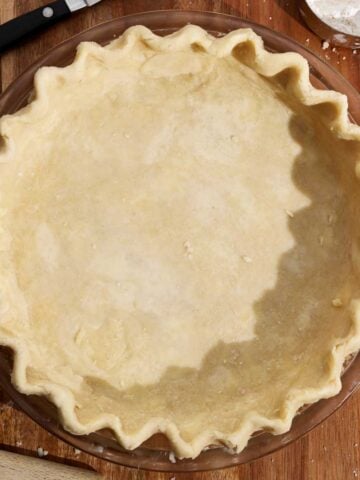
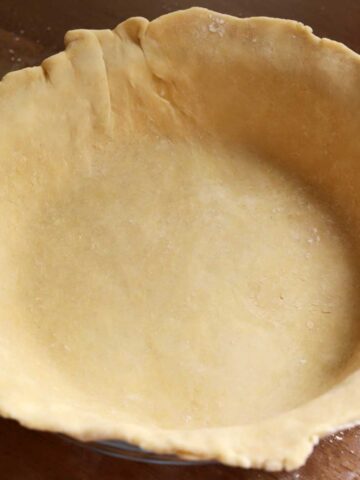
- STEP 3). Remove pie dough from the refrigerator. Lightly dust a work surface with flour and roll the dough out into a 12-inch circle. Make sure to gently lift and turn the dough about a quarter turn after every few rolls to ensure it doesn't stick and for even rolling. I like to use a bench scraper to help lift and shift the dough. Carefully place the dough into a deep 9-inch pie dish, letting it hang over the edges. Nudge the dough into the corners so it fits like a glove and ensure it is pressed flat onto the base. Fold the overhanging dough over itself to form a thick edge around the dish for a nice decorative crust. Flute the edges with your thumb and fingers, or crimp it with a fork. You can watch the video tutorial if you need more help with this step.
- STEP 4). If your pie dough has gotten a little warm during the process, place it in the freezer for 5-10 minutes.
- STEP 5). Crack an egg into a small bowl with a pinch of salt, whisk until well beaten and then brush the edges lightly with this egg wash mixture.
- STEP 6). Par-bake the crust. Crumple up a piece of parchment paper large enough to fit inside the pie with ample overhang so it is more flexible, then fill it with pie weights, dried beans or rice. I've done this with one standard set of pie weights, but it works best with two sets for more weight and even baking without shrinking. Reduce the oven temperature to 375°F and bake for 15 minutes.
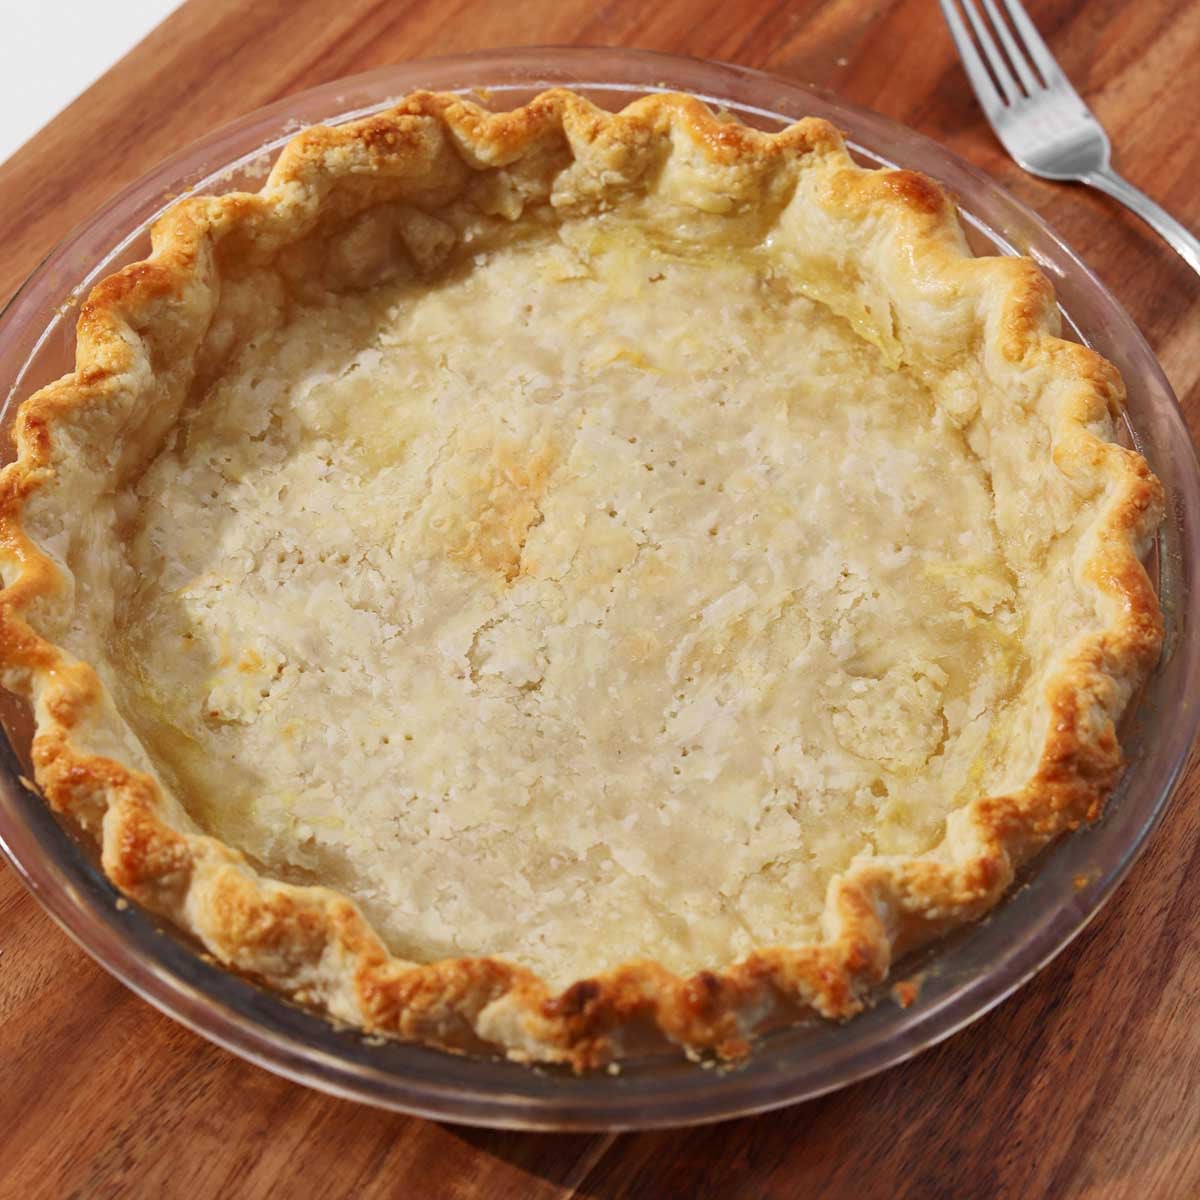
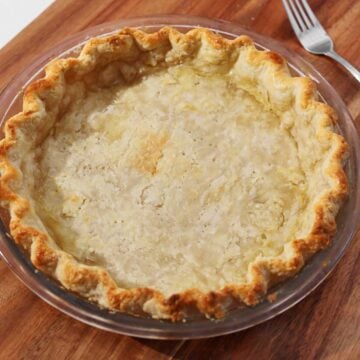
- STEP 7). Carefully remove the parchment paper with the pie weights, prick the base of the crust several times with a fork to allow steam to escape as it bakes, and continue baking like this without the weights for another 10-15 minutes until it is golden on the bottom and the edges are nicely browned.
HOW TO BLIND BAKE PIE CRUST (see the video tutorial above for a full tutorial)
EXPERT BAKING TIPS FOR BLIND BAKING PIE CRUST
- Keep the rolled out pie dough cold. Make sure your pie filling is ready to go as soon as you roll out the crust so that it doesn't have a chance to warm up, or roll the dough, line the pie dish with pastry and keep it in the fridge until you are ready to fill it.
- Work quickly and be aware of the temperature of your butter when rolling pastry - if you feel that your dough is getting too warm, place it in the freezer for a few minutes until the fat firms up.
- Do not over-mix the pie dough. Over-working the dough will activate gluten which will make the dough more elastic so it will contract and shrink more easily during baking.
- Use a glass pie dish. I prefer to bake pies in glass as opposed to metal or ceramic because it conducts heat evenly and will retain heat to help cook the filling. Ceramic takes too long to heat through which means the crust is more likely to be soggy, while metal conducts heat very quickly but will not retain enough heat so the crust may burn before the filling starts to cook. In addition to this, glass allows you to see through to the bottom so you know when the crust is evenly browned.
- Bake very hot for the first few minutes. This will help to set the crust especially on the bottom to minimize chances of sogginess. High temperatures will help with flakiness as well.
- Use a pie crust shield. This will help protect the edge crust from burning before the filling is fully cooked through. It is important to bake pies at a high temperature to make a flaky crust and also to cook the dense filling, but since pies need a long baking time, it does mean the crust is prone to browning very quickly. I often fold up some aluminum foil and curve it around to loosely cover the crust for a homemade shield (see the video below for an example).
- See my Ginger Apple Pie recipe video to learn how to make a lattice pie crust.
- See my Best Blueberry Pie recipe video to learn how to crimp and flute pie crust.
RECIPE FAQ
The answer is definitely YES. It is absolutely crucial to rest the dough in the fridge for at least 2 hours. This serves a few purposes:
1) It makes the dough easier to handle and roll out smoothly. Resting the dough in the refrigerator allows the water to become absorbed and more evenly distributed which makes it easier to work with. Chilling pie dough allows flour to hydrate evenly so that even though initially the mixture will look a bit dry, it will come together during this resting time.
2) It firms up the fat so that when you roll it it, you will press solid pieces of butter into flattened sheets which separates flattened layers of dough for flakiness. The end result is a laminating effect with layers of flour aggregates that are mostly untouched by the fat alternating with layers of fat particles embedded with flour. Some gluten develops in the layers of flour and the fat layers melt upon baking to leave spaces between sheets of dough.
As the dough heats in the oven, the fat melts and the water from butter evaporates. This lost water leaves a void where the dough can retract down the sides of the pie dish. Pie dough will inevitably shrink as it bakes, however excessive shrinkage can be prevented using pie weights as directed above.
There are a few techniques you can use to help prevent pie dough from shrinking while baking. Firstly, do not add too much water. Excess water will interact with proteins in flour and create gluten which will make the dough more prone to retracting. Do not over-work the dough after you add the water. Over-mixing will activate gluten which makes the dough sticky and elastic. It also warms up the dough which melts the fat and affects the texture. Weigh down the crust with pie weights, dried beans or rice. This holds the shape of the dough to creates a physical block that stops it from puffing.
The steam from this evaporation causes the dough to puff and stretch. As the pie dough bakes, the fat melts. This causes the pie crust to shrink down the sides of the pie dish. And as the fat melts, it creates steam. Steam is both good and bad. It creates DELICIOUS layers and flakes, but also causes the pie dough to puff up when there's no heavy filling weighing it down.
The amount of water you need to make pie dough can vary depending on the brand or quality of flour and the humidity of your environment or season. In the winter you may need more water when the air is dry. You will need to adjust accordingly, so I suggest watching the video below above the recipe card so you can see the consistency you need to achieve.
This doesn't normally seem important, but it will affect your baking time. I always recommend baking pies in glass pie dishes or aluminum pans. You may have lovely decorative ceramic pie plates that will present beautifully to the table, and by all means use them! Just note that it may take 10-20 minutes longer for your pie to bake and you will definitely want to use very high heat at the beginning to seal in that crust (especially the bottom crust). If you have a bottom heating element in your oven, place the pie on the lower-third rack. Ceramic is a great insulator so it will keep your pie warm for longer, but this also means it takes longer to heat through.
Initially it is important to bake the pie at a very high temperature (400-425 degrees F) to both set the dough layers before the fat melts completely and to set the crust before the fruit filling makes it soggy. This rapid heating also causes the ~16% water in the butter to evaporate quickly so that the steam separates dough layers.
Whatever you do, don't go to the effort of making a lovely pie and then not brush the crust with egg. What a shame that would be! An egg wash is the ultimate signature of home-baked pie. A whole egg will do, but for that ultimate golden shiny crust, combine one yolk with 2 teaspoons of water or milk and brush it lightly all over the surface just before baking.
BEST TOOLS FOR MAKING PIE
- Pastry cutter - if you prefer to not use your hands, I highly recommend a pastry cutter which will help keep the ingredients cold and prevent over-working.
- Rolling pin - you can use anything long that rolls to roll out pie dough, including a wine bottle. My favorite rolling pin is a French tapered rolling pin. I've had this one for almost 2 decades. It is lightweight, easy to store and clean, and it will last me for life!
- Pizza cutter - this is handy to cut strips of pastry to make a lattice top, although I also often use a sharp long knife and a straight edge (like a ruler).
- Glass pie dish - I've had this 8-inch pie dish also for 20 years and it is my go-to!
- Pastry brush - a pie without an egg wash is just not worth it! The egg wash adds so much appeal, adding a rich golden, crisp and glossy top. Lightly brush the pie dough with beaten egg and the fine bristles help it disperse evenly. I always use one to brush biscotti before baking as well. Without and egg wash, pie can turn out dull and lacking color.
- Pie weights - these ceramic beads are so handy for weighing down pie dough when blind baking crust for open pies with pre-cooked or wet fillings such as custard pies.
- Pie crust shield - it's very helpful to cover the edges of a pie with a pie crust shield about halfway through baking in order to prevent the crust from burning before the filling is fully cooked. I often make my own from folding up several layers of aluminum foil and shaping it around the pie.
Recipes you might want to try to practice your awesome new pastry skills:
The Best Blueberry Pie Classic Apple Pie Gooey Little Pecan Tarts All Butter Raspberry Peach PieMore Pie Recipes...

How to Blind Bake Pie Crust
Ingredients
1 x Single Crust Pie Dough recipe
- pie weights
- flour for rolling
Instructions
- First make my pie dough for a single crust pie using this recipe here. Wrap it firmly and refrigerate for at least 2 hours or, preferably over night.
- Preheat the oven to 400°F and lightly grease a deep 9-inch pie dish with butter.
- Remove pie dough from the refrigerator. Lightly dust a work surface with flour and roll the dough out into a 12-inch circle. Make sure to gently lift and turn the dough about a quarter turn after every few rolls to ensure it doesn't stick and for even rolling. I like to use a bench scraper to help lift and shift the dough. Carefully place the dough into a deep 9-inch pie dish, letting it hang over the edges. Nudge the dough into the corners so it fits like a glove and ensure it is pressed flat onto the base. Fold the overhanging dough over itself to form a thick edge around the dish for a nice decorative crust. Flute the edges with your thumb and fingers, or crimp it with a fork. You can watch the video tutorial if you need more help with this step.
- If your pie dough has gotten a little warm during the process, place it in the freezer for 5-10 minutes.
- Crack an egg into a small bowl with a pinch of salt, whisk until well beaten and then brush the edges lightly with this egg wash mixture.
- Par-bake the crust. Crumple up a piece of parchment paper large enough to fit inside the pie with ample overhang so it is more flexible, then fill it with pie weights, dried beans or rice. I've done this with one standard set of pie weights, but it works best with two sets for more weight and even baking without shrinking. Reduce the oven temperature to 375°F and bake for 15 minutes.
- Carefully remove the parchment paper with the pie weights, prick the base of the crust several times with a fork to allow steam to escape as it bakes, and continue baking like this without the weights for another 10-15 minutes until it is golden on the bottom and the edges are nicely browned.