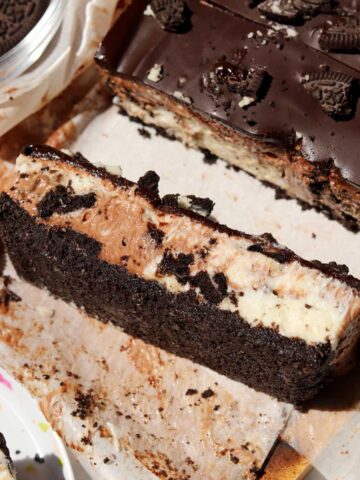
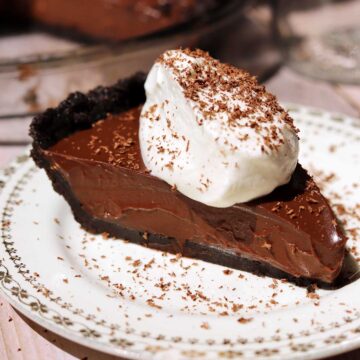
No Bake Chocolate Pie
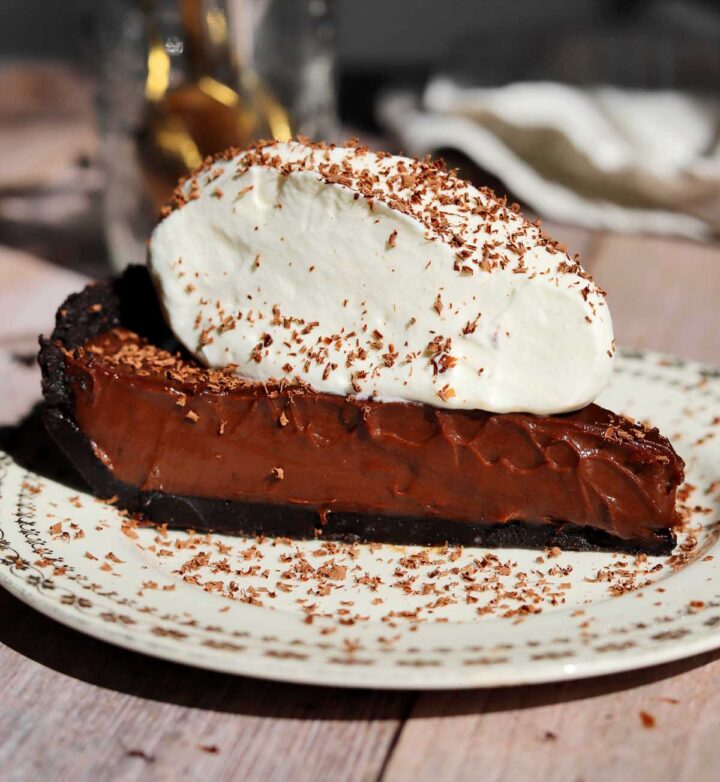
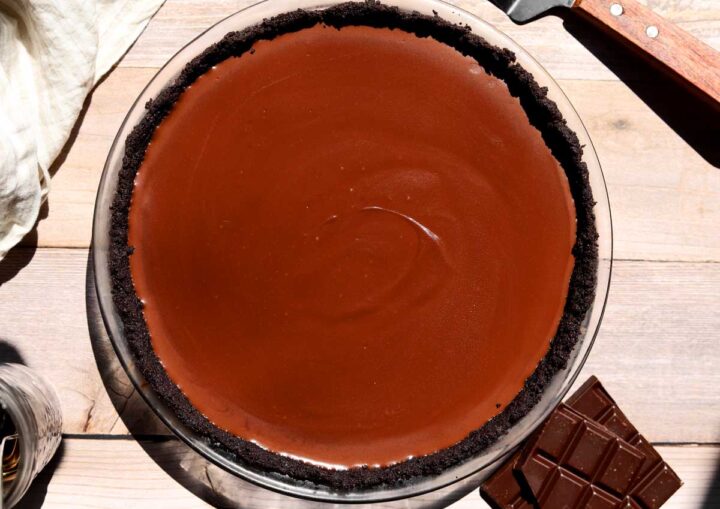
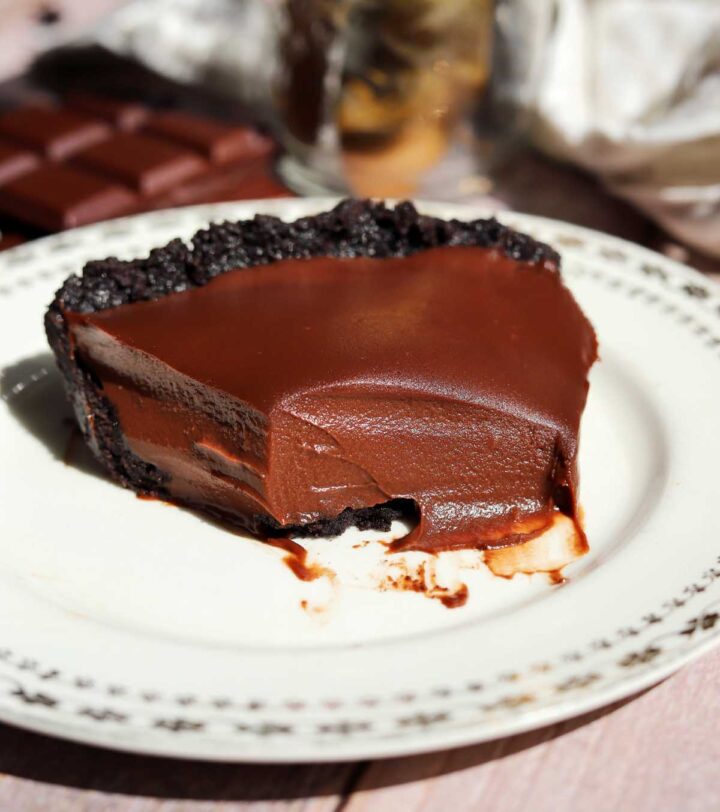
This No Bake Chocolate Pie is the ultimate chocolate indulgence with an Oreo cookie crust and thick, smooth, decadent dark chocolate filling that has a texture somewhere between chocolate pudding and ganache. It is so creamy and perfectly sweet with a subtle saltiness. Although it looks so rich, it is actually too easy to eat and doesn't feel heavy. Chocolate lovers will swoon over this stunning no bake dessert, and since it doesn't require turning on the oven, it is perfect to make during the Summer months. If you love this, then check out my Chocolate Peanut Butter Pie Bars and if you love chocolate, make sure you check out my most popular Moist Chocolate Cake recipe.
WHY THIS RECIPE WORKS
- Easy cookie crust - you don't need to make pastry for this pie. I make a simple cookie crust from crushed Oreos and melted butter which tastes incredible with the silky chocolate filling and pure whipped cream topping. Just blend Oreos with some butter and it makes the most delicious base that sets firm in the fridge.
- No bake recipe - you don't need to turn on the oven for this pie. The filling requires a bit of cooking over the stove and it sets to a nice thick consistency after chilling.
- Make-ahead - you can make this pie up to 2 days in advance and it will not compromise the taste.
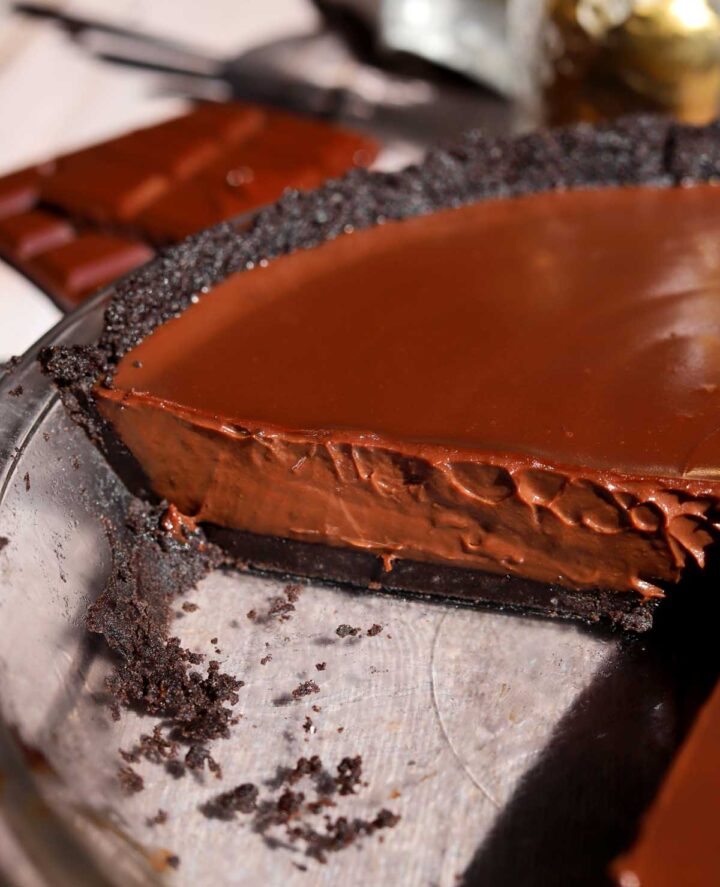
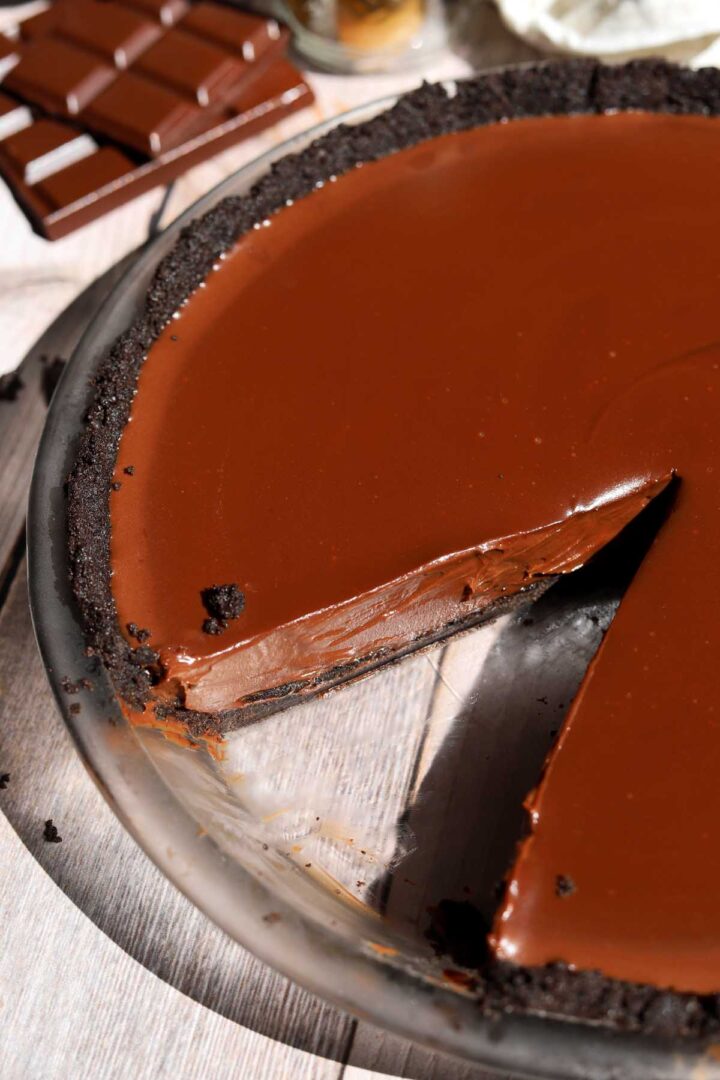
- Thick and smooth texture - the filling has the perfect set that is thick enough to slice neatly but also so creamy and smooth.
- Rich chocolate flavor - you will love the smooth and rich chocolate taste that comes from a blend of milk chocolate and bittersweet chocolate.
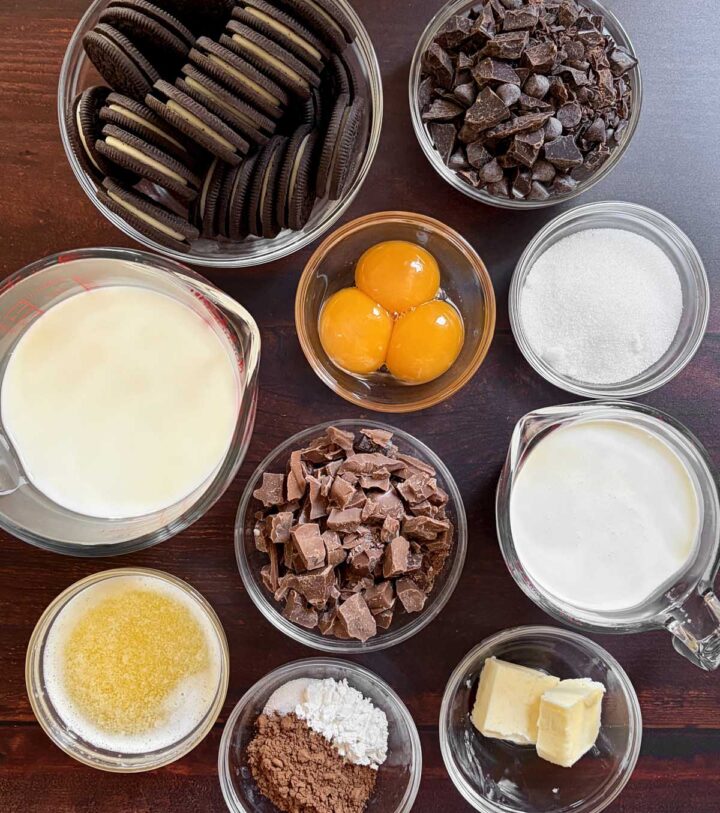
INGREDIENTS
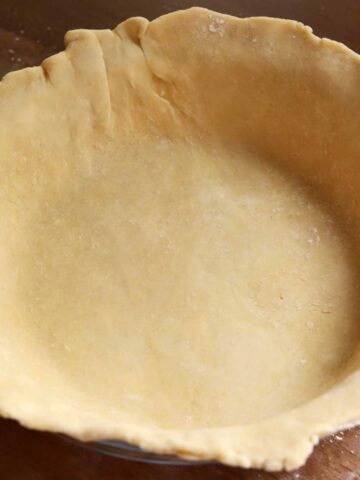
This pie recipe uses simple pantry ingredients that you likely have already! You can use store-bought pastry crust, or make your own homemade pastry, or use the simple Oreo cookie crust that I use here.
- Oreos - to keep this recipe simple, I use just over a row of Oreo cookies to make the crust. It not only tastes delicious, but it is simple to prepare. You can also make a graham cracker crust or use a prepared pie crust.
- Butter - you will need unsalted butter for the crust and the filling. Make sure you use unsalted butter, as salted butter will add too much salt to the filling.
- Granulated sugar - simple white sugar will thicken and sweeten the filling. It also helps keep the custard smooth and interferes with egg proteins binding too tightly.
- Pure vanilla extract - vanilla is important in this recipe and it will really shine in a no-bake filling in the absence of flour. I prefer this Madagascar Bourbon vanilla extract
- Eggs - 3 large egg yolks will form the basis of the chocolate filling. They will create a smooth and luxurious texture.
- Chocolate - you'll need a blend of milk chocolate and bittersweet chocolate. Do not change these ratios as the high cocoa butter content in bittersweet chocolate is what helps the filling set to a nice thick and firm consistency so you can slice it easily.
- Milk - whole milk is best for this recipe.
- Corn starch - a bit of corn starch thickens the filling for the perfect set, in addition to the egg yolks.
- Cream - you'll need 35% whipping cream to make the custard filling, and also to whip for decorating and serving. It will add richness and body to the filling for a texture that is irresistible.

STEP BY STEP INSTRUCTIONS
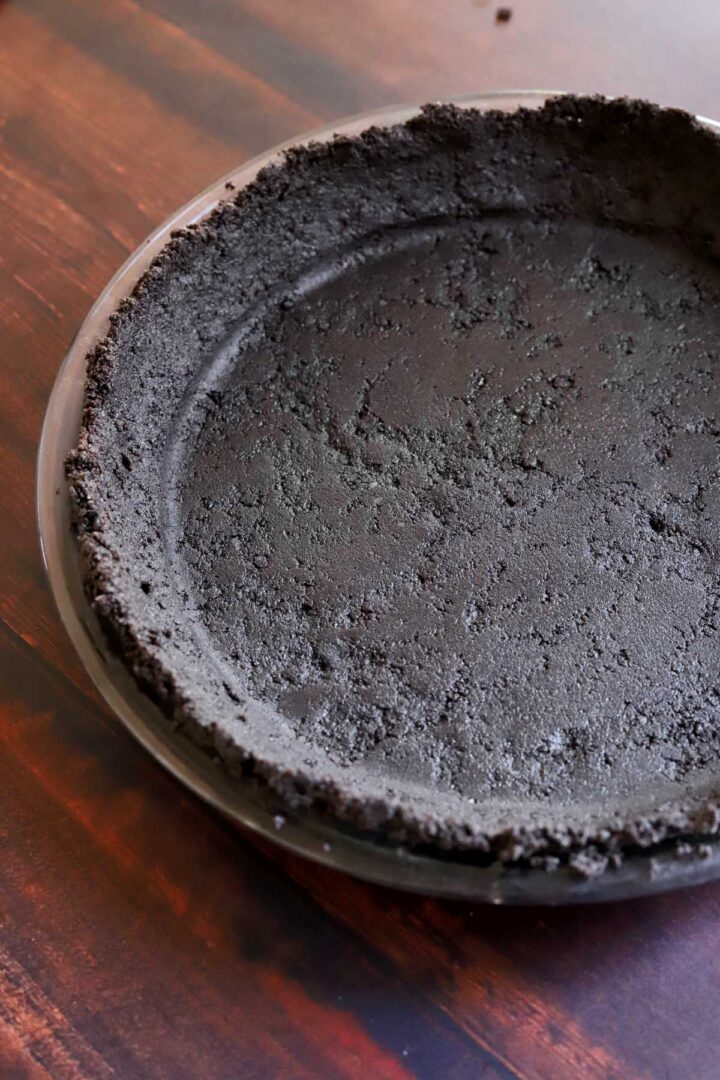
- STEP 1). Make the crust. Melt the butter in the microwave on low heat, then set it aside to cool slightly while preparing the cookie crumbs. Place whole Oreo cookies (filling and all) into a food processor and pulse until it forms crumbs similar to bread crumbs. You can also place the cookies into a sealed bag and crush them with a rolling pin or heavy pot. Do not over-process or it will turn into cookie butter and feel greasy.
- STEP 2). Press crust into the dish. Transfer crumbs to a medium bowl and add melted butter, then stir it together until evenly combined. Press the crumbs evenly into the base and up the sides of a 1.5-2 inch deep 9" pie dish using medium pressure and place it in the refrigerator to firm up and set for 30 minutes. Note, you need to press firm enough to help the crumbs hold together, but if you press to hard then the crust may stick to the bottom of the dish after it sets. I like to use the bottom of a measuring cup or a flat-bottomed drinking glass to help press the crumbs in.
- STEP 3). Make the chocolate filling. Place both kinds of chopped chocolate in a large bowl and set aside. Combine sugar, corn starch, cocoa powder and salt in a 1 quart saucepan and whisk until smooth. Slowly pour in the milk while mixing, then mix in cream until combined. Whisk in the egg yolks one at a time until they are evenly blended.
- STEP 4). Cook until thick. Place the pan over medium-low heat and whisk constantly until it starts to thicken. Do not walk away and do not increase the heat. Then, switch to a wooden spoon and stir constantly until it bubbles gently. Do not let it boil. This will take up to 15 minutes so be patient. It should read 85 degrees C on a thermometer and will be thick to enough draw a defined line over the wooden spoon (see video for reference).
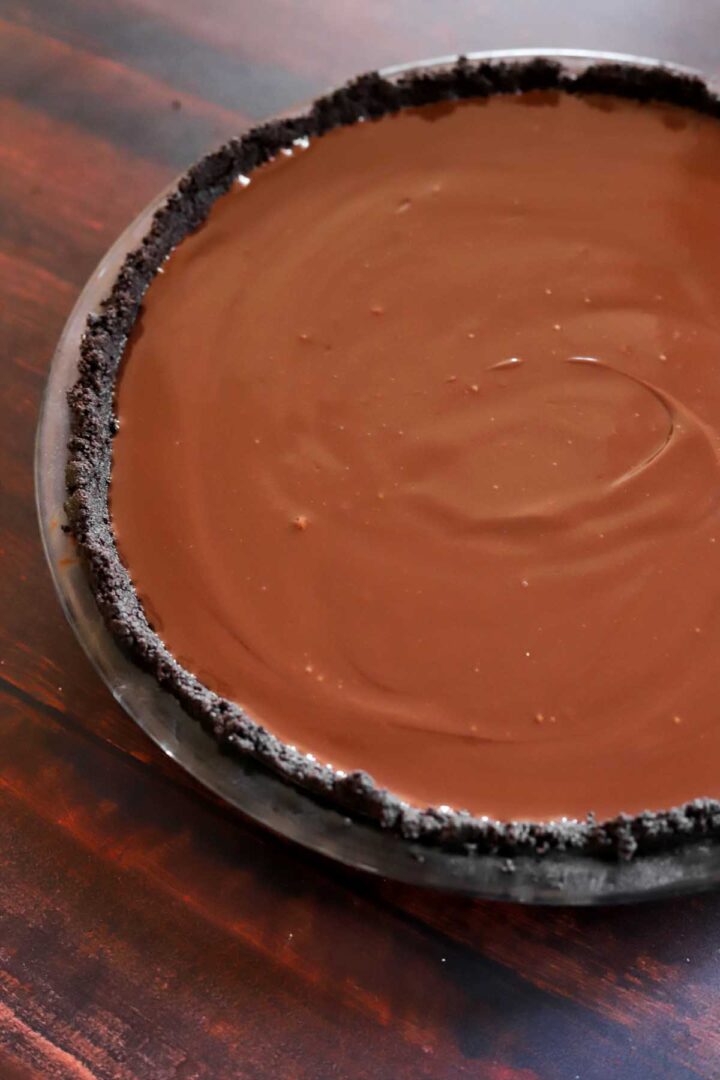
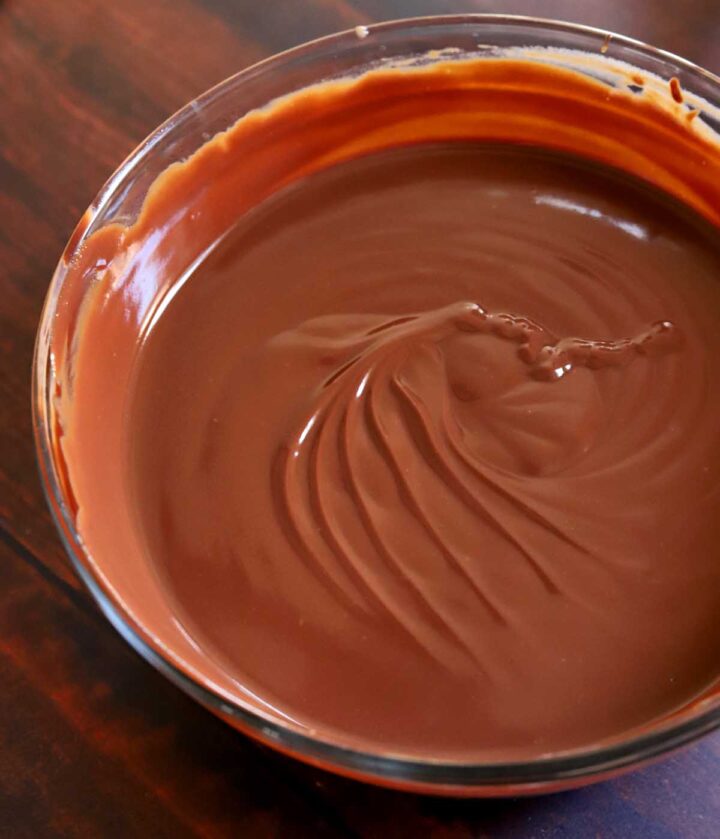
- STEP 5). Combine custard and chocolate. Pour the chocolate mixture immediately through a fine mesh sieve and over the chocolate in the bowl. Use a spoon to push the mixture through the sieve. Let it stand for 2 minutes, then whisk gently until the chocolate melts completely and the mixture is smooth. Stir in butter until smooth and glossy. Let the mixture cool for about 5 minutes, then pour it into the chilled cookie crust.
- STEP 6). Chill. Smooth out the surface and set aside for 20 minutes to cool, then transfer to the fridge uncovered for 1 hour. After 1 hour, cover it loosely with foil so you don't disrupt the nice glossy filling at the surface and chill for at least 6 hours or overnight.
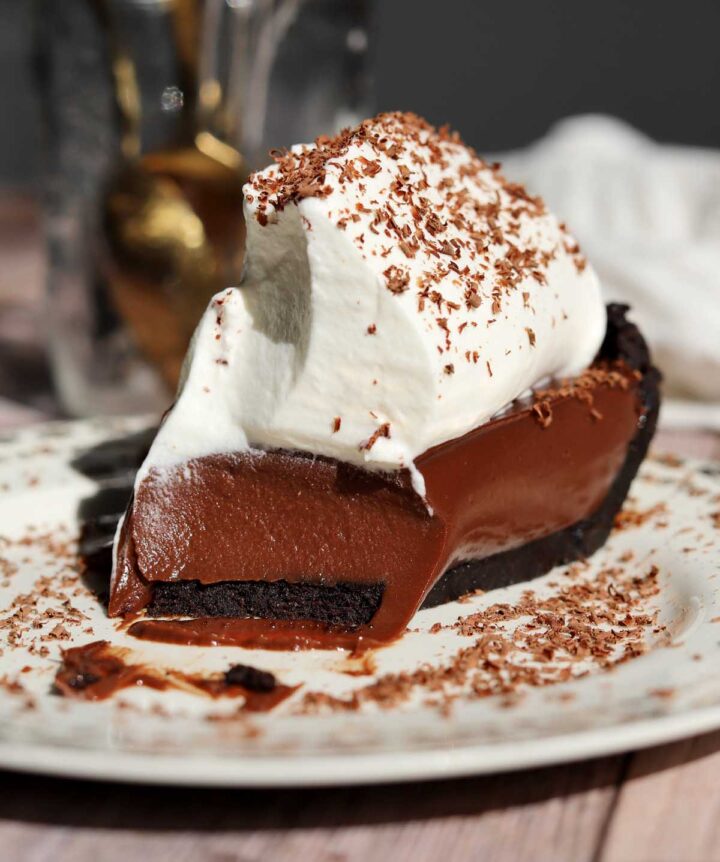
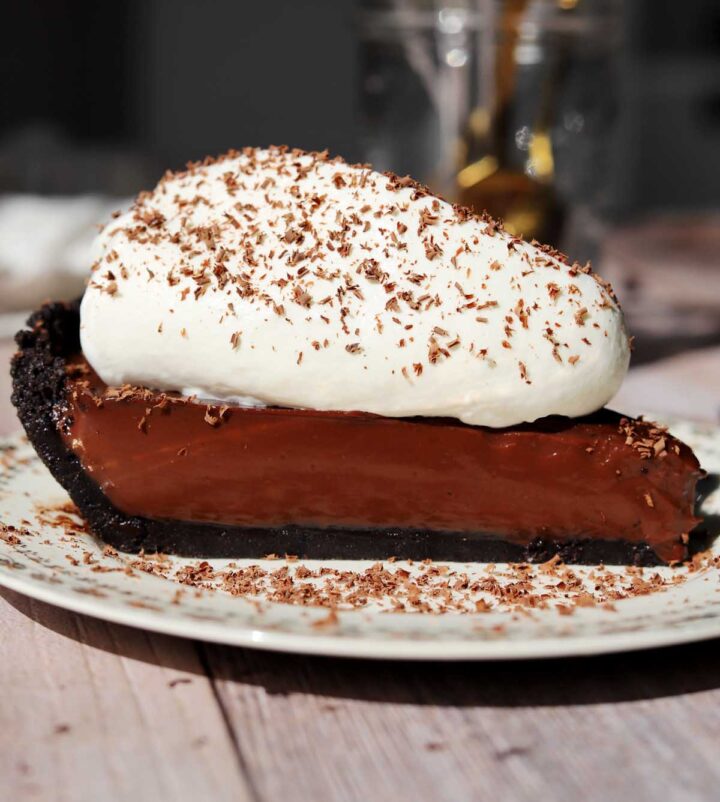
- STEP 7). Make the whipped cream topping. Place cold cream and powdered sugar in a large bowl and whip using an electric hand mixer or a stand mixer until it holds soft peaks. Mix in vanilla extract and serve a generous dollop of it over each slice of cold pie. Grate some dark chocolate over top and enjoy!
EXPERT BAKING TIPS
- Use pure bittersweet chocolate which is 70% cocoa solids. If you use semisweet chocolate, then the pie will definitely be sweeter and it will set softer.
- Do not over-whip the cream. If the cream is whipped to stiff peaks, it may become a bit grainy and affect the texture of the filling.
- Chill for at least 6 hours. This pie tastes best and slices best after it has sufficient time to set in the fridge. Do not try to rush this and prepare it the day before if possible.
- Cook the custard gently. If you rush the cooking process then the eggs will curdle and the filling will not set smoothly. It is important to cook gently until the corn starch is activated which is at about 85 degrees C without boiling.
RECIPE FAQ
You will need a 9-inch round pie dish for this chocolate pie. If you use an 8-inch dish then there will be too much filling unless the dish is quite deep. If you have extra filling, you can set it aside in little cups and serve the extra filling with whipped cream as a mousse!
I haven't had issues with the crust sticking, but if you are concerned, then you can spray the baking dish with cooking spray. Just be cautious not to pack the crust down too tightly. A firm pack is necessary so it holds together, but if it is too firm then it can stick to the bottom of the dish.
If your pie filling is grainy, it is likely because you have over-cooked the custard which can scramble the eggs. Make sure you only cook over low to medium-low heat and stir constantly.
Yes, it is important to let the filled pie set in the fridge for at least 6 hours before you serve it. This will allow time for the chocolate in the filling to set completely for a nice thick set.
I think the perfect way to decorate this pie is with a dollop of unsweetened whipped cream and pure chocolate shavings or chocolate. I use a fine microplane cheese grater to grate solid dark chocolate over the pie. To make chocolate curls, just use a vegetable peeler and shave down the side of a thick chocolate bar. If it is cold in your house, you will get a mixture of shavings and curls. If you warm up the bar slightly (but do not melt it) then you will get more defined curls.
STORAGE & FREEZING
This chocolate pie will last for up to 4 days in the fridge. If you plan to make it in advance, add the whipped cream on top the day before you plan to serve it.
This pie should be stored in the refrigerator, covered or in an airtight container for up to 4 days.
Yes, you can freeze no bake chocolate pie. If you plan to freeze it, then cover the chilled pie well without the whipped cream topping and seal it in an airtight freezer bag for up to 3 months. Once thawed, add the topping and serve.
If you love chocolate, check out these recipes!
Ultimate Moist Chocolate Fudge Cake Better Than Box Mix Brownies Peanut Butter Salted Caramel Pretzel Brownies Olive Oil Chocolate Bundt Cake Best Vanilla Cupcake Recipe with Chocolate Fudge Frosting Chocolate Chip Banana Cake with Creamy Milk Chocolate Frosting The BEST Bakery-Style Chocolate Chip Cookies The BEST Fudge Brownies with Shiny Crust The BEST Thick Homemade BrowniesCraving more chocolate?
If you love chocolate like me, check out these recipes:
In the mood for pie...
Here are more pie recipes for you to try:


Video
Ultimate No Bake Chocolate Pie
Ingredients
Chocolate Cookie Crust:
- 22 (265g) Oreo cookies (the whole cookie with cream filling)
- 5 tablespoon (70g) salted butter, melted (or add a pinch of salt)
Chocolate Cream Filling:
- ⅓ cup (65g) granulated sugar
- 2 tablespoon (16) cornstarch
- 2 tablespoon (12g) cocoa powder (I prefer this Dutch cocoa or this one)
- ⅛ teaspoon salt
- 1 ¼ cups (300ml) whole or 2% milk
- 1 cup (237ml) 35% whipping cream
- 3 large egg yolks
- 2 tablespoon (28g) cold unsalted butter, cut into cubes
- 7 oz (200g) bittersweet chocolate with 70% cocoa solids finely chopped
- 3 oz (85g) pure milk chocolate finely chopped
Whipped Cream Topping:
- 1 cup (237ml) 35%heavy whipping cream
- 2 tablespoon powdered sugar
- ½ teaspoon pure vanilla extract
Instructions
- Make the crust. Melt the butter in the microwave on low heat, then set it aside to cool slightly while preparing the cookie crumbs. Place whole Oreo cookies (filling and all) into a food processor and pulse until it forms crumbs similar to bread crumbs. You can also place the cookies into a sealed bag and crush them with a rolling pin or heavy pot. Do not over-process or it will turn into cookie butter and feel greasy.
- Transfer crumbs to a medium bowl and add melted butter, then stir it together until evenly combined. Press the crumbs evenly into the base and up the sides of a 1.5-2 inch deep 9" pie dish using medium pressure and place it in the refrigerator to firm up and set for 30 minutes. Note, you need to press firm enough to help the crumbs hold together, but if you press to hard then the crust may stick to the bottom of the dish after it sets. I like to use the bottom of a measuring cup or a flat-bottomed drinking glass to help press the crumbs in.
- Make the chocolate filling. Place both kinds of chopped chocolate in a large bowl and set aside. Combine sugar, corn starch, cocoa powder and salt in a 1 quart saucepan and whisk until smooth. Slowly pour in the milk while mixing, then mix in cream until combined. Whisk in the egg yolks one at a time until they are evenly blended.
- Place the pan over medium-low heat and whisk constantly until it starts to thicken. Do not walk away and do not increase the heat. Then, switch to a wooden spoon and stir constantly until it bubbles gently. Do not let it boil. This will take up to 15 minutes so be patient. It should read 85 degrees C on a thermometer and will be thick to enough draw a defined line over the wooden spoon (see video for reference).
- Pour the chocolate mixture immediately through a fine mesh sieve and over the chocolate in the bowl. Use a spoon to push the mixture through the sieve. Let it stand for 2 minutes, then whisk gently until the chocolate melts completely and the mixture is smooth. Stir in butter until smooth and glossy. Let the mixture cool for about 5 minutes, then pour it into the chilled cookie crust. Smooth out the surface and set aside for 20 minutes to cool, then transfer to the fridge uncovered for 1 hour.
- After 1 hour, cover it loosely with foil so you don't disrupt the nice glossy filling at the surface and chill for at least 6 hours or overnight.
- Make the whipped cream topping. Place cold cream and powdered sugar in a large bowl and whip using an electric hand mixer or a stand mixer until it holds soft peaks. Mix in vanilla extract and serve a generous dollop of it over each slice of cold pie. Grate some dark chocolate over top and enjoy!


Can I do all bittersweet chocolate instead of the milk chocolate+dark chocolate mix?
This recipe is a winner! I needed a dessert for company and I gave this recipe a try because I didn't really want to turn on my oven. I don't have a food processor so I crushed the Oreos in a freezer bag. Everyone loved it--it's not overly sweet. I'll try a little espresso or instant coffee to give the chocolate a boost when I make this again. I might even make this the day before. My husband was having a leftover slice and he said it was even better the day after.
This is to die for! I added vanilla bean paste and a tsp of instant coffee to up the chocolate flavor!
I appreciate the feedback Andrea! I'm so glad you enjoyed the recipe 🙂
Oh my gosh! This pie is unbelievable! So incredibly chocolatey - it’s hard to stop eating it! I don’t normally love no bake pies, but I couldn’t resist trying this one and glad I did! Family loved it too! A remake for sure
Thank you Denise! I'm so glad you and your family enjoyed the pie 🙂
This was outstanding! One of the best chocolate pie recipes. Very rich, but not heavy.
Thank you Melanie! Glad you enjoyed the recipe 🙂
Can I bake the Oreo crust for a few minutes so that it will set up a bit more?
I can't imagine not baking a cookie crust...
Hi! Yes you can and it will only take about 8 minutes at 350 degrees F.
Thank you
Hi - in the step-by-step instructions, there are 7 steps listed, but then below that there are an additional steps 5-9 listed from what looks like a different recipe. Assuming we should follow only steps 1-7 as they align w/the pie recipe? Can’t wait to make this! Thanks for all your delicious recipes and helpful tips!
Hi Laura, sorry for that and you are correct! It has been amended and you can follow the recipe card at the bottom of the page. Let me know how it turns out!
The recipe says four whole eggs in the written part but refers to three egg yolks in the bottom list. Which is correct?