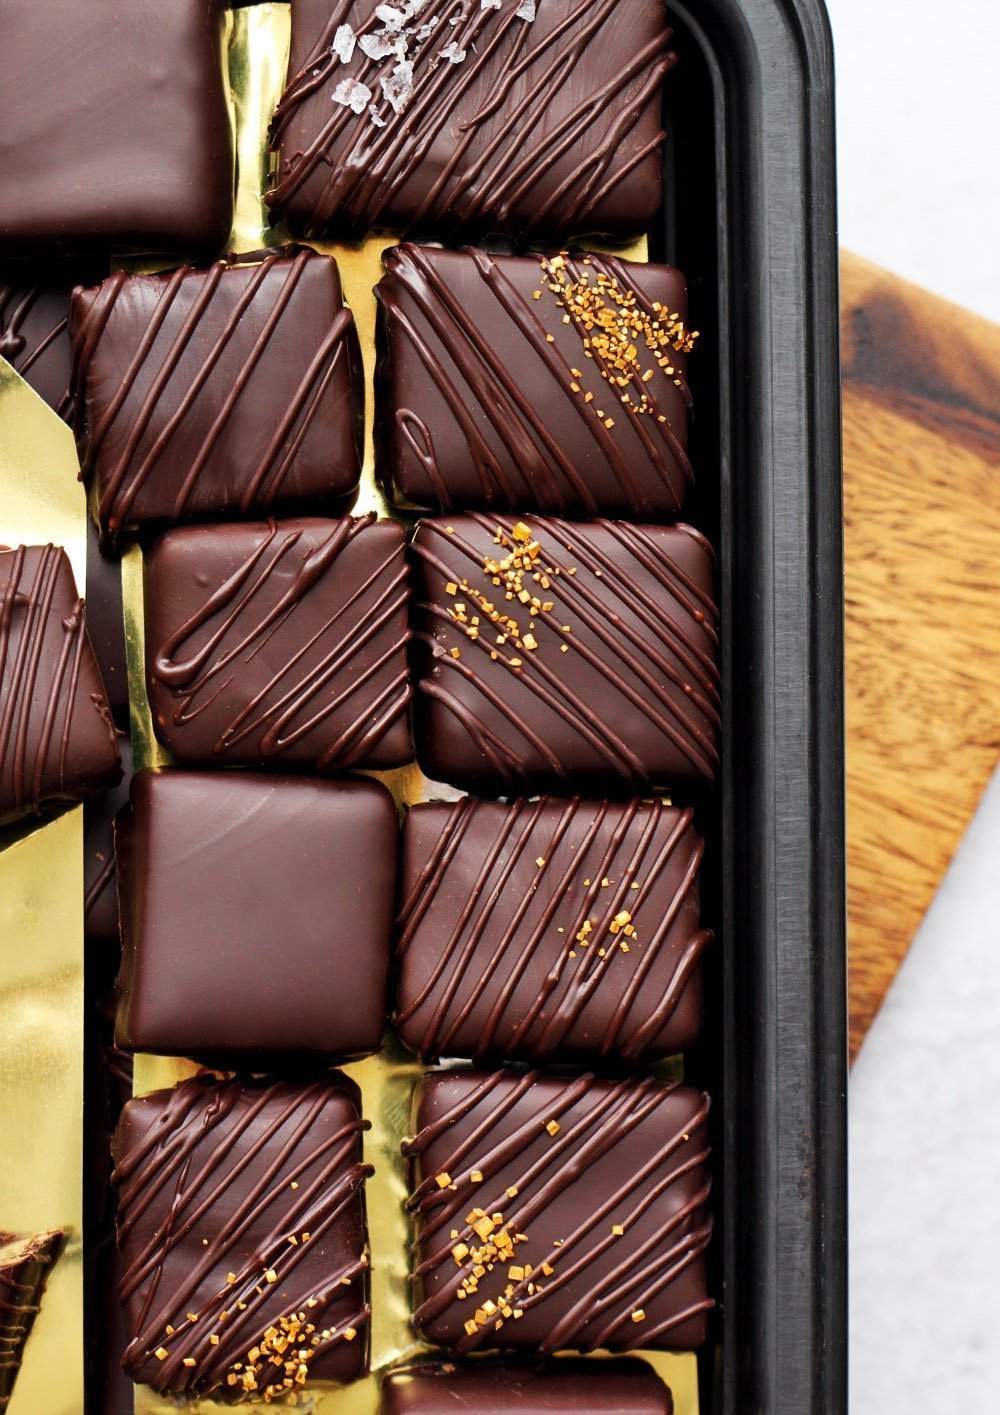
As soon as you read the word "temper" in a recipe, do you turn the page? Do you wonder "what the heck is tempering?"... does it sound too technical? Does it sound too complicated and you can't be bothered with it? But, do you want to make picture perfect chocolate covered confections with a shiny gloss and hard shell that cracks and snaps beautifully under your teeth? Then let's learn how to temper chocolate! You can use this technique to coat my Easy 2-Ingredient Chocolate Truffles.

WHAT IS TEMPERING CHOCOLATE?
Tempering refers to a series of heating and cooling stages that coaxes the cocoa butter fat crystals in chocolate to melt and then recrystallize in the most stable and organized manner that gives them and nice shine, crisp snap and smooth melting qualities. There is an easy way and a more complicated way to do it... I explain each way below in the post. You choose which way works best for you (but, I'll suggest the easy way!)
WHAT IS COCOA BUTTER?
Cocoa butter is the fat found in cocoa beans and comprises from 25-40% of dark chocolate. Cocoa butter fat crystals can set into 6 different forms that all have different melting properties. Form V (five) is the most stable and organized crystal structure that gives chocolate its most desired qualities. Once chocolate is melted it loses its organized structure and must be cooled in a controlled way in order to ensure that it sets back up nicely.
There are a few things you must have and must know in order to temper chocolate and here I'll tell you everything you need to know. Believe me, believe in yourself -- you can do this!
TOOLS FOR TEMPERING CHOCOLATE
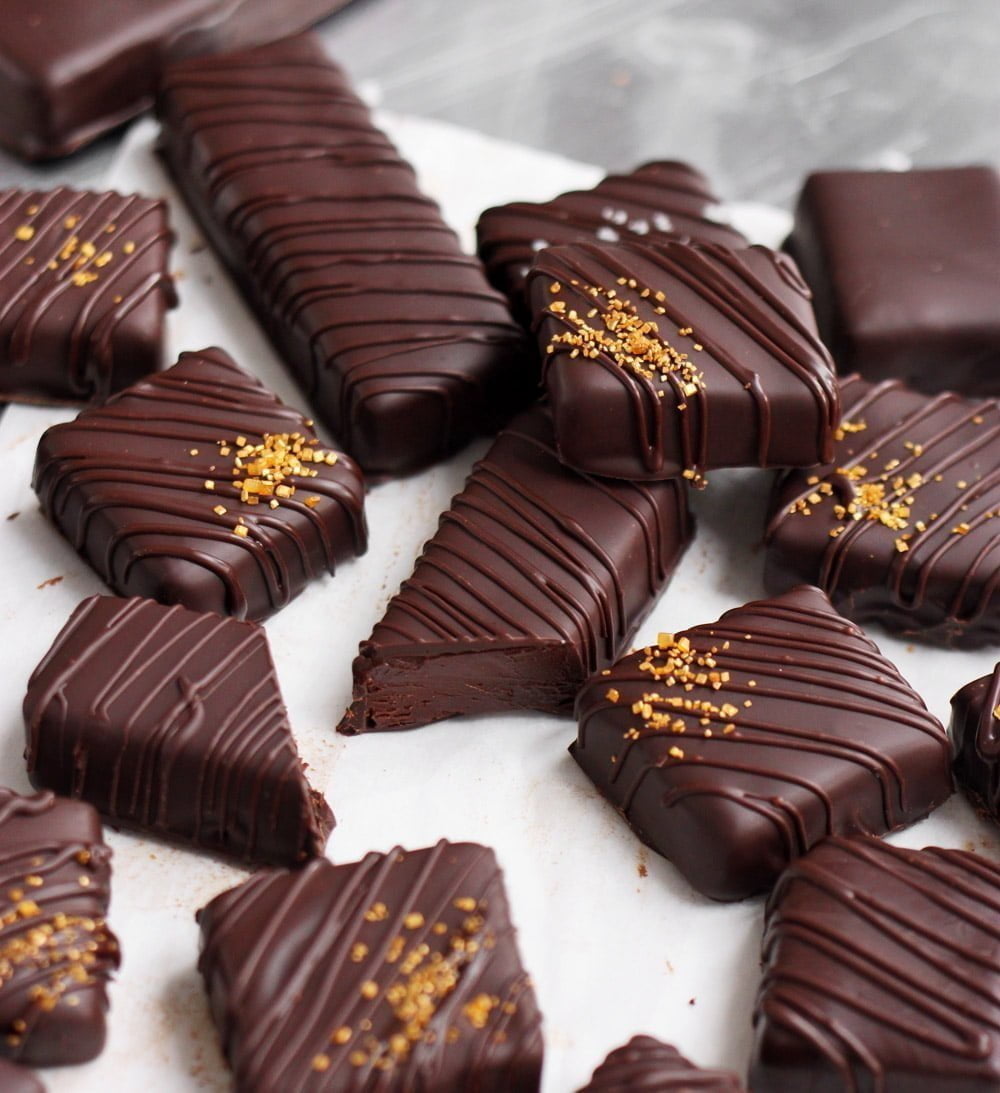
There are a few things you must have and must know in order to make shiny, snappy tempered chocolates at home:
- Chocolate molds - I use silicone ones. They are easy to find and use. Go to a kitchen supply shop and pick out the shape you like.
- Thermometer - tempering chocolate means taking temperatures.
- High quality dark chocolate - if you are going to take the time to do this, don't waste it on shabby chocolate. Get the good stuff. Couverture chocolate is best for confectionery because it has a high cocoa butter content, and thus high fluidity for coating and moulding, but regular (good quality) chocolate is perfectly fine. I prefer this dark chocolate.
- Patience.

EXPERT TIPS FOR TEMPERING CHOCOLATE
- Choose a cool dry day - hot and humidity will make for a mess and stress.
- Give yourself space - chocolate-making can sometimes be messy work.
- Use clean utensils - if you have any particles, such as lint or sugar, on your utensils, it can disrupt the crystallization of the cocoa butter particles.
- Finely chop the chocolate - whether you use method 1 or method 3, chop the chocolate very finely. It helps for the chocolate to melt evenly and quickly.
METHODS FOR HOW TO TEMPER CHOCOLATE
The temperatures to which you heat and cool your chocolate depends on the cocoa content. If you are using dark chocolate with a cocoa content between 60 and 70%, then follow these guidelines. The EASY way to temper chocolate is Method 1.

Method 1: First chop up all of your chocolate very finely. The smaller the pieces, the faster and more evenly it will melt. If your chocolate is already glossy and shiny and well-tempered, then you can skip a bunch of steps. WOO! But, and I mean BUT, for this to be successful you must have very small pieces and be very precise. The goal is to just barely melt the chocolate so that it is fluid but not a single degree over 90°F. If it goes to 92°F, then you risk melting and disassembling the organized cocoa butter crystal structure that your chocolate manufacturer has worked hard to build.
The idea is that you are going to melt the chocolate, but not enough to melt the desirable crystals that keep it in temper. You need to stir constantly for even melting over very low heat and monitor the temperature very carefully. This is the easy way to temper chocolate and by far the least complicated.

Method 2: The next method is also a shortcut but does involve some maneuvering. First melt all of the chocolate to 120°F. That melts ALL of the crystals. Then remove it from the heat and cool it down by stirring constantly until it reaches 100°F. Once it reaches that temperature, start adding more very finely chopped or grated (even better!) tempered chocolate until it cools to 90°F. The already tempered chocolate that you are adding acts as template to encourage the melted chocolate to set in the same shape. At 90°F, the chocolate is ready to use for dipping, dunking, molding or coating.
Keep in mind that the temperatures are different for different types of chocolate - in general dark is 120°F, milk is 115°F and white is 110°F.

Method 3: The last method is the most tedious and is absolutely required if you are already working with bloomed (ie. not shiny/glossy) chocolate. First melt all of the chocolate to 120°F. That melts ALL of the crystals. Then remove it from the heat and cool it down by stirring constantly until it reaches 82°F (78-80°F for white and milk chocolate). This can take a very long time depending on the temperature of your kitchen (assuming you are doing this in the kitchen). To help it along, add a fresh chunk of already tempered chocolate to the pool when it reaches 100°F. This will cool down the mixture quickly while providing nuclei too. If you have a cool room or a cantina, step in there while stirring the chocolate to accelerate the cooling.
At 82°F we can be sure that certain crystals will have formed (namely crystal forms IV and V). Form V is the most favorable so now we want rewarm the chocolate to melt any form IV's and keep V. Place the bowl over the heat again and bring it to 90°F while stirring constantly. Do not let it go over 90°F! It is now ready to use. You can continue to use this chocolate and reheat it to 90°F as you are molding.
At this magic temperature of 90°F, you should have a pool of form V crystals that will set to a firm snap and glossy shine.

HOW TO MAKE CHOCOLATE TRUFFLES
Get ready to make truffles!
- STEP 1). Place a wire rack over a large baking tray that's lined with parchment or waxed paper (for easy clean-up).
- STEP 2). To create your tempered shells, pour a generous amount of tempered chocolate over the mold, filling in all of the shapes. Now, turn it over and hold it over your bowl of tempered chocolate and let the excess drip back down into the pool. Place the mold (upside down) onto the rack and let it rest for 1 or 2 minutes to let excess chocolate continue to drip. This will leave you with even, thin shells.
- STEP 3). Turn the mold right-side-up and sweep an off-set spatula flush with the surface to scrape away any chocolate that collects on the flat surface around the indentations. Now place it on a tray and refrigerate until hard and set. This normally takes just 10-15 minutes if your chocolate is tempered properly.

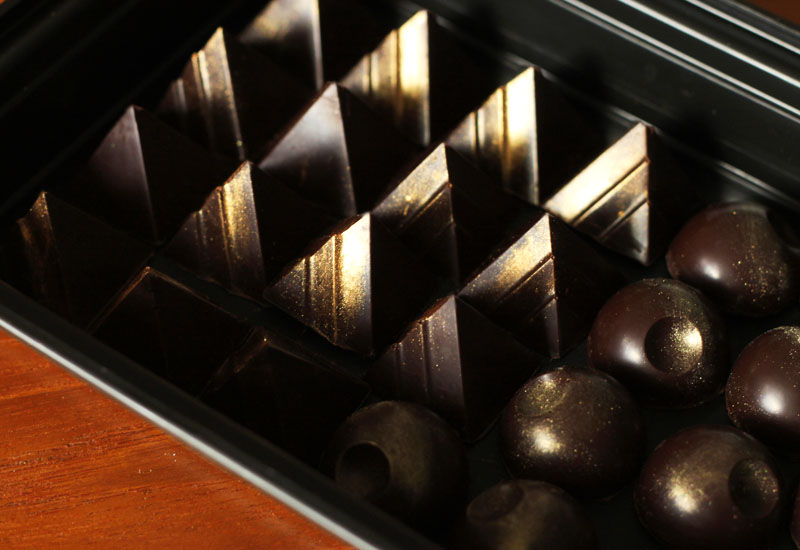
- STEP 4). Once set, remove the mold from the fridge and fill each cavity with whatever you desire (i.e. chocolate ganache or caramel). Let set again and then cover with more tempered chocolate. [At this point you may need to carefully re-heat the chocolate to 90°F so that it is fluid and workable. I normally keep the bowl resting over a saucepan of very warm/barely hot water (off the heat). Make sure the water is not hotter than 90°F.] Again, sweep an off-set spatula or palette knife flush with the surface to scrape away any chocolate that collects on the flat surface around the indentations. Refrigerate to set and then pop the chocolates out of the molds. Brush with edible gold dust for an extra special touch.
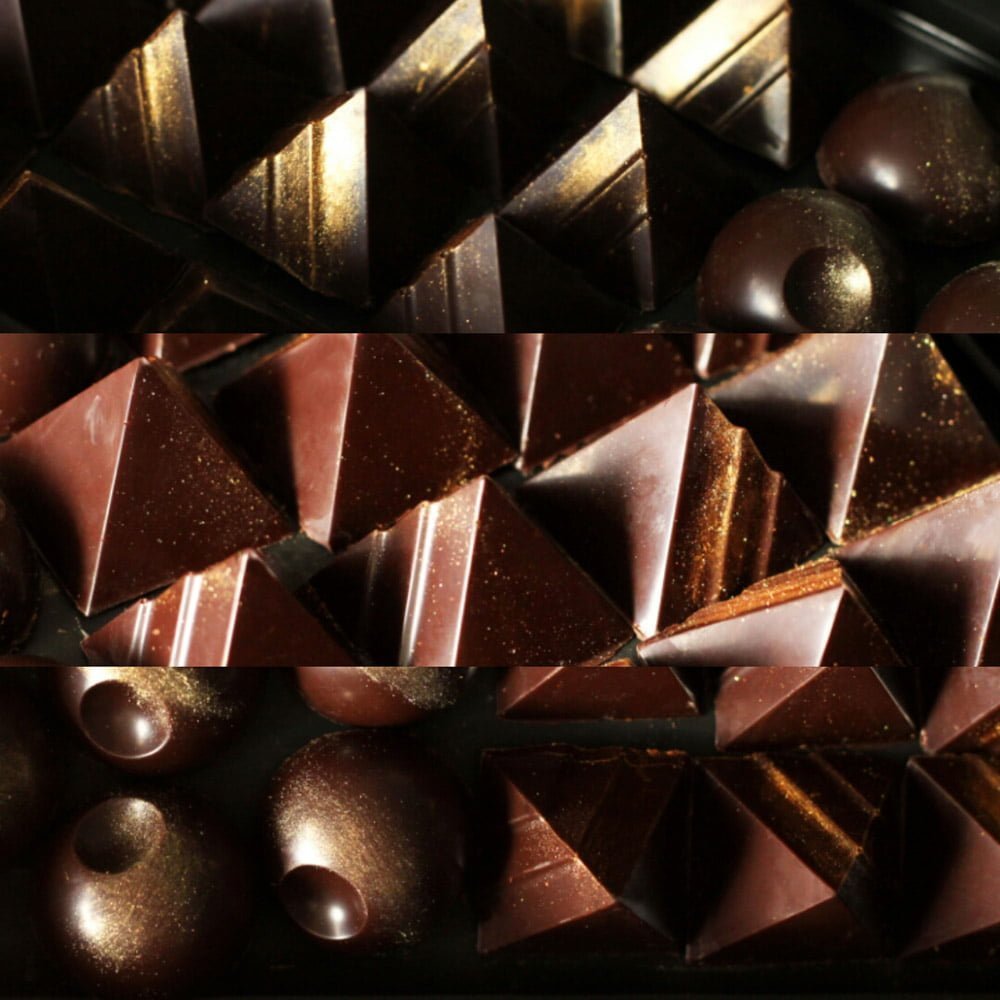
To make spheres, you need to "glue" two domes together. Place a dry frying pan over very low heat. If using gas, just warm up the pan and then remove it from the heat. Take two chocolates and place them flat-side-down on the warm pan to melt the flat sides just slightly and then press them together. Let them set and you're sailing.
How to Temper Chocolate
Ingredients
- 12 oz 340g recently purchased tempered dark chocolate (preferable couverture)
Instructions
- First chop up all of your chocolate very VERY finely. The smaller the pieces, the faster and more evenly it will melt. I like to use a serrated knife to do this job. The chocolate you buy should be glossy and shiny and already well tempered.
- Place the chocolate in a heatproof bowl and set the bowl over a saucepan with just ½ inch of barely simmering water. Stir the chocolate constantly until it three-quarters of the chocolate is melted, but the rest is still in pieces. Make sure to stir all around the sides of the bowl to ensure that all of the chocolate melts evenly.
- Use a thermometer to make sure the melted chocolate does not get heated above 90°F. If it goes to 92°F, then you risk melting and disassembling the organized cocoa butter crystal structure that your chocolate manufacturer has worked hard to build.
- Once three-quarters of the chocolate is melted, remove the bowl from over the heat and continue stirring to let the residual heat melt the rest of the chocolate. Use it immediately to coat or drizzle.











corina
If I use Callebaut Callets - which method do I use? Is that tempered? (to followt the instructions of adding temptered chocolate to help the mixture cool down?)
Barry
BonBons, not Truffles. I was shocked after you so carefully explained tempering, then seemed about to launch into teaching us to descend into making mere truffles. Google is your friend.
christina.marsigliese
Chocolate-covered truffles to be clear 😉
Maria
This is so awesome! Thanks so much for always sharing your knowledge (and recipes) with us! Question: would you eventually post a video of this process??
christina.marsigliese
Ohhhh maybe one day if I have time!
Carolyn Henderson
Thank you making these methods available to us! I can't seem to find the source of the link to your preferred chocolate. Are you able to share that in a reply? I will conquer this nemeses of mine, this tempering!!
christina.marsigliese
Hi Carolyn! I have fixed the links now. Please check again 🙂
kratom benefits respiratory system
Does anybody know if I am able to purchase JUSTKRATOM Red Bali Kratom Capsules (justkratomstore.com) at Advance Electronic Cigarettes, 700 S Rand Rd, Lake Zurich, IL, 60047?
Anna
I’ve always wanted to learn how to temper chocolate! The easy method worked so well! Thanks so much for always sharing your expert advice.
christina.marsigliese
You are welcome Anna! I'm glad you can now apply this new skill!
Anna
I've always wanted to learn how to temper chocolate! The easy method worked so well! Thanks so much for always sharing your expert advice.
Deborah Gonda
Hello! How exactly do i find the recipe for that lovely one bowl chocolate cake and frosting?
christina.marsigliese
Hi Deborah! The recipe is here on this site. You can just search for chocolate cake and it will come up 🙂