
Peanut Butter Espresso Fudge Ice Cream
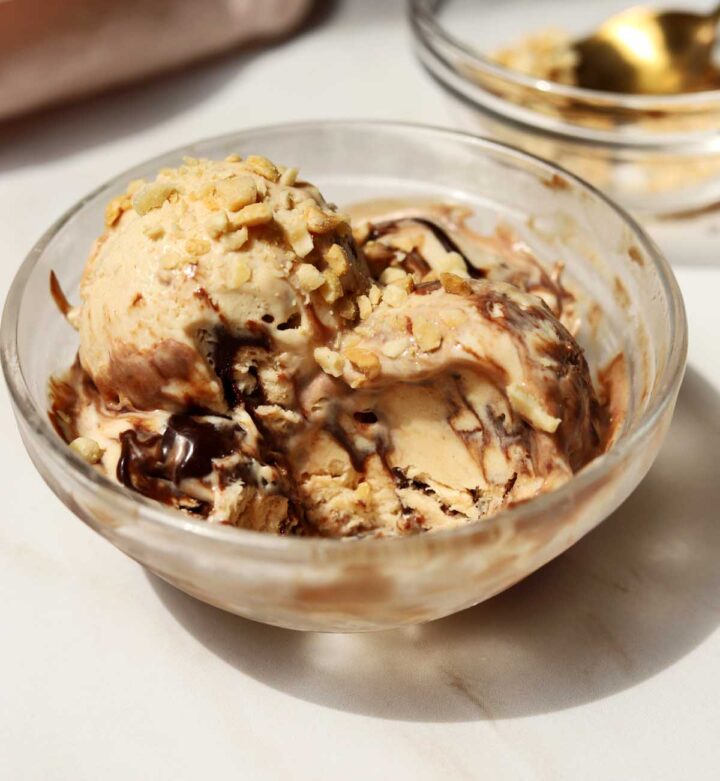
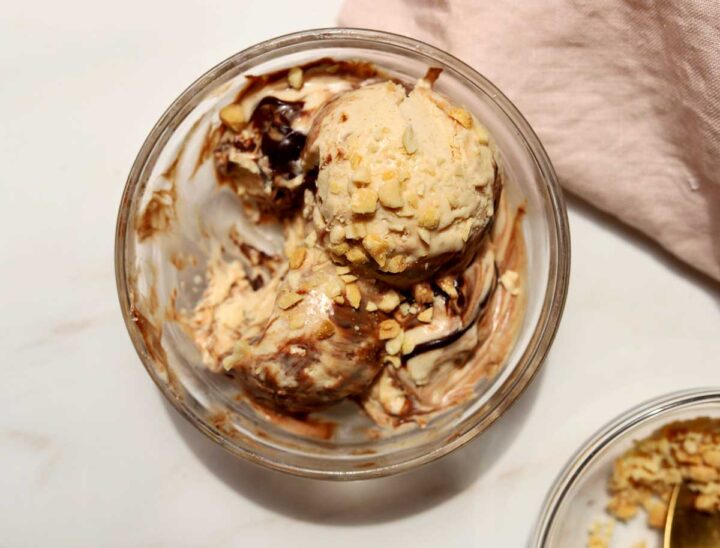
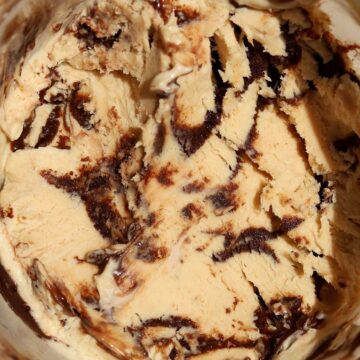
Once you learn that you can make ice cream at home without any fancy equipment, you will want to make it all the time! This Peanut Butter Espresso Fudge Ice Cream is addictively good with an irresistible salt & sweet flavor balance. It starts with a creamy peanut butter vanilla ice cream base and I swirl through a thick coffee-infused fudge sauce. This combination is so delicious and I cannot stop eating it - one batch is never enough. My husband completed his Food Science Master's Degree on the subject of ice cream (specifically ice crystallization) and so I am very particular about ice cream quality. Commercial equipment is the only way to achieve the proper overrun (air incorporation) and small ice crystallization required to give ice cream that smooth creamy texture that doesn't instantly melt. However, this no churn recipe is so easy and delicious that it is definitely worth knowing about. Plus, you get to make your own flavors!
WHY THIS RECIPE WORKS
- Easy to make - all you need are a few simple ingredients to make no churn ice cream and it takes less than 15 minutes to prepare.
- Whole ingredients - my no churn ice cream base uses pure cream, yogurt and milk ingredients unlike a lot of "frozen dessert" products on the market that use hydrogenated oils to make them more affordable.
- Rich peanut butter ice cream - if you love peanut butter, you will go bonkers over this rich creamy taste! It has a subtle saltiness that is irresistible.
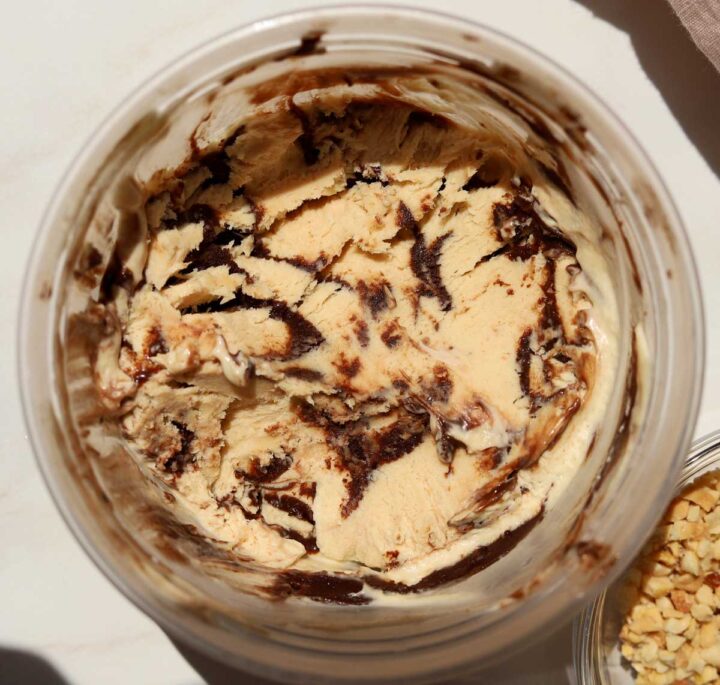
- Smooth and creamy - the texture is so creamy thanks to the high fat content of the cream, as well as the protein and fats from the peanut butter. It is not icy at all even though we're not using an ice cream maker. The sweetened condensed milk and peanut butter provide enough solids to interfere with large ice recrystallization.
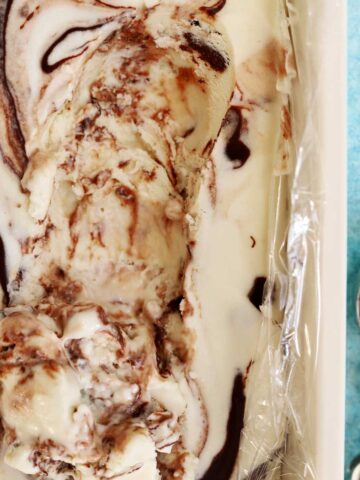
- Coffee-infused chocolate fudge swirl - so this needs to be a new ice cream flavor on shelves because this espresso fudge sauce with the peanut butter ice cream is incredible! It is thick and dreamy. It's not just a ripple - it's a fudgy ribbon.
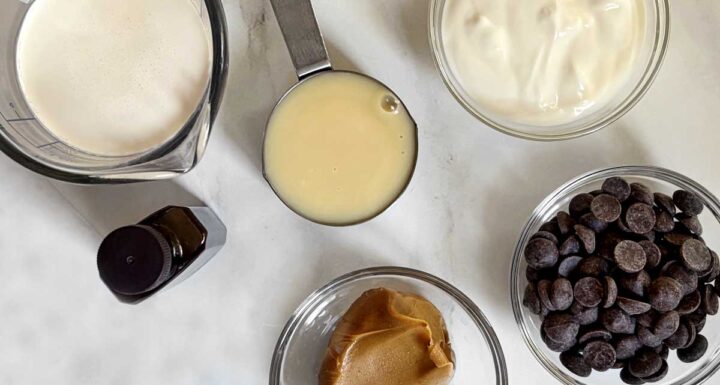
INGREDIENTS FOR PEANUT BUTTER ESPRESSO FUDGE ICE CREAM
- Cream - you'll need whipping cream which has 35% milk fat content to whip to nice soft peaks.
- Condensed milk - sweetened condensed milk is usually sold in cans and adds solids in the form of concentrated milk proteins and sugars that will help reduce the melting point of the ice cream as well as prevent ice re-crystallization.
- Peanut butter - I use creamy or smooth peanut butter, and I recommend using the emulsified kind that you don't need to stir. Natural peanut butter doesn't get quite as smooth and thick so it will not have the same stabilizing effect on the ice cream base.
- Yogurt - I use whole milk plain yogurt with 3% milk fat content. This adds tanginess and cuts the richness. The cultured dairy flavor also gives this ice cream a very subtle cheesecake type of flavor that I love!
- Vanilla extract - use the best vanilla here as it will really shine.
- Dark Chocolate - use pure dark chocolate for the fudge swirl. I use semi-sweet chocolate here which is best so it doesn't set too firm in the ice cream, but also sets firm enough that it stays nice and fudgy. These couverture chips or "callets" are my favorite.
- Cocoa powder - a bit of cocoa bumps up the chocolate flavor in the fudge sauce and increases the solids to give it a nice chew.
- Espresso powder - this is what gives the coffee flavor in the fudge sauce. I love to use it in baking as well. You can also use ground instant coffee.
STEP-BY-STEP INSTRUCTIONS
- STEP 1). Make the fudge sauce. Place chopped chocolate, sweetened condensed milk and water in a medium heatproof bowl and microwave on 50% power in 20 second increments while stirring in between until melted and smooth. You can also melt it over a double boiler. Add cocoa powder and espresso powder and stir to combine. Set aside to cool slightly.
- STEP 2). Make the ice cream. Combine sweetened condensed milk and peanut butter in a medium bowl and mix until smooth. Add yogurt and vanilla extract and mix it in thoroughly.
- STEP 3). Whip the cream. Place cold cream in a medium bowl and use an electric hand mixer (or a stand mixer fitted with a whisk attachment) to whip it until it forms soft peaks. This will take 2-3 minutes on medium-high speed.
- STEP 4). Fold in the peanut butter base. Add the peanut butter mixture to the bowl with the whipped cream and fold it together until evenly blended.
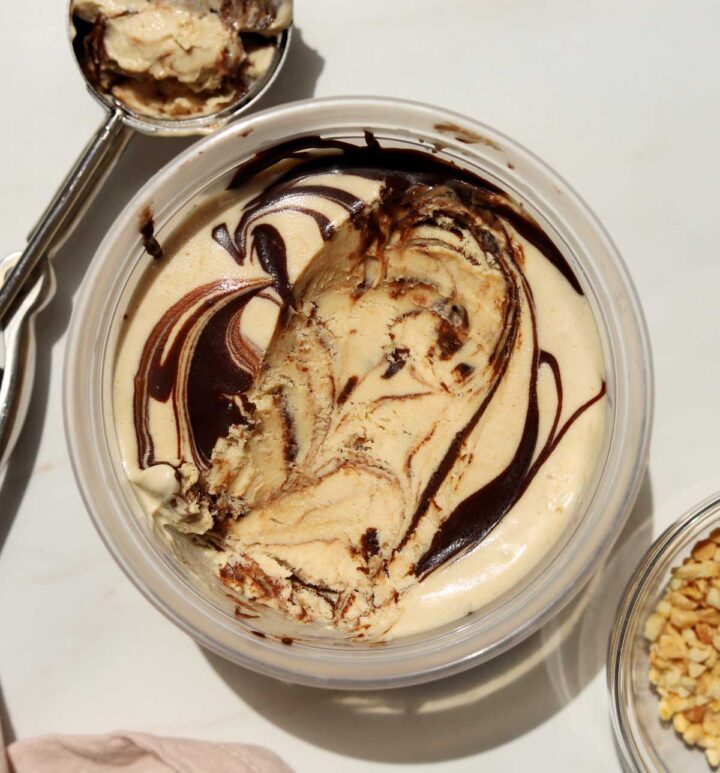
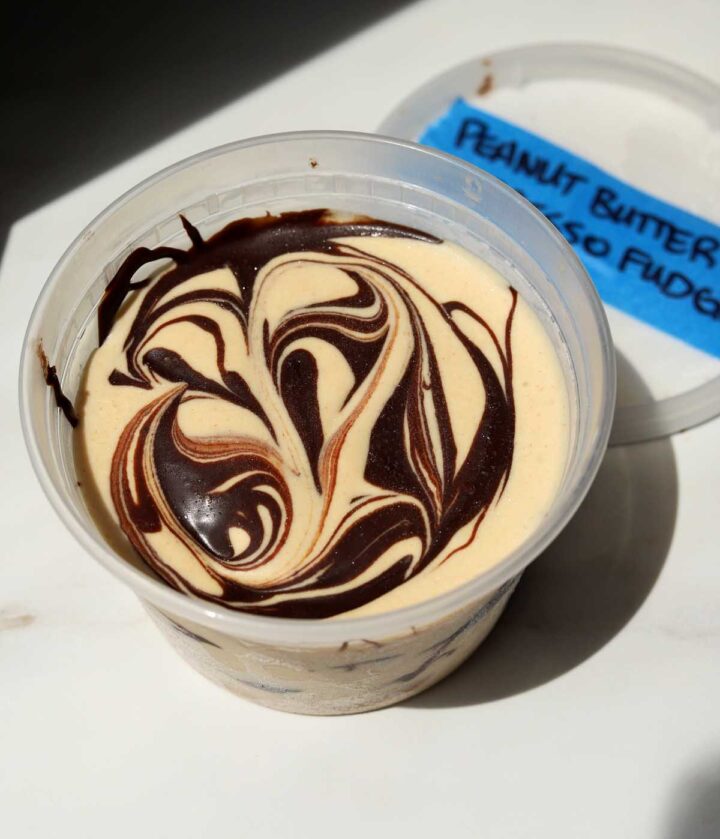
- STEP 5). Assemble ice cream. Transfer half of the ice cream mixture to the prepared loaf pan, then spoon half of the fudge sauce over top. Repeat with the remaining ice cream and fudge sauce. Use a butter knife to gently swirl everything together a few times, but have some restraint as you want defined pockets of fudge in the ice cream. If you're using a tall 1L freezer container, then add one third of the ice cream, followed by one third of the fudge sauce and then repeat these layers 2 more times.
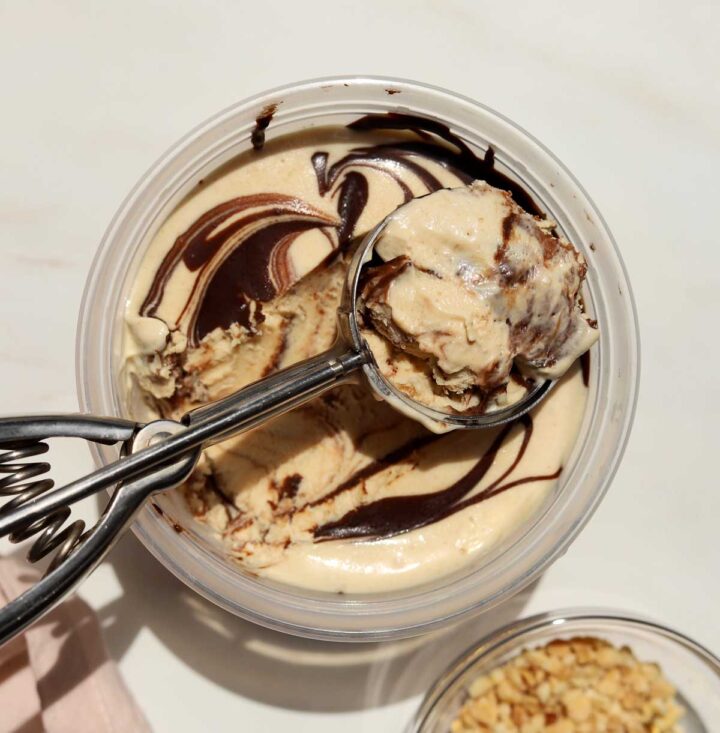
- STEP 6). Freeze. Cover tightly with plastic wrap and place it in the freezer for at least 8 hours. Keep it tightly covered and enjoy it for up to 2 months. Let it soften in the fridge for about 10 minutes before scooping.
EXPERT TIPS FOR NO CHURN ICE CREAM
- Whip the cream to soft peaks. At this stage, the cream has enough air while still being creamy. Whipping further to stiff peaks can make the cream a bit grainy and give ice cream a slightly "drier" texture.
- Use cold cream. Cold cream whips faster and more efficiently to hold more air.
- Whip on medium to medium-high speed. Whipping on high speed incorporates large air bubbles, while whipping on medium speed incorporates small air bubbles for a finer structure and smoother texture.
- Freeze overnight. Allow the ice cream to freeze sufficiently overnight for best results.
- Spoon fudge sauce gently. Avoid folding it in or swirling too much because you want to get distinct swirls of fudge throughout.
- Let it soften before serving. This no churn ice cream needs about 10 minutes to soften so you can easily scoop it. I recommend softening in the fridge, not at room temperature since if it is too warm then the edges will soften fast and get soupy before the center softens at all.
TOOLS YOU NEED TO MAKE NO CHURN ICE CREAM
- Loaf pan - you can use a metal loaf pan to store your ice cream since the metal transfers heat fast which means it will freeze faster. Faster freezing means smaller ice crystals for a smoother texture.
- High speed blender - you can also use a high speed blender to mix all ingredients at once. Just be sure to mix on medium speed so you do not over-whip the cream. I absolutely love this Cuisinart blender. It is so powerful with a strong motor. I think it's just as good as a VitaMix and more than half the price. It's useful for whipping cream to a creamy consistency, and you can also use an electric hand mixer.
- 1 Quart or 1L Deli Container for storage.
RECIPE FAQ
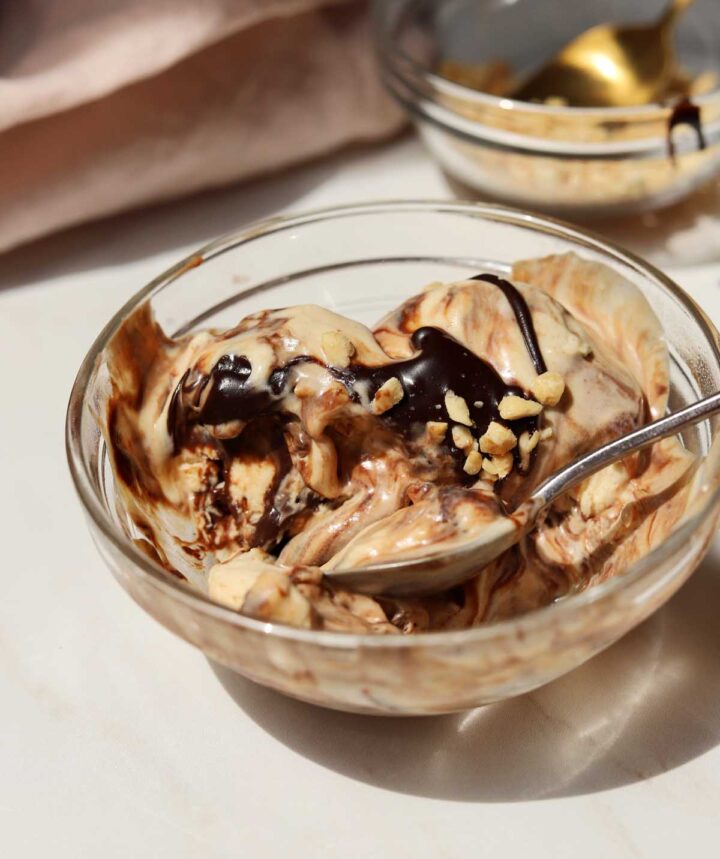
Store your homemade no churn ice cream in an airtight container in the freezer. Press a piece of plastic wrap or parchment paper directly onto the surface of the ice cream before sealing the container or covering the pan to help prevent ice crystals from forming.
This peanut butter fudge espresso ice cream takes at least 8 hours to freeze solid.
These no churn ice cream will keep in the freezer for up to 2 months.
More No-Bake Treats
Looking for more recipes that don't require an oven? Try these:
Frozen Desserts
Too hot to turn on the oven? Check out these icebox treats:
Video
No Churn Peanut Butter Espresso Fudge Ice Cream
Ingredients
Chocolate Fudge Sauce:
- 4 oz (113g) semisweet dark chocolate
- 2 tablespoon (30ml/40g) sweetened condensed milk
- 2 tablespoon (30ml) hot water
- 4 teaspoon (8g) cocoa powder (I prefer this Dutch cocoa or this one)
- 1 teaspoon espresso powder
Peanut Butter Ice Cream:
- ⅔ cup (160ml/220g) sweetened condensed milk
- ½ cup (120g) peanut butter
- ⅔ cup (160ml) full fat plain yogurt
- 1 teaspoon (5ml) pure vanilla extract
- 1 ½ cups (355ml) heavy 35% whipping cream
Instructions
- Line a standard 1-pound loaf pan with parchment paper or set out a large freezer-safe container. I also use a one quart or 1L deli container.
- Make the fudge sauce. Place chopped chocolate, sweetened condensed milk and water in a medium heatproof bowl and microwave on 50% power in 20 second increments while stirring in between until melted and smooth. You can also melt it over a double boiler. Add cocoa powder and espresso powder and stir to combine. Set aside to cool slightly.
- Make the ice cream. Combine sweetened condensed milk and peanut butter in a medium bowl and mix until smooth. Add yogurt and vanilla extract and mix it in thoroughly.
- Place cold cream in a medium bowl and use an electric hand mixer (or a stand mixer fitted with a whisk attachment) to whip it until it forms soft peaks. This will take 2-3 minutes on medium-high speed.
- Add the peanut butter mixture to the bowl with the whipped cream and fold it together until evenly blended.
- Transfer half of the ice cream mixture to the prepared loaf pan, then spoon half of the fudge sauce over top. Repeat with the remaining ice cream and fudge sauce. Use a butter knife to gently swirl everything together a few times, but have some restraint as you want defined pockets of fudge in the ice cream. If you're using a tall 1L freezer container, then add one third of the ice cream, followed by one third of the fudge sauce and then repeat these layers 2 more times.
- Cover tightly with plastic wrap and place it in the freezer for at least 8 hours. Keep it tightly covered and enjoy it for up to 2 months. Let it soften in the fridge for about 10 minutes before scooping.
I am generally not an ice cream person—maybe 2 or 3 times a year at most. My family, on the other hand, is completely obsessed. While I have made traditional custard ice cream with good results in the past, every no-churn recipe I tried felt sub-par and tasted overwhelmingly like canned condensed milk.
Then I found this recipe, and I ended up making it three weeks in a row. It is remarkably easy, genuinely delicious, and it actually converted me. We are officially done buying store-bought tubs. Our favorite variation is with chunky peanut butter and a little salt in the sauce—absolute perfection. I make sure to claim my share right away now, much to my family's disappointment. 😉
My only wish is that there were more flavors to try!
Thank you Malea! Glad you enjoy the recipe 🙂
This looks delicious! I was curious, the fudge sauce alone sounds wonderful, could that be made just by itself and kept in the fridge?
Thanks 🙂
Hi Steph! Yes, the fudge sauce can be kept in the fridge.
That's great, thank you !
What can be done to lessen the tanginess/cheesecake-like vibes?
Hi Adalia! You can reducing the yogurt and replacing with more whipped cream.
This is not only super easy to make, but it is seriously delicious. I used crunchy peanut butter and would recommend it over smooth as it adds a delicious texture contrast. The chocolate fudge sauce is a whole thing in itself. I made another batch which I poured over strawberries and cream - a perfect summer treat though I’m already thinking about adding a batch of the ice cream to my Christmas menu. I might add a cheeky shot or two of Bailey’s though 😉
Thanks for the feedback Lulu! Glad you enjoyed the recipe 🙂
Have you tried this with any other nut butters or with natural PB?
Hi Liza! You can use natural PB but it might be a little less smooth.
Looks great! Will it work with 2% Fage Yogurt?
Hi Suzanne! Yes, I think that should work.
Can this recipe base be used for any other flavor like strawberry cheesecake???
Hi Danny! You can, but you would need to keep the peanut butter or possibly replace it with more condensed milk.
I cannot wait to try this recipe! It sounds wonderfully delicious! I do have one question, however: Can I use full fat Greek yogurt, or will it change the taste? If it dies change the taste, is there anything I can add or change to alleviate this?
Hi Catherine! Yes you can use full fat Greek yogurt. It will be great.